All tools need regular maintenance to be fully functional. Firearms are no different. Firing a gun leaves gunpowder and lead residues, as well as copper fouling in the barrel and its surrounding parts. These unwanted substances severely affect the accuracy of the gun and may compromise the safety of the person holding the gun.
Guns need tender love and care. For first-time gun owners, cleaning a gun may seem like a puzzle. But follow this step-by-step guide, and your gun can shine like it was just newly bought.
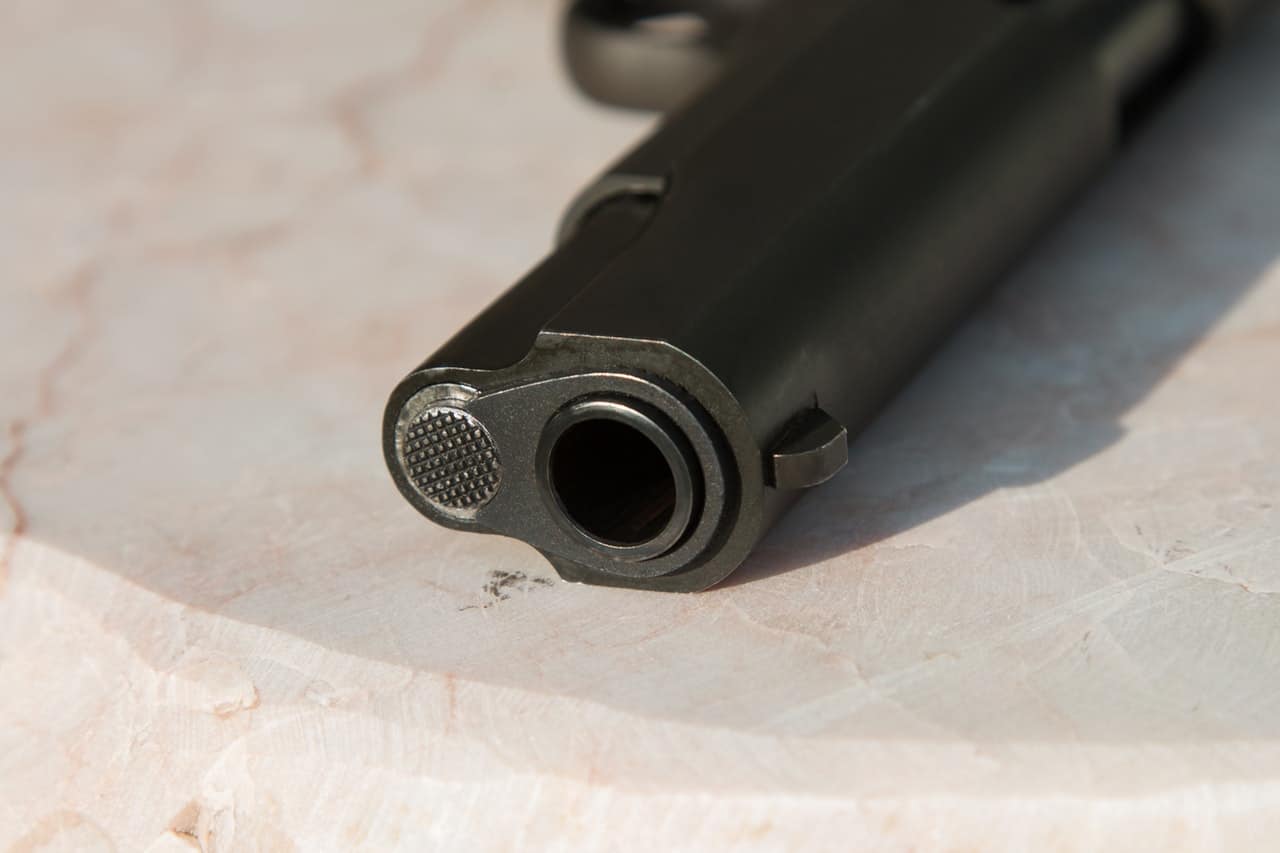
IMAGE: PEXELS
When To Clean A Gun
Ideally, a gun should be cleaned after every firing, especially after using bulk ammunition for target practice. Frequent long sessions in the range mean using more bullets, which are likely to leave lead, carbon, or copper residue in the barrel. The residue will build up over time, foul your gun, and eventually affect gun accuracy.
Since it may not always be convenient to clean the gun after every firing, a recommended alternative is between two to three months. However, when a gun gets wet, it will have a high chance of building up rust, which will severely affect the gun’s performance and may make it unserviceable. So clean your gun if it gets wet, regardless if it’s been fired or not.
Materials Needed
Stock up on these items because you’re going to need them every now and then.
- Cleaning solvent (a popular brand is Hoppe’s No. 9 Bore Cleaner)
- Gun lubricating oil (also Hoppe’s No. 9 Synthetic Blend Lubricating Oil)
- Disassembly manual of the gun to be cleaned
- Bronze bore brush with the same size as the caliber of your gun
- Nylon cleaning brush (or a clean, unused toothbrush)
- Cleaning rod
- Cleaning patches
- Rags/cloths
Basic Cleaning Steps
Make sure the gun is empty. This is the most important step. Unload the magazine, and remove any bullet in the barrel. Triple-check it. Do not be lenient; do not leave it to chance.
Dismantle the gun. Take the gun down and fieldstrip it. Fieldstripping means to take apart the essential parts (usually the barrel and the slide for most guns) that do not require tools to remove.
Different gun types have different ways of fieldstripping them. Revolvers don’t need to be disassembled; opening the cylinder is enough. Refer to the disassembly manual or the manufacturer’s website for instructions specific to your gun.
Bore through the barrel. Dip the bronze bore brush in the cleaning solvent, and prod it through the barrel. If the brush rotates as it traces the rifling inside the barrel, let it do so, and don’t apply any resistance.
Use the cleaning rod to push a cleaning patch through the barrel. The first patch will come out dirty. Repeat this with a new cleaning patch until it comes out clean.
Apply the cleaning solvent on the rest of the gun. Alternate between a new patch and a nylon brush in applying the cleaning solvent on the remaining parts of your gun. Use the patch on the exterior and accessible parts.
The brush is for reaching the small, interior areas, as well as for scrubbing off stubborn stains. Once done, wipe away excess solvent with a rag. Note: some solvents may be harmful to the hand grip.
Apply a bit of oil to all movable parts and springs. For this step, don’t use too much oil as this may cause your gun to accumulate more dirt than is normal. Use your bare hands to rub/apply the oil on the movable parts of your gun, like the slide, trigger, magazine, etc. For the barrel, take a cleaning patch, soak it with a little oil, and push it through the barrel with the cleaning rod.
Reassemble your gun. And you’re done.
Remember
Being a responsible gun owner means knowing how to clean and take care of your gun. Memorize these six steps, and all your guns will never see rust or grime again.
If you are interested in even more watercooler-related articles and information from us here at Bit Rebels then we have a lot to choose from.


COMMENTS