Something about the original Macintosh keeps pulling people back. The silhouette, the proportions, the way the screen sits in a thick bezel, all of it reads as iconic design that invites tinkering.
The Wondermac project answers that invitation by doing something very simple and very specific. It repurposes a commercial Mac Clock desk toy into a functioning miniature Macintosh emulator, using a Raspberry Pi Zero W, a 2.8-inch 640-by-480 LCD, and a couple of decisive hardware interventions.
The real significance here is not only nostalgia. What actually determines whether a project like this matters is how it navigates three tight constraints at once: size, power, and software performance.
The choices the builder made reveal where the idea is comfortably useful, and where it requires tradeoffs to stay delightful rather than frustrating.
Below is a guided look at the key stages, the two hacks that unlock the build, the limits you should expect, and the places this tiny machine could go next.
Why Wondermac Is More Than A Cute Desk Toy
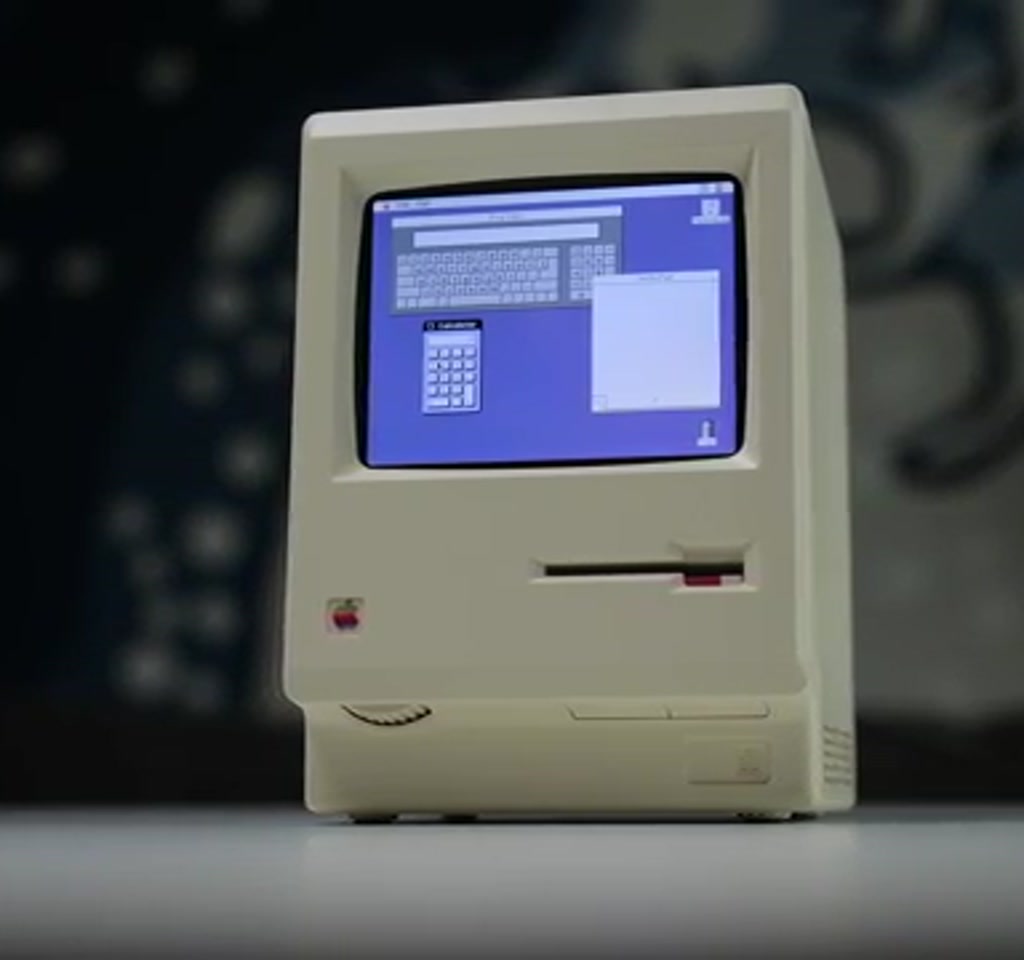
Wondermac is a reuse-first maker project that turns a decorative Mac Clock into a working miniature Macintosh emulator. It combines an authentic enclosure with a compact single-board computer and a small color LCD to produce a tangible object that both looks and behaves like a tiny classic Mac within clearly defined limits.
The value is twofold: visual fidelity inherited from a professionally manufactured enclosure, and the technical story the build forces you to tell about power, thermal, and software constraints.
Those constraints define whether the artifact is playful curiosity, a learning tool, or a frustrating exercise in forced fit.
Definition – What Wondermac Is
Wondermac is a modified Mac Clock that houses a Raspberry Pi Zero W and a Waveshare 2.8-inch 640-by-480 display, running a lightweight Macintosh emulator. It uses two specific hardware interventions to provide stable 5-volt power and to mechanically integrate the Pi and display into the original bezel.
Disassembly And Making Space
Opening the Mac Clock requires a careful bottom pry to release clipped tabs and then unplugging two wiring harnesses for power and the touch sensor. The original layered display assembly includes a diffuser, LCD, and curved lens, which are important optical elements but not electrically compatible with the new display panel.
How The Original Screen Limits The Swap
The stock display’s backlight is driven from the clock PCB, so the panel is not directly usable with the Pi without driver work. Reusing the curved lens keeps the look, but forces compromises in active area and framing when placed over a different controller-driven display.
Hardware Choices And The Tradeoffs They Create
Choosing components for a sealed, fanless enclosure is an exercise in tradeoffs. Compactness, heat, driver support, and cost all point in different directions, and the builder prioritized a tidy visual result and predictable operation over raw performance.
Why A Raspberry Pi Zero W
The Raspberry Pi Zero W was selected because it is compact, inexpensive, and low power, which suits an enclosed, fanless project. The Zero W runs lightweight emulators well, but performance and compile times are limited compared to higher-end single-board computers.
Quantified context from the build: compiling the heavier Snow emulator on the Zero W took about six hours before failing to produce a usable result, while compiling Mini vMac from source succeeded in minutes. That contrast highlights how quickly software demands outrun tiny hardware.
Display Fit And Optical Compromises
The Waveshare 2.8-inch 640 by 480 panel plugs into the Pi header and is held by a custom 3D bracket. Centering the new panel behind the Mac Clock’s curved lens preserves aesthetics but blocks part of the active area, an issue that is visually noticeable on a small 640 by 480 screen.
Mechanical Integration Choices
A black 3D printed bracket secures the Pi and display, preserves the original brightness dial as a cosmetic post, and lets the curved lens sit over the new screen. The black print minimizes seams and keeps the visual illusion intact, at the expense of some original controls becoming purely decorative.
Software And The Emulation Tradeoff
Software setup centers on Raspberry Pi OS, enabling Wi Fi, SSH and VNC, and adding Waveshare-specific driver lines to config.txt. The decisive choice is which Macintosh emulator to run, because that determines what the Pi can realistically sustain.
Two emulator paths were explored. Snow is modern and feature-rich, but too demanding for the Zero W in practice. Mini vMac is older and much leaner, and compiling a newer beta on the Pi produced a usable emulator. Simplicity won where raw horsepower was scarce.
Operational Tweaks That Matter
Disabling the Pi’s on-screen keyboard after enabling the touchscreen, and configuring the emulator to autostart, are small operational choices that significantly improve the out-of-the-box experience.
These steps turn the device into a plug-and-play desktop curiosity rather than a development box.
Two Hardware Hacks That Make It Work
The build depends on two concrete interventions that move the Mac Clock from novelty to usable machine: a power rewire to get a stable 5 volt rail, and a custom bracket to integrate the Pi and display mechanically while keeping the original lens.
- Power Rewire: The Mac Clock USB-C board includes a battery charge controller that prevented a clean 5-volt output. The builder removed the charge controller and patched raw 5-volt input to the board output so the Pi receives a stable 5 volts. This is delicate and involves desoldering and repairing PCB traces.
- Mechanical Bracket: A 3D printed bracket holds the Pi Zero W and Waveshare display in the bezel, aligns the panel behind the curved lens, and repurposes the brightness knob as a cosmetic element. Printing in black reduces visible seams and preserves the classic look.
Both hacks are straightforward for someone comfortable with basic soldering and 3D printing, but the power rewire is the riskiest operation. An alternative is routing a power cable through the rear housing to feed the Pi externally, which avoids soldering but reduces the seamless appearance.
Power, Cooling, And Reliability Considerations
No active cooling was added, and the Pi Zero W is low power, but the sealed enclosure traps heat. The builder added a heatsink to mitigate thermal accumulation. Without active airflow, heat can matter over long sessions and affects reliability during extended emulator use.
Cost is another reliability factor. The parts plus the Mac Clock came to about 100 US dollars in the build report. That positions Wondermac as an affordable maker project, but parts availability can change the cost and require substitution work.
Practical Limits And What Determines Success
Wondermac works well inside a defined window: accept a small, low-resolution screen, modest CPU performance, and basic soldering to secure a clean power feed. Outside that window, build time and thermal issues increase and the experience can shift from charming to frustrating.
Two thresholds matter most: compile and runtime performance for emulators, and clean 5-volt power delivery. Heavy emulators and modern GUI layers multiply compile time and heat, while the stock USB-C board will not provide a usable 5-volt rail without modification or an external power lead.
Raspberry Pi Zero W Vs Higher Power Boards
Choosing the Zero W favors compactness and low cost, but limits what emulation and software tasks will run comfortably. Higher power boards provide faster compile times and smoother runtime for feature-rich emulators, but they cost more, generate more heat, and may require additional space and cooling inside the Mac Clock chassis.
Mini vMac Vs Snow
Mini vMac is older, smaller, and easier to compile and run on constrained hardware like the Zero W. Snow is modern and feature-rich but demands more CPU and memory. The builder succeeded with Mini vMac; Snow proved impractical on the Zero W in this build without access to faster hardware.
Reassembly, Aesthetics, And The Decisions Left On The Table
The finished Wondermac snaps back together using the original screws and the printed bracket. Internal trimming helps the panel seat correctly and the lens to align, and the result preserves the silhouette and bezel proportions that make the object read as a miniature Macintosh.
What The Cosmetic Choices Buy You
Keeping the original lens and bezel preserves the vintage look at small scale.
For many makers the visual payoff is worth inactive knobs and a slightly occluded display area. The aesthetic buys an immediate emotional response that a custom enclosure rarely delivers.
What They Leave Unsolved
Several extension points remain open: wiring the fake floppy disc to toggle Pi power, routing the disc slot to act as SD card access, or reconnecting original buttons to GPIO. Each upgrade adds mechanical and reliability complexity, so they are worthwhile only if you accept the tradeoffs.
Where Wondermac Fits In The Wider Maker Scene
Wondermac exemplifies a broader maker pattern: reuse a well-made enclosure and design electronics and software to fit inside it. The result often feels more intentional than building everything from scratch, because you inherit the design decisions that made the object desirable.
That pattern scales to other retro-inspired desk toys and consumer devices, but success depends on clear upfront constraints: cost floor, thermal ceiling, and which cosmetic compromises you will accept. The smartest builds match internals to the enclosure’s implied promise.
Who This Is For And Who This Is Not For
Who This Is For: Makers who value design authenticity, learning about power circuitry and thermal limits, and who want a tactile desktop artifact that boots into a classic Macintosh emulator. It is ideal if you are comfortable with basic soldering and 3D printing adjustments.
Who This Is Not For: Anyone expecting modern Mac emulation performance, or a productivity device that can handle heavy workloads.
If you want high resolution, frequent compile cycles, or long runtime under heavy load, consider a larger single-board computer and provisions for active cooling.
Next Steps And Small Wins
Practical upgrades that preserve the core aesthetic include adding a proper power toggle via the fake floppy, mapping buttons to GPIO, adding basic sound, and driver tweaks to center or crop the framebuffer so the lens does not obscure active pixels. These are small engineering stories that improve day-to-day use without changing the design language.
FAQ – Frequently Asked Questions
What Is Wondermac?
Wondermac is a maker project that converts a commercial Mac Clock into a working miniature Macintosh emulator by installing a Raspberry Pi Zero W, a 640 by 480 Waveshare display, and performing two hardware hacks for power and mechanical integration.
How Does The Power Rewire Work?
The builder removed the Mac Clock’s battery charge controller and patched raw 5-volt input to the board output so the USB-C port supplies a stable 5 volts to the Pi. This involves desoldering and careful trace repair. An external power cable routed through the rear is a safer alternative.
Is The Original Mac Clock Display Reusable?
Not without driver and backlight work. The original display is driven from the clock PCB and its backlight is integrated, so the builder replaced it with a Waveshare panel while retaining the curved lens for aesthetics.
Can Wondermac Run Modern Mac Emulators?
On the Raspberry Pi Zero W used in this build, modern and feature-rich emulators like Snow proved too demanding. Mini vMac, a lightweight emulator, compiled quickly and ran well. For heavier emulation you will need a more powerful board.
How Much Does It Cost To Build A Wondermac?
The builder reported parts plus the Mac Clock costing about 100 US dollars. Prices will vary with part availability and substitutions, so treat that figure as a rough cost boundary rather than a guarantee.
Does Wondermac Need Active Cooling?
The project runs without a fan, but the builder added a heatsink because the sealed plastic enclosure traps heat. For extended or heavy use, active cooling would improve thermal stability and reliability.
Where Can I Find The Project Files And Models?
The article points readers to the original builder for project files, 3D models, and software instructions. If specific links are not available from the builder, try maker project archives or community repositories for similar bracket designs and driver notes.
Is It Hard To Restore Button Functionality?
Reconnecting original buttons to GPIO and mapping them to emulator inputs is possible but requires space, wiring, and software changes. It is a practical upgrade for someone comfortable with electronics and GPIO configuration.
COMMENTS