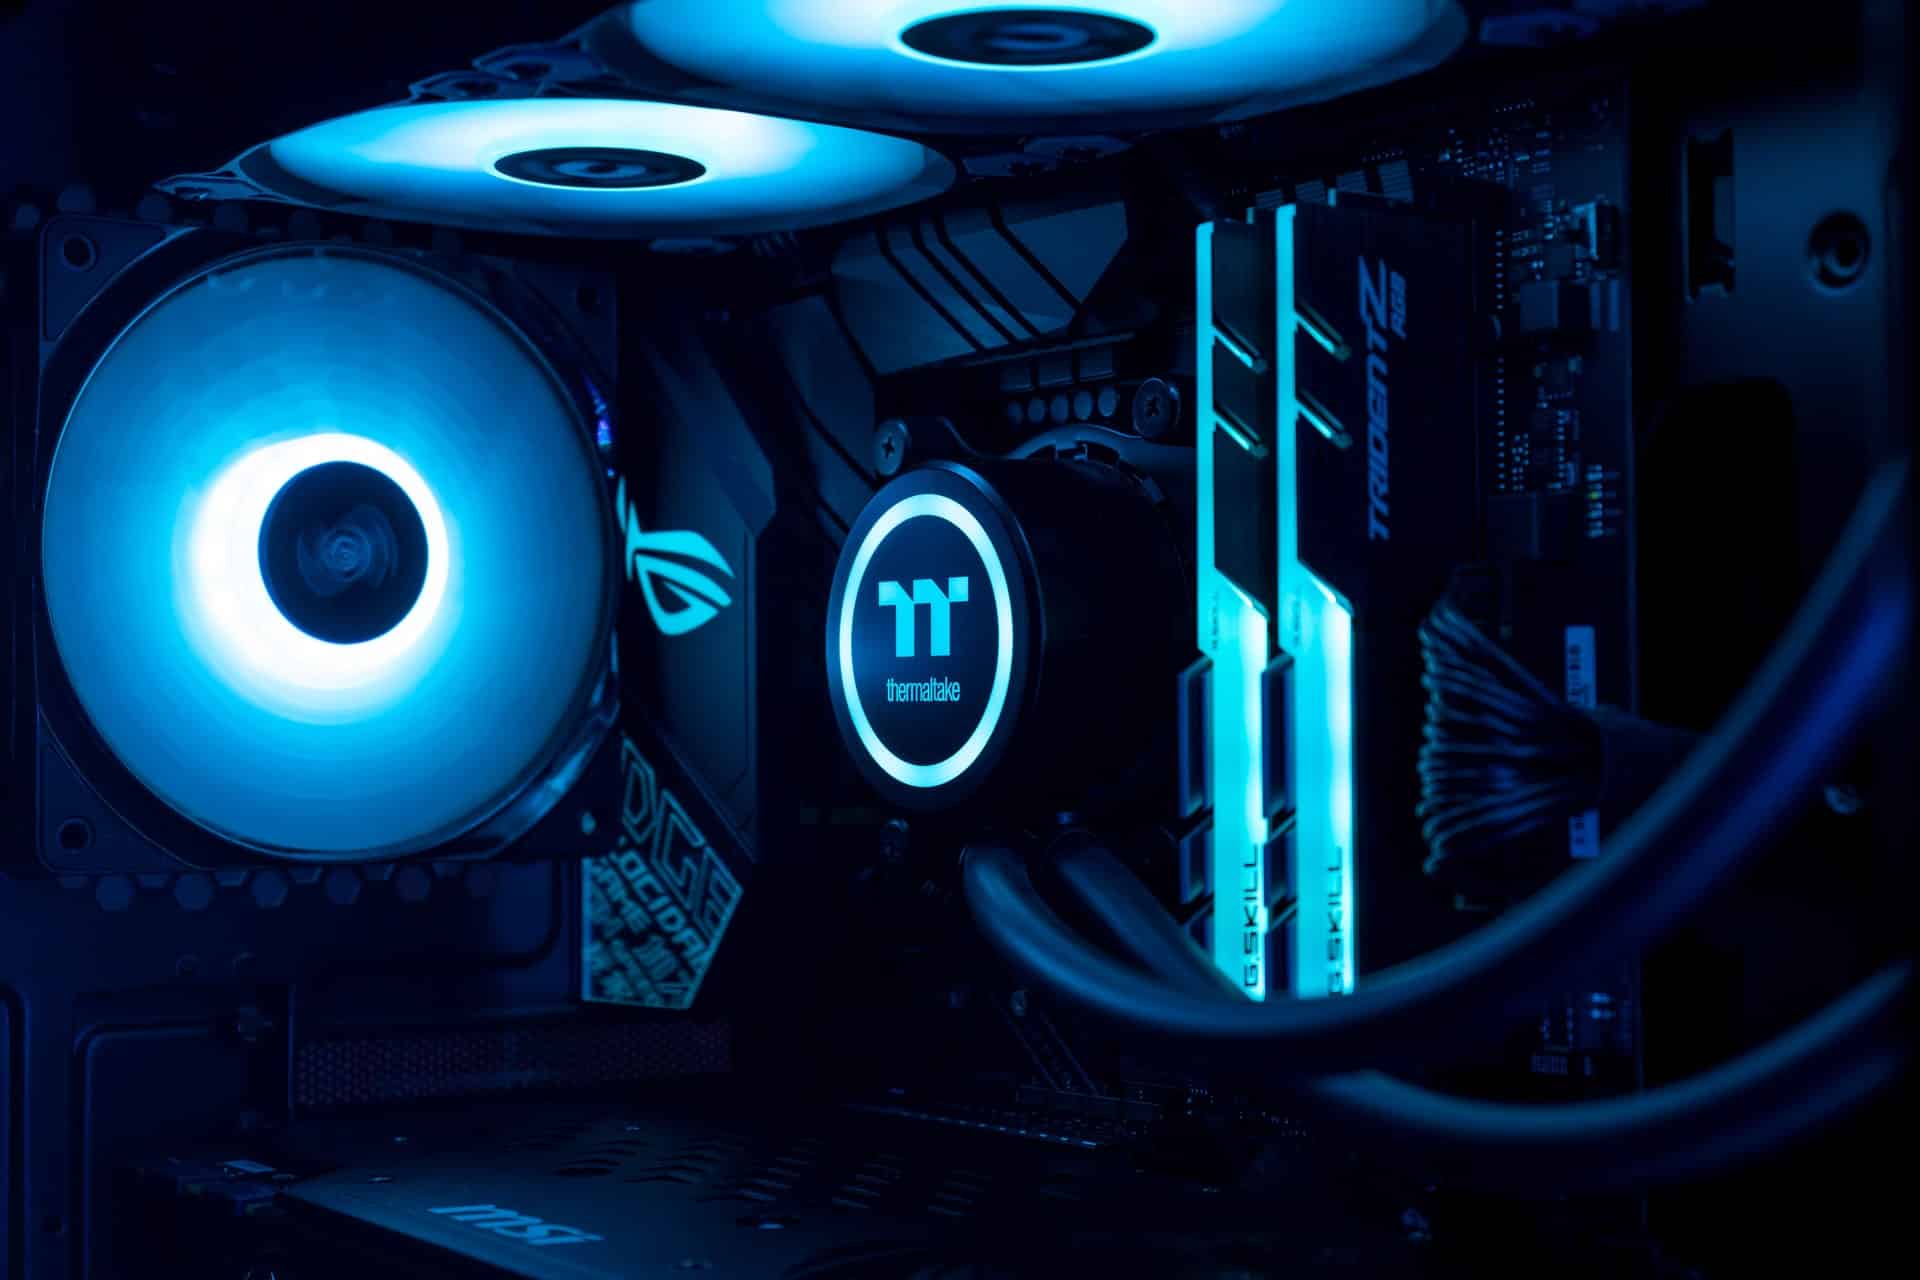
There is no bigger satisfaction for a true gamer than to play a AAA game on high-quality settings without any lags and drops in FPS. Most gamers believe only three things are needed to run such demanding games at a good FPS.
- The latest Intel/AMD CPU with good clock speed and a high number of cores.
- A decent amount of RAM (16 GB or higher).
- The latest NVIDIA/AMD Graphics Card with a decent amount of Video RAM (2 GB or higher).
But this is not the case in reality. You can have all of these things but still not get good in-game performance and picture quality. If you’re using an NVIDIA Graphics Card then the reason behind this is you haven’t optimized the NVIDIA Control Panel for the best gaming performance.
In this guide, we’ll share the perfect settings for your NVIDIA Control panel that increases your FPS, reduces input lag, improves the visual quality, and unlocks the true potential of your NVIDIA Graphics card.
IMAGE: UNSPLASH
The Perfect NVIDIA Control Panel Settings
Before I share the different settings, you must update the NVIDIA Graphics Card drivers. The easiest way to do it is by downloading the NVIDIA GeForce Experience. Once you’ve downloaded and installed the NVIDIA GeForce Experience, click on the Download button under the Automatic Driver Updates section. This will download a program that detects your Graphics card model and automatically installs the appropriate driver for you. Restart your computer to apply the changes.
Now that you have the latest drivers installed you can follow through with the Control Panel Settings. Right-click on the home screen of your computer and open Control Panel.
3D Settings
The first option inside 3D settings is the Adjust Image Settings with Preview. Simply select the second option Use the advanced 3D Image Settings and press the Apply button. This makes live streaming-based games run at a higher graphic performance.
Manage 3D Settings
This is the most important setting and we will tweak each sub-setting inside this.
Image Sharpening
This setting increases the overall sharpness of images and enhances the visual quality of the games. This option should be turned ON for the best image quality. Select the Sharpen level to 0.5 and the Ignore film grain to 0.17. Also, enable the GPU Scaling option. Click OK to apply the settings.
Ambient Occlusion
This setting improves the depth perception and adds realism to the in-game scenes. This also provides a soft shadow for images inside the game. This setting should be turned ON and selected to Performance.
Anisotropic Filtering
This setting improves the overall image quality by eliminating all kinds of blurred textures that appear at certain camera angles. The setting for this option should be Application Controlled.
Antialiasing FXAA
This setting improves the in-game visuals and reduces the performance effect on other aliasing settings. This should be turned OFF.
Antialiasing Gamma Correction
This improves the visual quality of 3D images by enabling Gamma correction for antialiasing. This setting should be turned ON.
Antialiasing Mode
This setting allows you to determine how antialiasing is applied in your 3D applications. Select this to Application-controlled.
Antialiasing Transparency
This setting allows you to minimize the visible aliasing on the edges of images with transparent textures. This should be switched OFF.
CUDA GPUs
This allows you to select the applications where CUDA cores are used. This should be selected to All.
DSR-Factors
DSR or Dynamic Super Resolution enhances the image quality by rendering images at high screen resolution. This setting decreases your FPS and increases Input Lag. This setting should be turned OFF for better performance.
Low Latency Mode
This setting reduces latency by limiting the number of frames the CPU can prepare before the frames are processed by the GPU. This should be turned ON for higher FPS and lower Input lag.
Max Frame Rate
This setting limits the FPS of the games to a certain number beyond which the FPS cannot go. This setting should be turned OFF for better performance.
Monitor Compatibility
This setting selects the technique used to control the refresh policy of an attached monitor. It is only applicable if you’re using an external monitor. For laptops, this is turned OFF by default. For desktops, select G-Sync Compatible if available or else select Fixed Refresh Rate.
Multi-Frame Sampled AA
This setting makes overall sample patterns irregular by re-programming the coverage sample locations. This setting reduces the FPS of games. You should turn this OFF for better performance.
OpenGL Rendering GPU
This setting allows you to select the GPU for running OpenGL applications. This setting should be selected to your NVIDIA Graphics Card.
Power Management Mode
This feature allows you to select the Graphics Card’s performance level when running Games and 3D applications. This should be selected to Prefer Maximum Performance.
Preferred Refresh Rate
This setting allows you to override the refresh rate in full-screen applications. This option should be selected to Highest Available for the best image quality.
Shader Cache
This setting reduces the CPU usage by reducing completed shaders to a disk cache. Turn this option ON for best performance.
Texture Filtering – Anisotropic Sample Optimization
This setting limits the number of anisotropic samples used based on texture pixel size. This setting should be turned ON.
Texture Filtering – Negative LOD Bias
This setting is used to sharpen stationary images and enable texture filtering. This should be set to Allow.
Texture Filtering – Quality
This feature allows you to set the texture filtering to Quality, Performance, or Balanced. You should switch this setting to High Performance.
Texture Filtering – Trilinear Optimization
This setting allows Texture filtering performance by allowing bilinear filtering on textures. Turn this option ON for better performance.
Threaded Optimization
This setting allows you to use multiple CPU cores. You should turn this setting to Auto.
Triple Buffering
This setting allows triple buffering for games and other OpenGL applications. Turn this setting OFF.
Vertical Sync
This setting controls how the GPU render rate interfaces to the refresh rate of a monitor. You should turn this setting OFF.
Virtual Reality Pre – Rendered Frames
This setting limits the number of frames the CPU can prepare before the frames are processed by the GPU. This setting should be selected to 1. After applying all of the settings click on the Apply Button.
Configure Surround, PhysX Settings
Leave the Surround Configuration as it is. No need to mess with that. Inside PhysX Settings, click on the drop-down menu and select your NVIDIA Graphics Card. Once done, simply click on the Apply button.
Display Settings
Here we will adjust various options that affect the display of your laptop or desktop monitor.
Change Resolution
Select the highest possible Screen Resolution under Resolution section. Similarly, select the highest possible Refresh Rate under the Refresh Rate section.
Scroll down below and select Use NVIDIA Color Settings. For the different sub-settings, select Desktop Color Depth to Highest(32-bit), Output color format as RGB, and Output dynamic range as Full. Click on Apply to save the settings.
Adjust Desktop Color Settings
Scroll down below to Apply the Following enhancements section. Under this section, increase the Digital Vibrance to 80%. This makes the colors appear more saturated and vibrant. Keep the rest of the settings as it is and click on the Apply button.
Rotate Display
Choose the Orientation to Landscape and click on the Apply button.
View HDCP Status
Nothing to change here. Use the default settings.
Set Up Digital Audio
Again, keep all the settings as default and don’t change anything.
Adjust Desktop Size And Position
Select Scaling Mode to No Scaling and adjust the Screen Resolution and Refresh Rate to the highest possible settings. Once you’re done with that click on the Apply button.
Video Settings
Here we will adjust the Video Color settings that allow us to enhance the color settings for the video content of the display.
Adjust Video Color Settings
Under How do you make color adjustments section, select the second option With the NVIDIA settings. After that, click on the Advanced tab and increase the Dynamic Range to Full (0-255).
Adjust Video Image Settings
Keep all the settings to Default and don’t change anything. Click on the Apply button to save all the changes. After you have applied each and every setting, restart your computer to apply all the changes.
These settings are set back to default once you update your driver again. You have to change the settings after every new driver update.
That is all about the guide to tune your NVIDIA Control Panel Settings for the best possible performance while playing AAA games. You can also increase the performance of your GPU by overclocking it. If you want to read tutorials on them make sure to check out The Shared Web.
Conclusion
This guide provides a thorough explanation of all the NVIDIA Control Panel settings needed to optimize your NVIDIA Graphics Card, perhaps to play online (online casino bonus code). This is only applicable to NVIDIA GPUs. You can use the AMD Pro Control Center for fine-tuning your AMD Graphics card.
If you have any other questions feel free to comment below.
If you are interested in even more technology-related articles and information from us here at Bit Rebels, then we have a lot to choose from.


COMMENTS