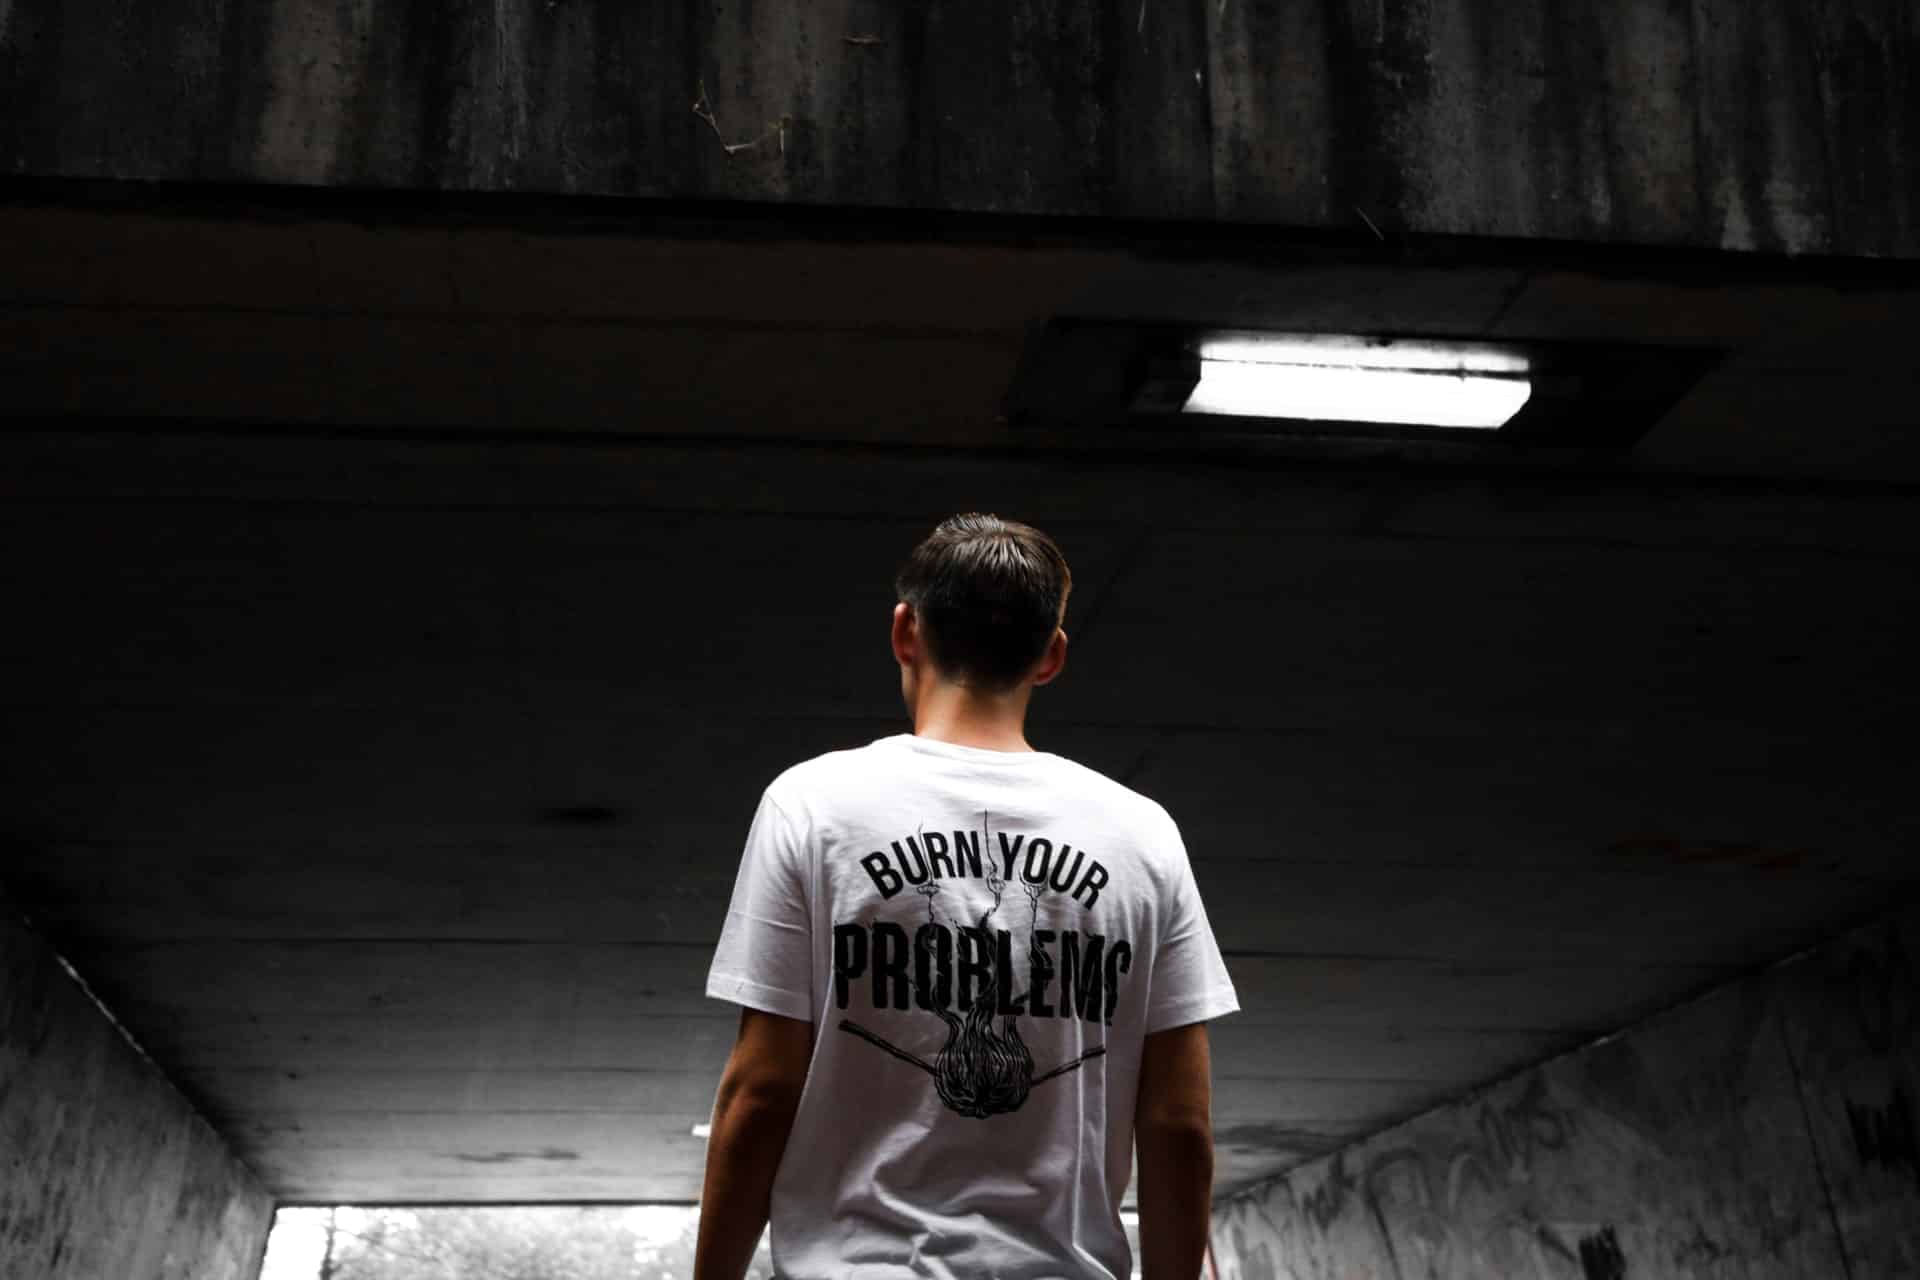
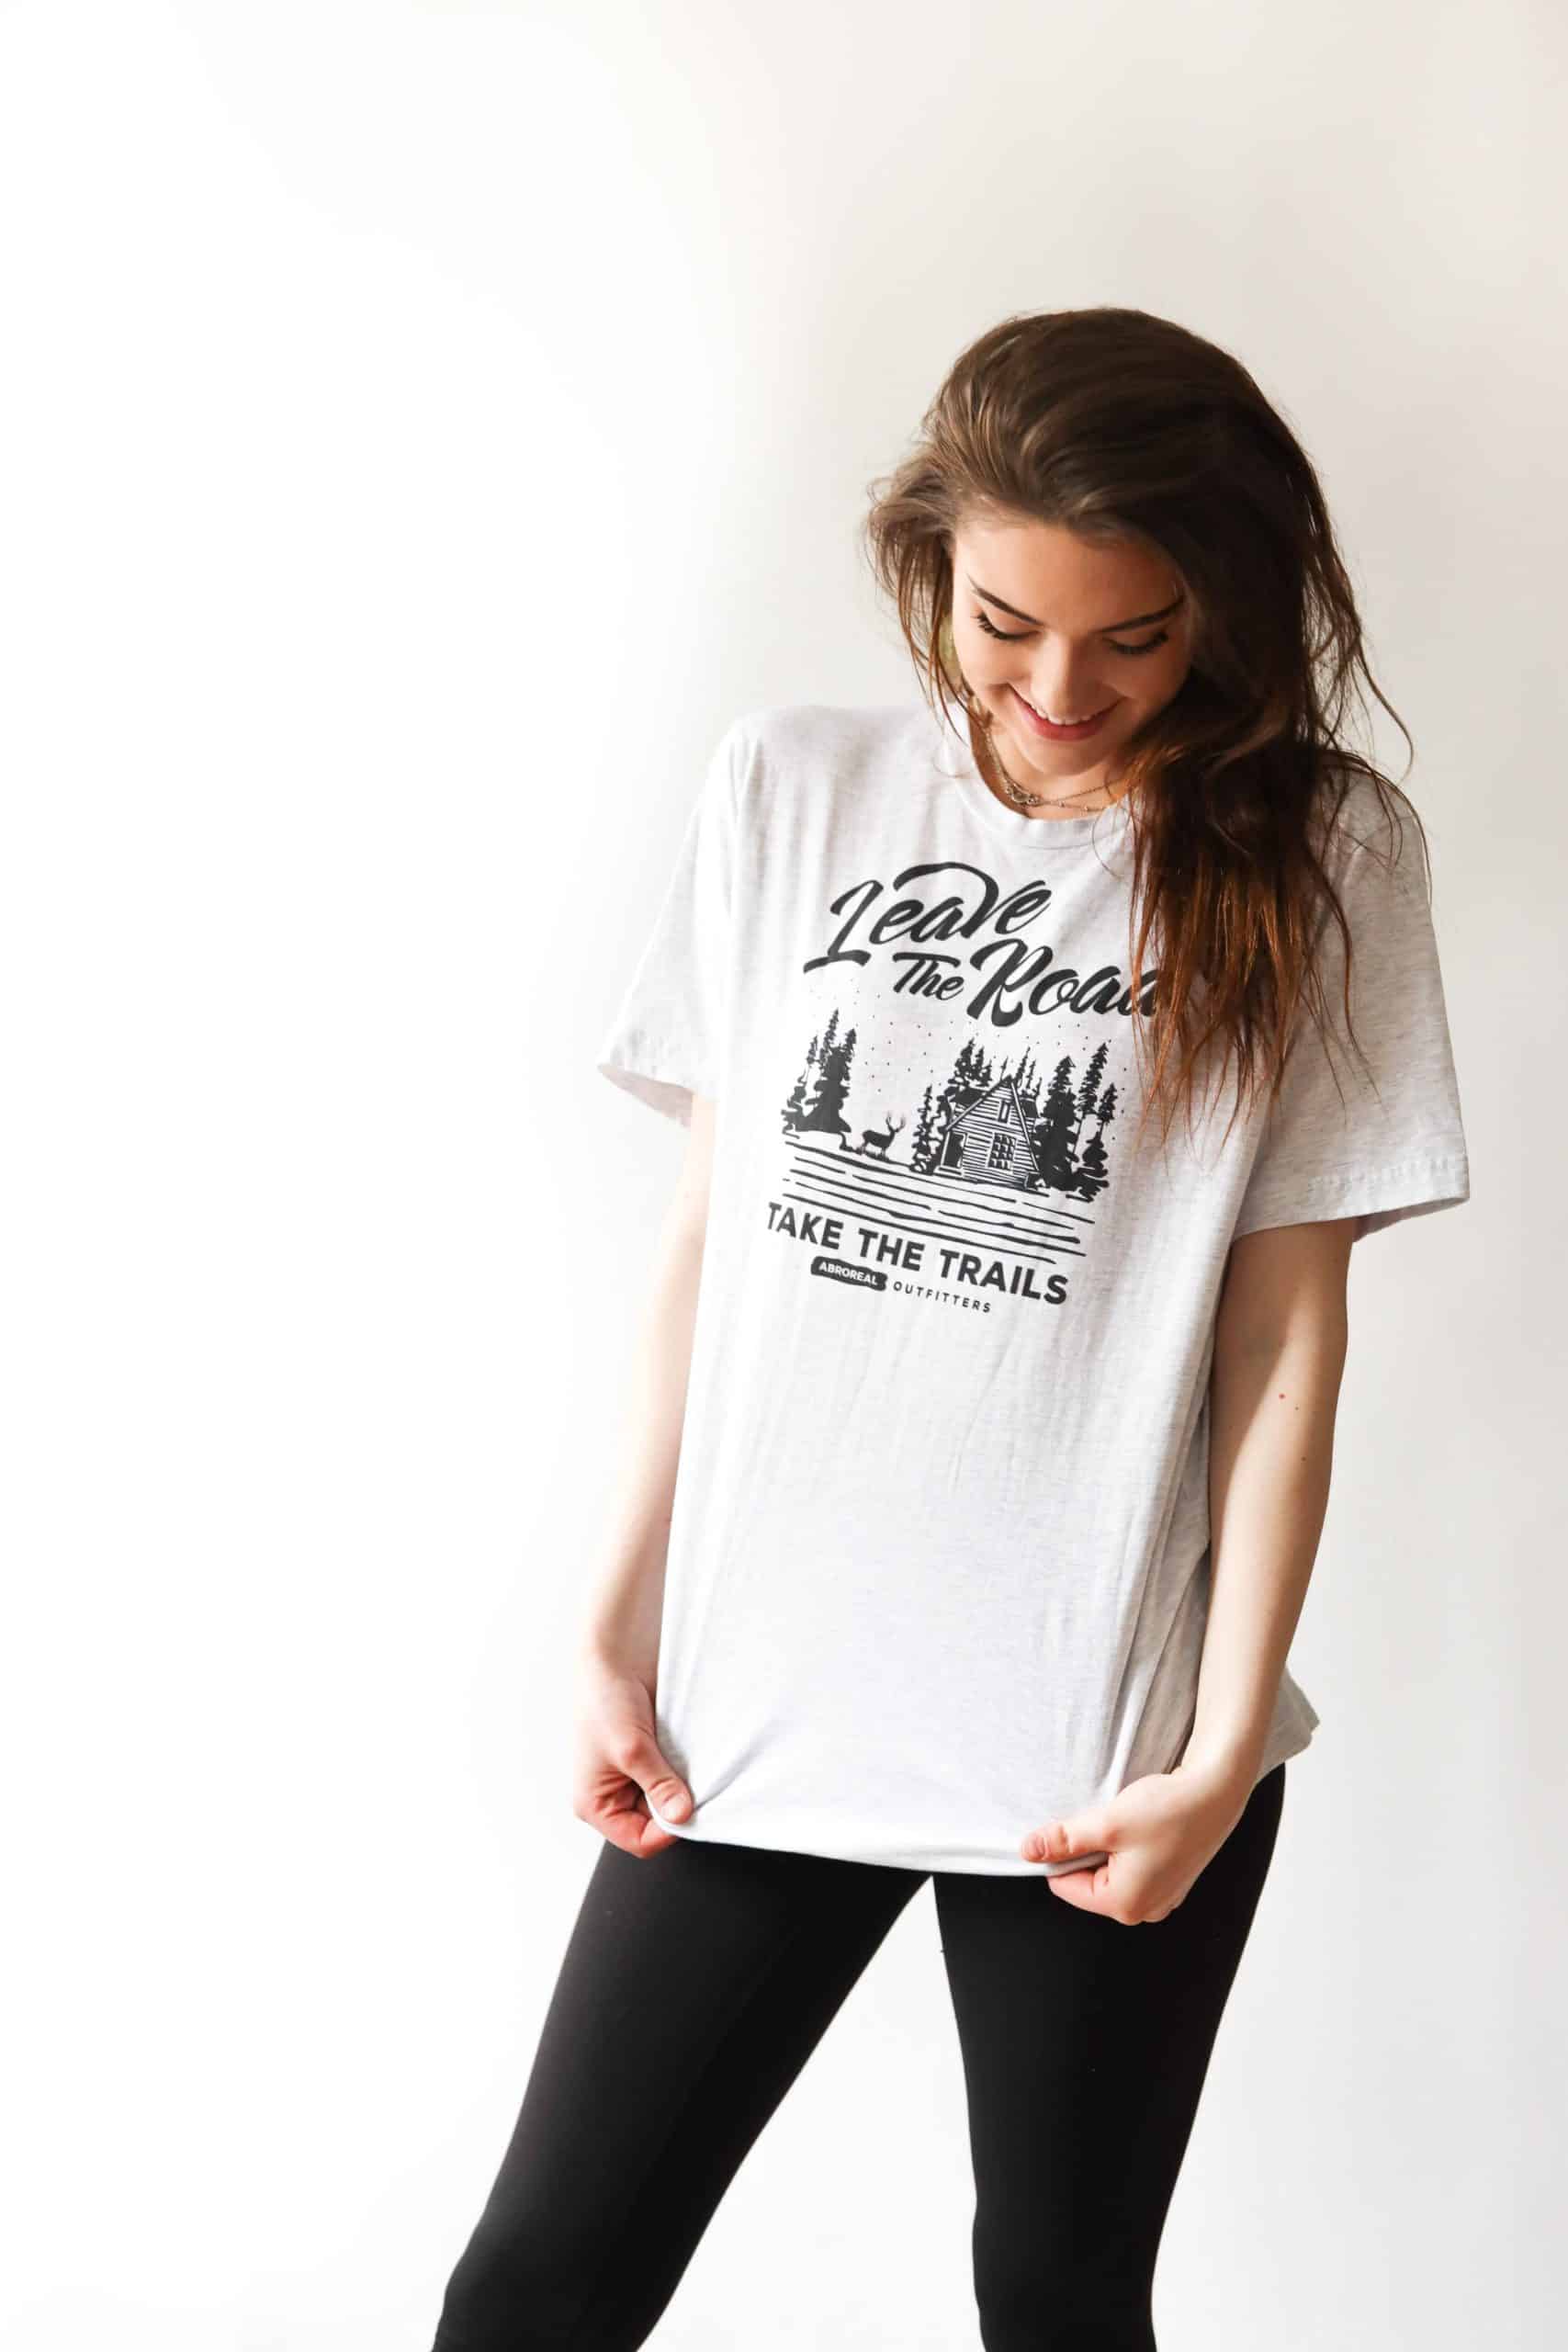
Whether you’re looking for ways to promote your business, commemorate a special event, or make some extra income, designing your shirts can be a creativity-stimulating activity for your household or team of employees. For most shirt wearers, a favorite shirt is a way to express one’s personality, while for others, a t-shirt is a free advertising strategy.
Regardless of your intention, the t-shirt design printing fundamentals remain the same. Depending on your budget, you can design your ideal shirt at home, print it yourself, or purchase a professional printer. Whichever path you choose, this ultimate guide overviews crucial t-shirt design tips to help you navigate the process, regardless of your experience level.
IMAGE: UNSPLASH
Purpose Of Your Design
The first and most vital step is to figure out what your shirt design is going to represent. Do you intend to advertise your favorite team, rock band, or your company services? Maybe, you’re developing a personal illustration. Ultimately, the purpose of your design will be the backbone of your image or graphic.
If you’re hoping to advertise your company, you’ll need to devote focused attention to its logo, including its placement, clarity, and visibility. A t-shirt meant to represent a sporting team or band will require a thoughtful execution of color schemes and a layout that conveys the band’s style and image. Similarly, a t-shirt designer printing a personal illustration design will need to focus on the shirt’s wearability and how well the rough drafts translate into a final product.
In mass production cases, purchasing wholesale shirts from Shirtspace is a high-quality and affordable option for completing your project. With the support of blank t-shirt retailers like Shirtspace, you can design and print your shirts while still accommodating your budget restrictions.
Add Dimensions
The next step is adding dimensions to your design. For those designers intending to transform a standard image to suit your needs, you may want to use high capacity software such as InDesign, Adobe Photoshop, Paint Shop Pro, or Adobe Illustrator for manipulation purposes. If necessary, you can use resizing tools to personalize or customize your shirt based on the requirements.
Pick The Right Color
When it comes to designing your ideal shirt, you’ll need to account for the color contrast. Test different ink colors to see how they appear in the design against a darker or lighter colored shirt. Remember that specific colors look more appealing on a screen than they do when printed. If you choose a dark-colored shirt to accompany your graphic that incorporates a range of dark colors, passersby may struggle to visualize an image. For the highest quality results, adopt a realistic mentality when selecting color contrasts.
When applying color to lighter shirts, avoid using pastel shades like pale pink, light blue, or even yellow. Before incorporating any of these colors into the design, confirm that it’s legible from a far distance. If your design is extremely detailed and you have the budget, you will want to invest in a direct-to-garment printer with high-quality ink to make sure every detail is precise. If you must use pastel colors, be sure to add a darker shade to highlight text or image to make it more readable and visible to your audience.
Depending on the kind of software you use to create your design, remember that some tools offer various color schemes. For instance, Adobe Illustrator provides you with Global Colors settings to enhance your design’s color schemes.
Balance Your Design
Balancing your design involves combining all the elements or select parts to form a whole shirt. With today’s advanced technology, digitally designing and manipulating different graphics is relatively effortless.
However, how hard or easy it is to achieve these results depends on the design’s composition. Perhaps your design has a single large image or includes several smaller images/graphics such as plants, animals, or stars. To ensure that all the elements integrate seamlessly, you’ll need to pinpoint how to make your design more cohesive. A well-balanced design will look more appealing and immediately draw the eye to an image, attracting potential customers, and boosting sales.
Determine Where You Want To Place The Design On The Shirt
It’s also essential to determine where you intend to place the design. Generally speaking, where you position the image will depend on the design’s size and your personal preferences. Maybe the design would work better on the top, center, wrapped around, or at the bottom or of the shirt. If you’re creating a graphic or logo for a company or business, a less complicated design at the center of the t-shirt can help captivate potential customers’ interest.
Wrap-Up
Remember, you can also use the back of the shirt to capture the company brand or convey a band aesthetic. While you’ll want to limit its use, you can print the company slogan or a song lyric written by your client’s band on the back. When designing a custom t-shirt, you’ll want to maximize every inch of the fabric tastefully.
To execute a one-of-a-kind final product, use either paper sketches or computer software to design your shirt. For optimal results, ensure you balance the dimensions, color, and size of the text.
If you are interested in even more design-related articles and information from us here at Bit Rebels, then we have a lot to choose from.


COMMENTS