Do you have many photos on your iPhone such that you cannot take more photos because of storage space? This is a common happening among those who love taking pictures using their phones. No need to worry because there is a way in which you can backup these pictures onto your computer without having to use iTunes. This article focuses on how to transfer photos from iPhone to a computer.
Most people disregard using iTunes for transferring photos because of a number of reasons. First of all, the photos will not be in readable mode after transferring. Secondly, you cannot select the photos in the manner in which you need to transfer them rather iTunes selects that for you. Also, if your photos are in a certain album, they will not appear in the same form on your computer if you are using iTunes. Hence, this makes one want to seek alternative means of transferring photos from their iPhone to computer.
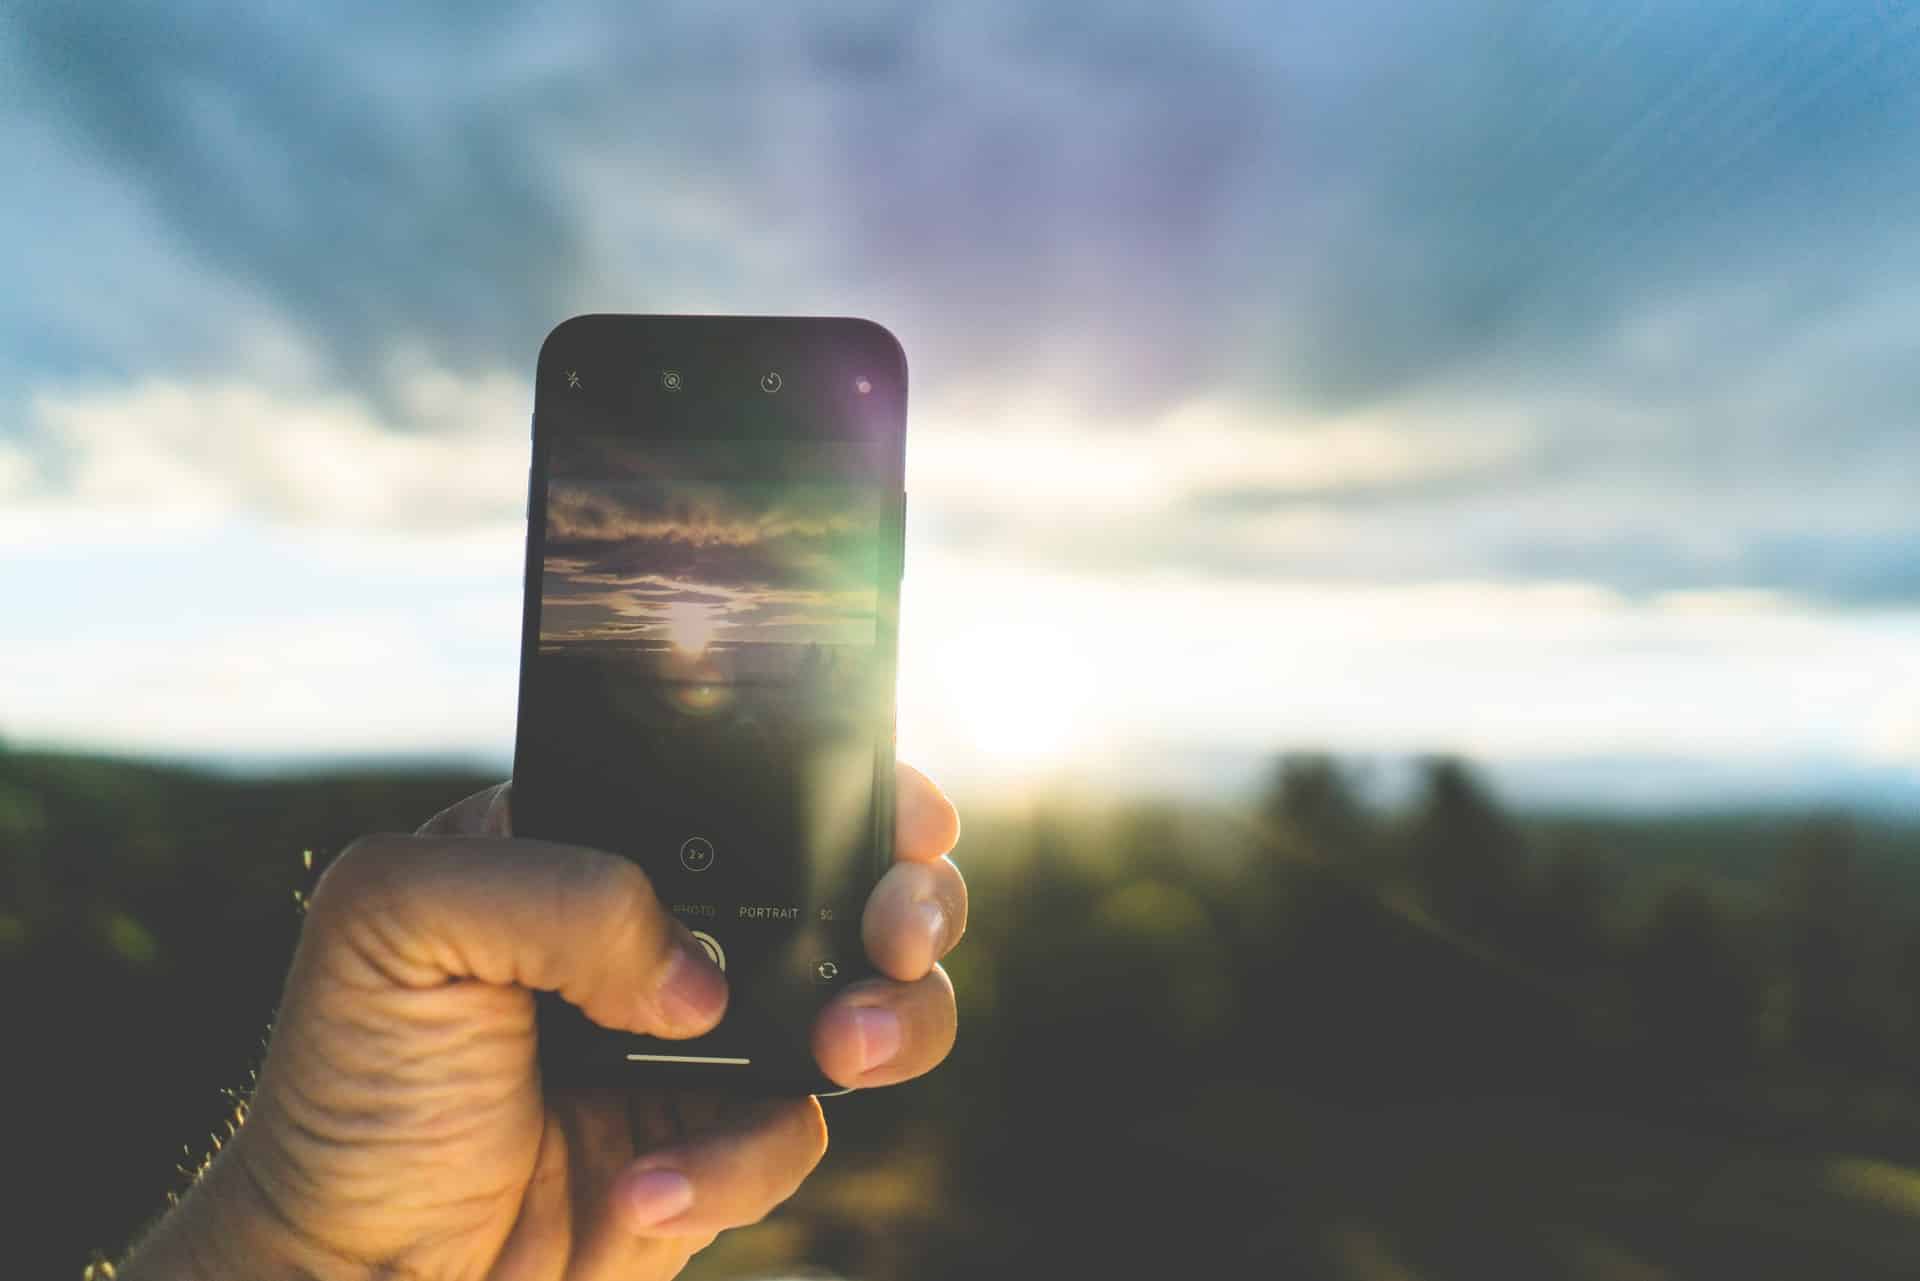
IMAGE: UNSPLASH
Dr. Fone – Phone Manager
There is the Dr. Fone phone manager for iOS that makes transferring photos from iPhone to computer a very easy task. You cannot only transfer photos but also contacts, music, videos and SMSs without using iTunes. It supports all iOS devices in transferring one item or even in bulk, whichever you decide. Hence, it is important to note that if you have this on your phone, installing iTunes is needless. Many users recommend it as the best transfer tool available for use between iOS and computer or android.
How To Transfer Photos From iPhone To Computer Using Dr. Fone
Dr. Fone is an essential and convenient toolkit among iOS users just as we mentioned above. Below are the steps to follow while using it to transfer photos from your iPhone to your computer reliably;
Download Dr. Fone Application
First things first, download the Dr. Fone application on your computer then install it. Three tabs will appear on your screen, choose the one which says ‘phone manager’.
Connect The iPhone To The Computer
Connect your iPhone to the computer using a lightning USB cable. There is a window that will pop up asking you whether you trust the connection. Click on trust then continue.
Device Transfer Photos
Click on the ‘transfer device photos to PC’. At this point, you can take a sneak peek at the items that are on display on your screen including the photos you seek to transfer.
Make Your Selection
Depending on whether you want to transfer individual photos or an entire album, there are options for both selections.
After making your selection, look for the Export button and click on it. A drop down will come into view on your screen. Choose the option ‘Export to PC’.
View Photos
You can now view your photos comfortably from your computer.
Isn’t that easy? I bet it is. You notice that there is no mention of iTunes anywhere but you still get to view the photos on your computer. Once you follow the steps above, then transferring your pictures and any other item that is transferrable is a walk in the park.
How To Transfer Photos From iPhone To PC Without Using Itunes
Not everyone enjoys using iTunes in order to move their photos from their iPhones to a PC such as a laptop or MacBook because of obvious reasons. That is why there are other alternative mechanisms to make this work. The following are different ways on how to transfer photos from iPhone to a computer without using iTunes
Transfer Photos Using Windows Explorer
- To start, link your iPhone to your computer using a lightning USB cable.
- The next thing to do is to make sure that your phone is not locked. Once you connect the cable, there will be a pop up that will need you to give authorization for access to your photos. Accept!
- Open the file explorer window on your computer. Check for any new devices. This is where your iPhone will appear.
- There is a folder on your iPhone which goes by the name DCIM. Here, you will find your photos and other relevant media. Under DCIM, there are other smaller folders such as 100APPLE containing different photos depending on the number of pictures your phone has.
- To transfer the photos, you will need to drag them to your computer or simply create another folder on your computer then copy and paste the pictures there.
Transfer Photos To PC Using iCloud
- You need to first go to the settings on your iPhone and make iCloud discoverable. Thereafter go to iCloud and click on photos. You will see the iCloud photo library. Click on it and then upload. This helps to back up your photos. Remember for this to happen there has to be a Wi-Fi connection.
- On your PC, download and install iCloud for Windows application. It will require your Apple ID login details. Use the same details as the ones you use for your phone.
- There is the ‘photo’ option appearing on your screen. Click on it and it will take you to other options as well. You can now click on ‘download new photos and videos to my PC’. Your photos are now saved to your PC. Anytime you take photos using your iPhone, they will automatically save on your computer through iCloud for as long as there is Wi-Fi.
Final Verdict
Whether you are using a Mac or PC, transferring photos from your iPhone is not a hard process for as long as you put together all the necessary requirements. Using the Dr. Fone phone manager gives you enough insight on how to transfer bulk photos from iPhone to PC and how to import photos from iPhone to PC.
Apart from using iTunes, you can use various methods such as Windows or File explorer, iCloud, One Drive, or Air Drop, whichever suits you. All these methods have their advantages or disadvantages but most importantly they help you know how to transfer photos from iPhone to a computer with ease.
If you are interested in even more technology-related articles and information from us here at Bit Rebels, then we have a lot to choose from.


COMMENTS