I’ve had my Raspberry Pi now for a while, and I am completely mesmerized by how powerful this little thing is. The most impressive thing with this pocket computer is that it can literally power anything. You can basically create whatever you want by using the Raspberry Pi pocket computer as its brain. There have been plenty of projects showcased online, and today it’s time to let you in on the awesomeness. Today we’re going to look at how you build a Raspberry Pi Laptop.
There have been a few projects through the years that have aimed to create a portable computer using the Raspberry Pi as the base. However, most are bulky and not really optimized for mobile use. Usually it is due to the parts used to create the portable unit. The hardest part of any Raspberry Pi project is to find the right parts to incorporate into your build.
This is something that AltLabs is trying to help you with in the Raspberry Pi Laptop build. The video doesn’t really take you through the building of a Raspberry Pi Laptop per say, but looks more into what different parts you can use and where you will be able to find them.
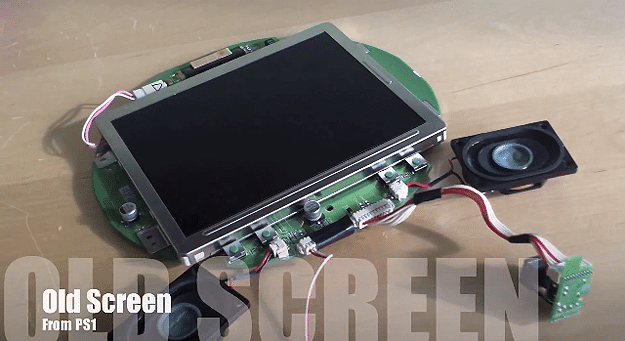
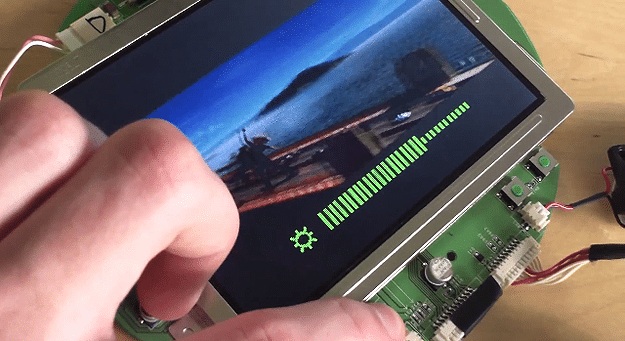
The best part of this video is when they show you that you can actually use the screen from an old PS1 (if you have one laying around that is). The screen is the perfect size and in conjunction with some modification you can probably add a keyboard to it as well. The PS1 screen is perfect because it already has speakers, a power connector and an AV in connector built into the module. All you will basically need to do is take it out of the PS1 console itself. The connection between the Raspberry Pi and the PS1 screen is then quite simple to accomplish.
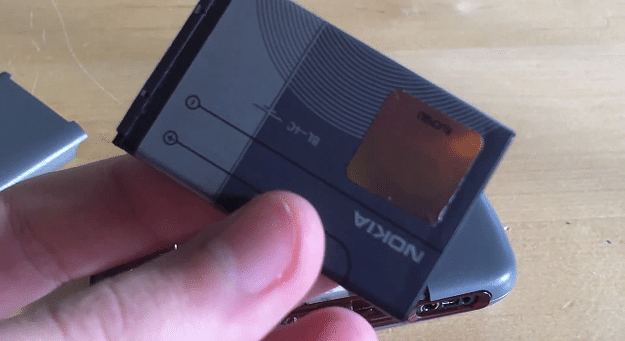
Furthermore, you can use a small rechargeable battery from an old mobile phone to power the Raspberry Pi. With all of the pieces, or better yet, Raspberry Pi accessories mentioned in the video, you can build your very own Raspberry Pi Laptop in a matter of minutes. The connection to the Raspberry Pi itself should be fairly straight forward and the only thing missing would be the case for the laptop itself. Happy building!


COMMENTS