So, you’re interested in Astrophotography but don’t know where to start? Hopefully, I can give you some helpful information and steer you in the right direction. Part of your journey will be dictated to by budget and specific interest, as we shall see. Whilst it’s a complex hobby, you can obtain encouraging pictures from the start. But first let’s define what astrophotography actually is, and then move on to discuss equipment and other factors.
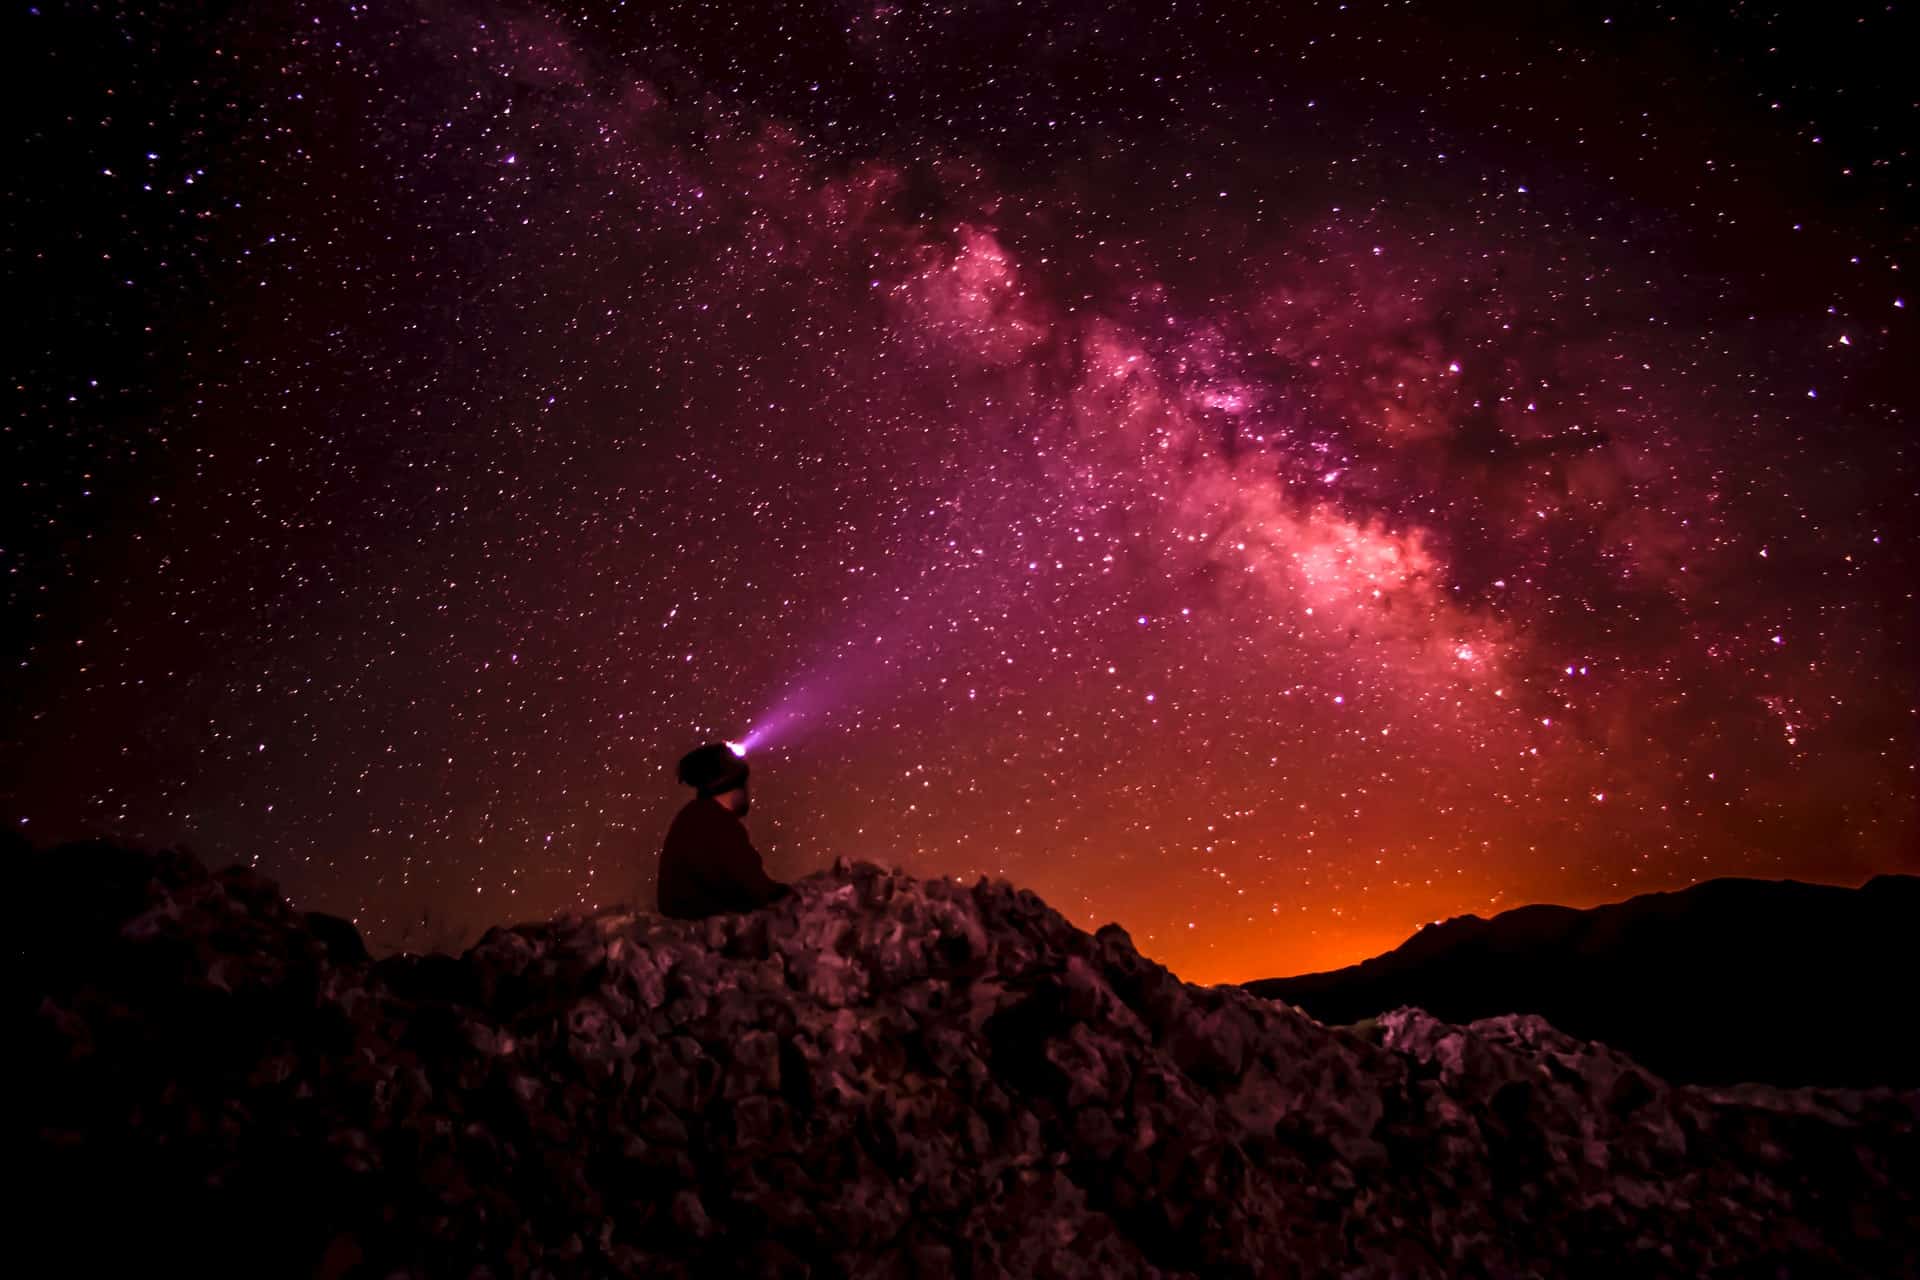
IMAGE: UNSPLASH
What Is Astrophotography?
Astrophotography is a branch of photography that specializes in the night sky. Who does it? Anyone from the layman with a point-and-shoot a camera, to the astronomer using the Hubble telescope! What can you see? Anything from the moon and stars to the Milky Way, distant planets, or nebulae.
Is It Easy?
Prepare for a challenge as you begin to read up on the subject. Try looking up ‘deep-sky imaging setup’ if you don’t believe me! The message here is to be kind to your brain and patient with your learning. There’s lots of information to be found online and the people behind https://www.astronomyforbeginners.com/ state that this information about astronomy is not pitched too high or too technical for beginners.
To be good at bird photography, it’s essential you first study birds. Similarly, with Astrophotography, you need to have a good grounding in Astronomy before you venture out. My advice is: don’t do it alone – join a local club and let other peoples’ experience save you time, money, and trouble.
What Equipment Do You Need?
This will really depend on your budget. A basic DSLR camera (or a mirrorless camera with a manual mode) and a tripod will help you do the job. It will also depend on what you are interested in, be it solar imaging or more. It takes time to build up your array of equipment, because of cost. If money is no object to you, you still need to be careful, as you’ll only know over time how keen you are and what you want to specialize in.
‘What can I accomplish with just a DSLR camera and a stationary tripod?’
You can take pictures of the Milky Way and constellations, the phases of the Moon, night sky time-lapses, and meteor showers. That’s not bad for starters. Also, as you may know, you can buy a star from Starregister as a very special gift for someone close to you. And with a telescope, you can try to find that exact star. How cool is that?
‘Then what next?’
Acquire a wide-angle lens on a tracking mount to get a wider and deeper view of the sky. It’s the least technical end of Astrophotography. With a solar filter you can capture Solar Transit and Solar Eclipses, which is exciting.
‘Can I add a telescopic eyepiece to my camera?’
Yes, for planetary and solar imaging, and for great views of the moon’s surface. If you attach a telescope on a tracking mount to your DSLR camera, you then enter the realms of prime-focus Astrophotography. The focal length will be dictated to by the optical design of your telescope.
Your shutter will need to be open for up to a minute and a half due to the faintness of the distant objects. You will require a 38mm ball-head mount to enable free movement for your camera (independently of the tracker) once it’s in a fixed position. Try wide-angle and medium lenses on your camera and see what results you get.
Telescopes are the next step up – with the basic ones being moved manually by your hand. If you buy a tracking telescope mount and Astrophotography telescope you’ve entered the next level yet again – and paid out more!
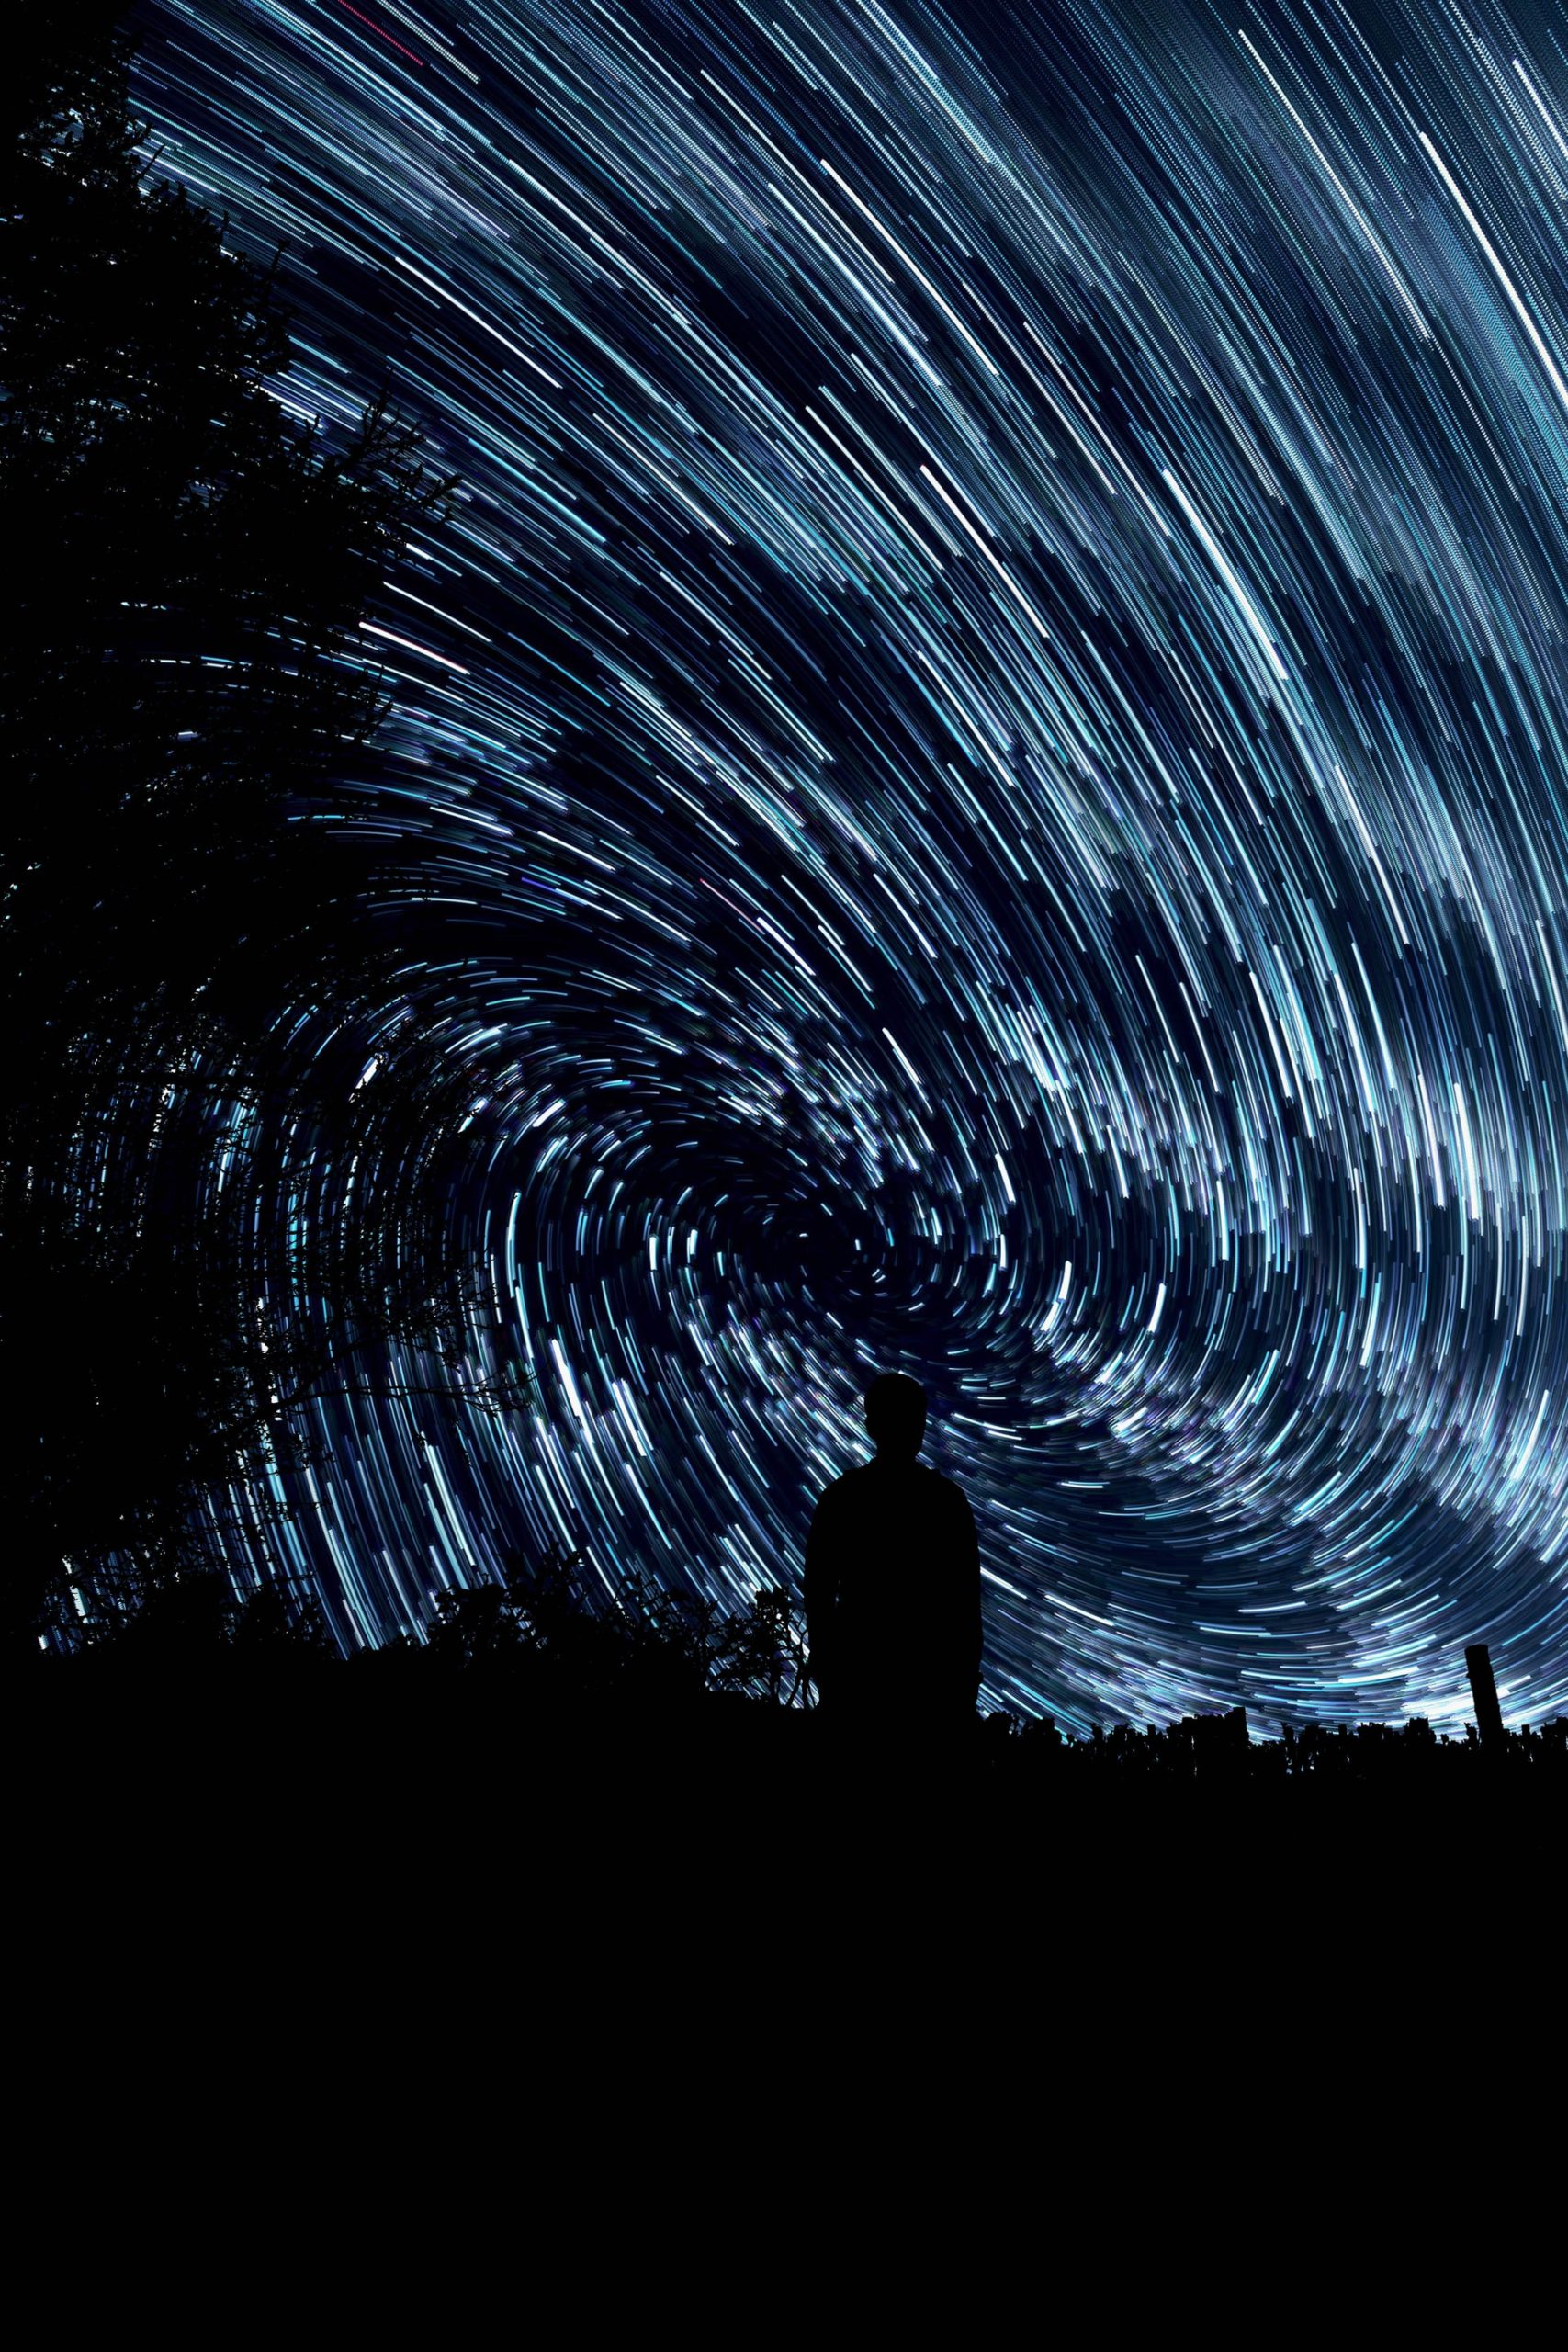
What’s A Star Tracker?
Because you’ll be doing long exposure photography (up to ninety seconds), your camera needs to stay in sync with the stars, or you’ll get trails behind them. This is because mother Earth rotates at almost 1,600km/h. You then aim it at the Pole Star. Begin by looking at the Andromeda Galaxy, the Orion Nebula, and the Perseus Double Cluster. Hours of fun. Guaranteed!
Weather And Where?
You’ll need a clear sky at night (obviously) with no atmospheric turbulence or moisture and dust in the air. You usually get that after rain. Align the tracker and focus your camera on infinity and then switch it to manual focus. Next, you have to perform a polar alignment using the tracker’s built-in polar scope. Keep the tripod level and aim it roughly towards Polaris. Then lock the position of the tracker and aim the camera towards your chosen object. Start with a shutter speed of 30 seconds and then increase it.
Always take pictures in RAW rather than JPEG format. This will mean you can use photo editing software such as Photoshop or Corel to create a lighter and fuller image. You won’t regret it, trust me.
Needless to say, an article this size will serve only to whet your appetite, but I trust it has encouraged you on your way into this highly technical but hugely fulfilling hobby. As previously stated, it’s hugely beneficial to do this journey with others. What could be more fun than receiving time and money-saving tips, and then sharing your work with other like-minded people. In time, you may even be mentoring others – how cool is that.
If you are interested in even more lifestyle-related articles and information from us here at Bit Rebels, then we have a lot to choose from.
COMMENTS