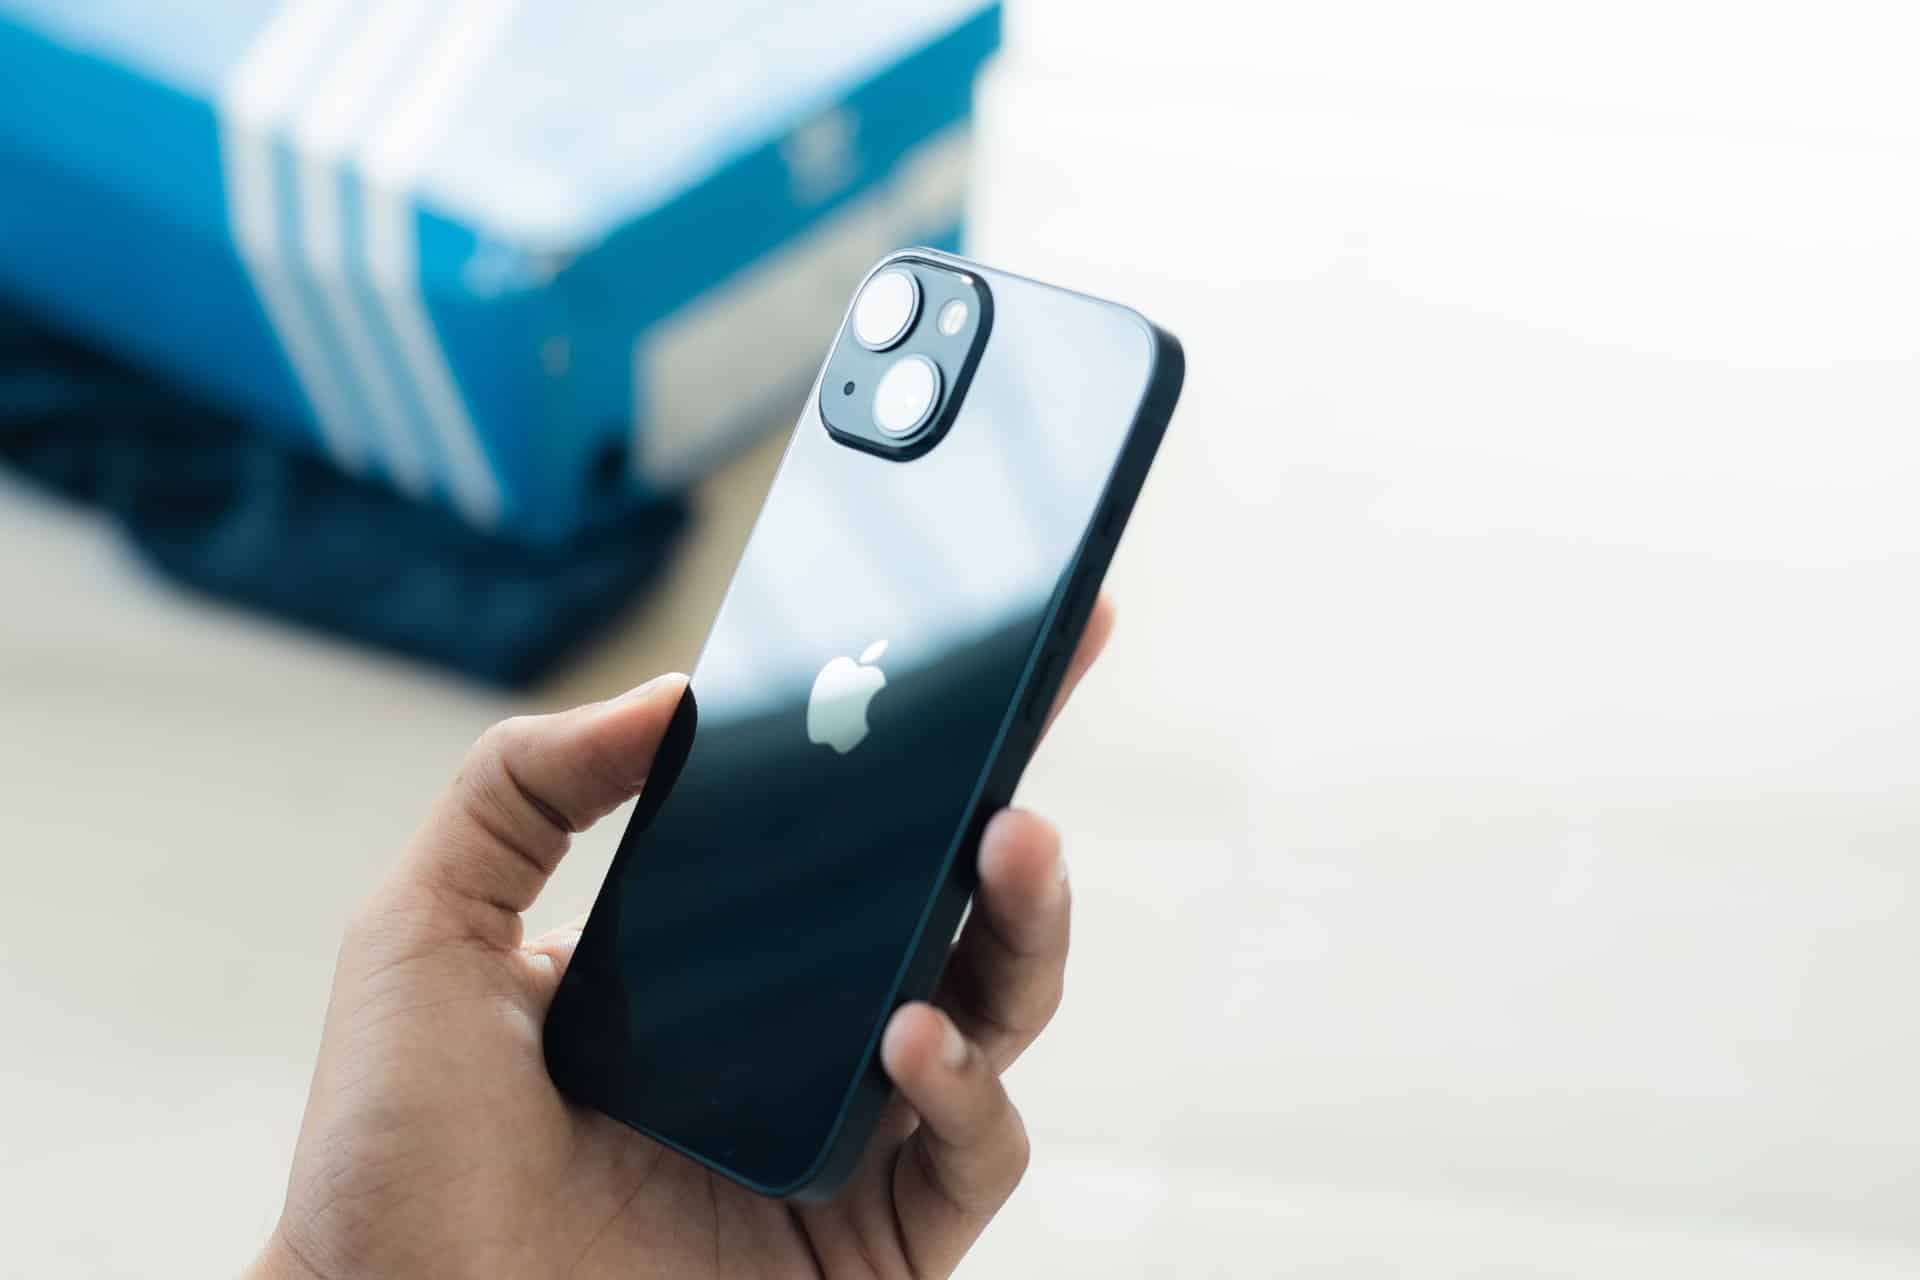
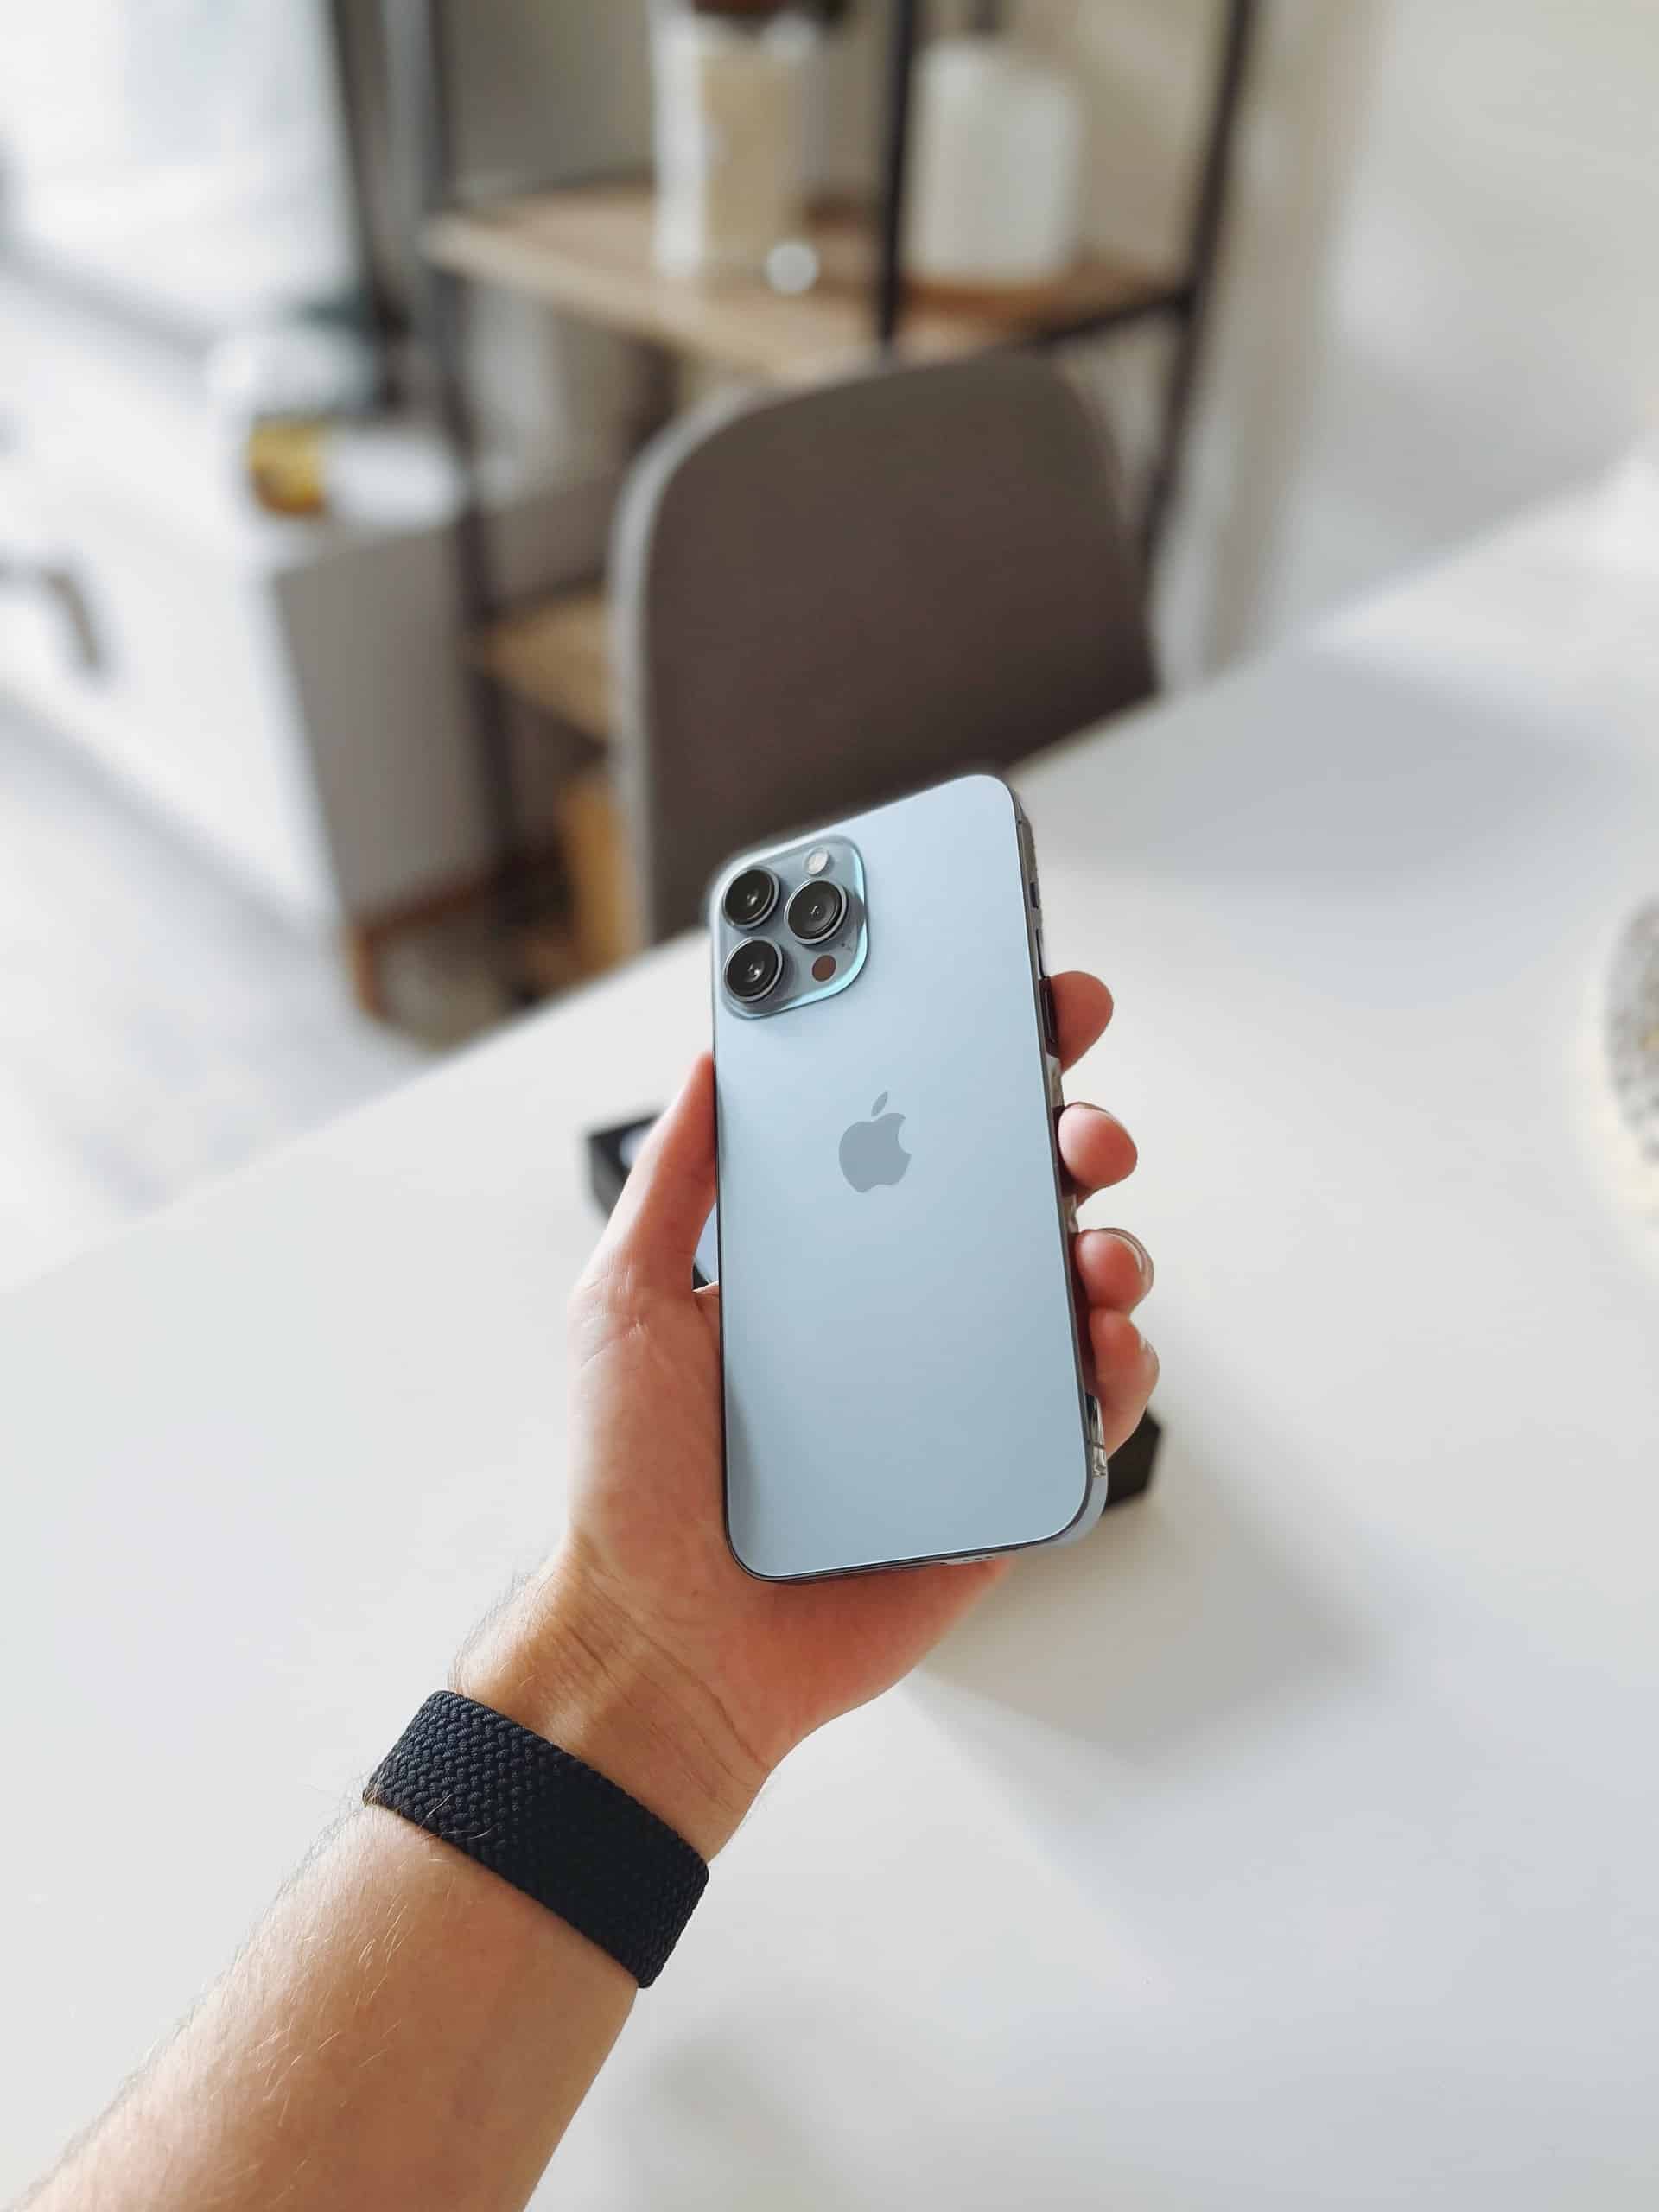
Recently, Apple released its iPhone 13, and it was received very well by the people. There are around 250 million iPhone users around the globe, and as soon as the phone was released, everyone wanted to upgrade. If you have upgraded your phone as well, you must’ve copied all your data from the old one to the new one.
Personal data carries immense value, and its loss can cause a lot of trouble to people. Recovering messages from an iPhone has always been a tedious task. However, we are here to guide you through the process in case you’ve lost your data. Here is a step-by-step guide to recover photos and messages from iPhone 13.
IMAGE: UNSPLASH
iTunes Backup Can Help Out
Most of the time, the data is secured on the device until a rare case like jailbreaking, loss of phone or memory wipeout occurs. If you are an Apple user, you must have some kind of backup enabled on iTunes.
iTunes backup contains almost all of the essential data local to your device. So, if you want to, say, recover photos from your iPhone, iTunes should be able to help you out. Besides photos, it also backs up other types of data like call logs, iPhone settings, messages, keychain data, local files of apps, etc. Here are the steps that you can follow to get your data from iTunes:
- You will need another device besides your iPhone 13 to begin this process. After you have a device, such as a computer, with you, we can start. Initially, you’ll need to connect both devices. If you’ve got a computer on which you have synced your data, then connect it with the iPhone 13.
- After the connection between the two is established, run the iTunes app. Now, click on the iPhone icon that appears on the screen of your smartphone.
- If you have a backup ready to be restored then, simply click on the Restore backup option from the summary tab. However, if you have more than one backup, then you will need to choose the backup. Choosing the latest one is advisable, but you can go for the older ones depending on the data you need.
- After that, iTunes will start restoring the data on your device. It will take some time, depending on your internet speed, to recover the data and make it accessible.
Dr.Fone To The Rescue
Another method, and quite frankly the far better one, is using the tool called Dr.Fone – Data Recovery(iOS) by Wondershare. Its data recovery feature has helped a lot of people out there. It provides great assistance in recovering lost data. With some of the highest iPhone data recovery rates and having support for the latest iPhone13’s iOS 15, you can never go wrong with Dr.Fone.
May it be accidental deletion, system crash, water damage, forgotten password, or even ROM flashing, Dr. Fone is able to recover your data from any scenario. Over a million users have been using Dr.Fone for many other needs as well. It offers every kind of service from transferring phone data to repairing system problems. Here’s how you can use Dr.Fone to recover your data:
Connect Your iPhone 13 With Your Pc
Use a USB cable to connect your iPhone 13 with your PC. After connecting successfully, launch the Dr.Fone application on your computer and choose the “Data recovery” option.
Check For Data
You will then need to scan your iPhone 13 for deleted data. To start scanning, click on the “Start scan” option. The time it takes to scan your phone completely will depend on the amount of data. As soon as you find the data you were looking for, you can stop the scanning process.
Recover The Data
You will now be able to see results in two different categories: deleted data and existing data. You can also filter the items to only show deleted items. Preview the data by clicking on the file type. You can press the “Recovery” button to search and save the file to your device.
Why Do We Recommend Using Dr.Fone Rather Than The iTunes Backup
Although there are a lot of benefits to iTunes, there are a lot of things that can go wrong while recovering files from the cloud:
- If there is existing data on your iPhone 13, which is likely, then iTunes might overwrite current data on your phone, bringing us back to square one.
- iTunes backup recovers everything from text messages to photos. It can actually clog up your storage.
- If you have a poor internet connection and it is interfering during the process of recovering, you might lose data permanently.
Dr.Fone deals with these problems easily and adds its own advantages to be ahead of the game:
- Unlike iTunes, none of the data will be overwritten during the recovery process.
- You can choose the data that you want to restore. You won’t have to worry about recovering data that is not needed.
- It is very easy to use. With its intuitive user interface, you will never feel at a loss.
IMAGE: UNSPLASH
If you are interested in even more technology-related articles and information from us here at Bit Rebels, then we have a lot to choose from.


COMMENTS