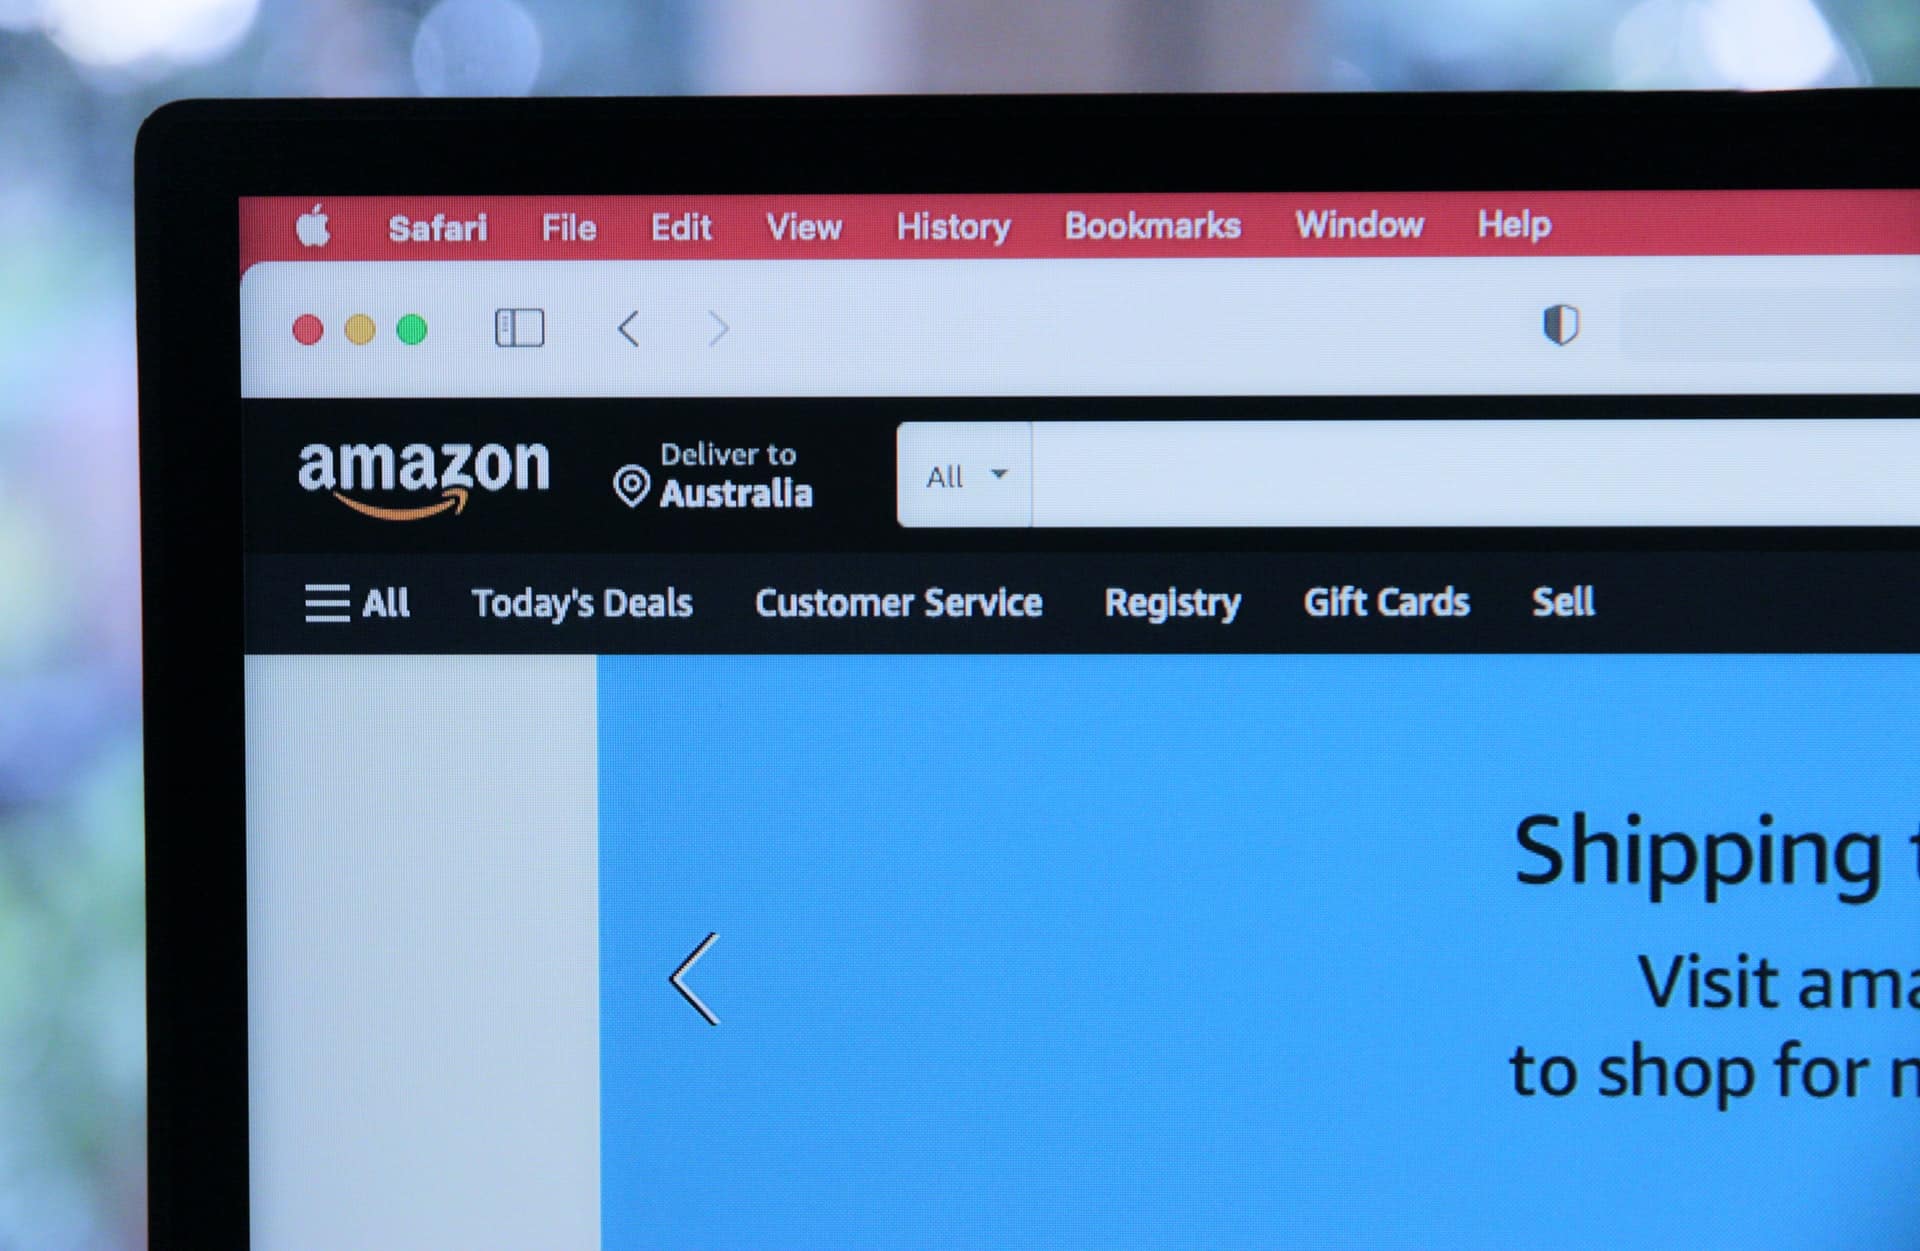
With the all-embracing rise in digital commerce, maintaining an online storefront has become more important than ever before, and Amazon.com provides the most opportunities for sellers. As the biggest online platform with millions of shoppers a month, running a storefront is a huge step for most brand owners who do not want to depend only on their site to get sales.
Keep on reading our comprehensive step-by-step tutorial to learn how to make an Amazon storefront and get some extra tips&tricks aimed to get your business off the ground.
IMAGE: UNSPLASH
Amazon Store – Definition
A Brand Store on Amazon is an online customizable FBA storefront that allows sellers to show all of their company’s product listings in one place. No coding expertise is needed; with Amazon’s convenient pre-built templates, launching your professional-looking shop is rather painless.
How Much Does It Cost To Launch An Amazon Store?
There’s no charge for creating a Brand Store on AMZ. The only thing is that sellers need to have a Seller Central profile with Brand Registry. We do recommend you to register your brand, as it helps safeguard your listing from hijackers and trademark theft and grants you even more possibilities to promote yourself with options such as A+ Content.
How To Register Your Storefront On Amazon?
First, check out several things you will need to begin:
- A seller account on Amazon
- An active and valid trademark in the state you wish to enroll in. In case you do not have such a trademark, a pending application via Amazon IP Accelerator will do the job as well.
Register Your Brand With The Brand Registry Program
First, you will have to enroll in the Brand Registry. This AMZ feature ensures that the intellectual property is secured on the platform and provides you access to the instruments you will need to quit any bad actor profiles in their tracks.
To begin, go to the Brand Registry webpage and choose “Enroll Now.” Then, pick the country you want to sell in, and register to your account via Seller Central.
You will need to complete a brief form about the company and be forwarded to the Brand Registry webpage. Choose “Manage,” next “Enroll a Brand.” Send in your application for review. Here we go!
Create Product Listings And Use A+ Content To Promote Your Products
As soon as your Brand Registry application is approved, you will be able to add items to the storefront. Besides, it will give you access to many free tools that allow sellers to manage their presence on the platform, including an Amazon listing enhancement A+ Content feature. Sellers can use such features from their Seller Central profile by going to “Advertising” and then choosing “Enhanced Brand Content.”
As soon as you finish, submit your page to the marketplace for approval. It may take around seven business days and even longer in busy times. Also, it can take another 24 hours for listings to appear after they’re approved, so remember to plan.
Don’t forget that the platform has some content guidelines and restrictions regarding A+ content and offers both free and paid versions of its A+ content feature. As a result, it influences the types of information and content sellers can add. For more info about such limitations and restrictions, check out their A+ content “About” webpage.
Build Your Amazon Storefront
It is finally time to manage your AMZ store, a multi-page platform for your company that displays your entire product catalog, immersive media, and company story. Besides, your store comes with a link, so you may direct clients to a specific Amazon page or your entire catalog about your marketing needs.
For getting started:
- Sign in to your Seller Central account.
- Choose “Stores,” proceed to “Manage Stores,” and next “Create Store.”
- Pick a pre-built template for the storefront and launch Store Builder.
From that place, you may use the Page Manager to add new pages, adjust or add new content with the Tile Manager, and select which items you wish to display prominently. You may also use special dynamic widgets to instantly populate spaces depending on bestsellers, keywords, and more.
As soon as you are done, check the Preview Window to make your store looks good, then send it for approval! It may take a few days. No one likes rejection, so remember to follow Amazon’s Creative Requirements.
Maintain Your Store
The final point to creating your storefront on Amazon is to keep it! As your company grows and you add more exciting and new items, ensure they’re represented on the home page.
You may also check the insights by going to the “Store Builder” panel and then navigating to “Insights.” You can track page visitors, views, and sales and even determine where the traffic is coming from, so you may adapt your selling and marketing strategies as required. Happy selling!
IMAGE: UNSPLASH
If you are interested in even more business-related articles and information from us here at Bit Rebels, then we have a lot to choose from.


COMMENTS