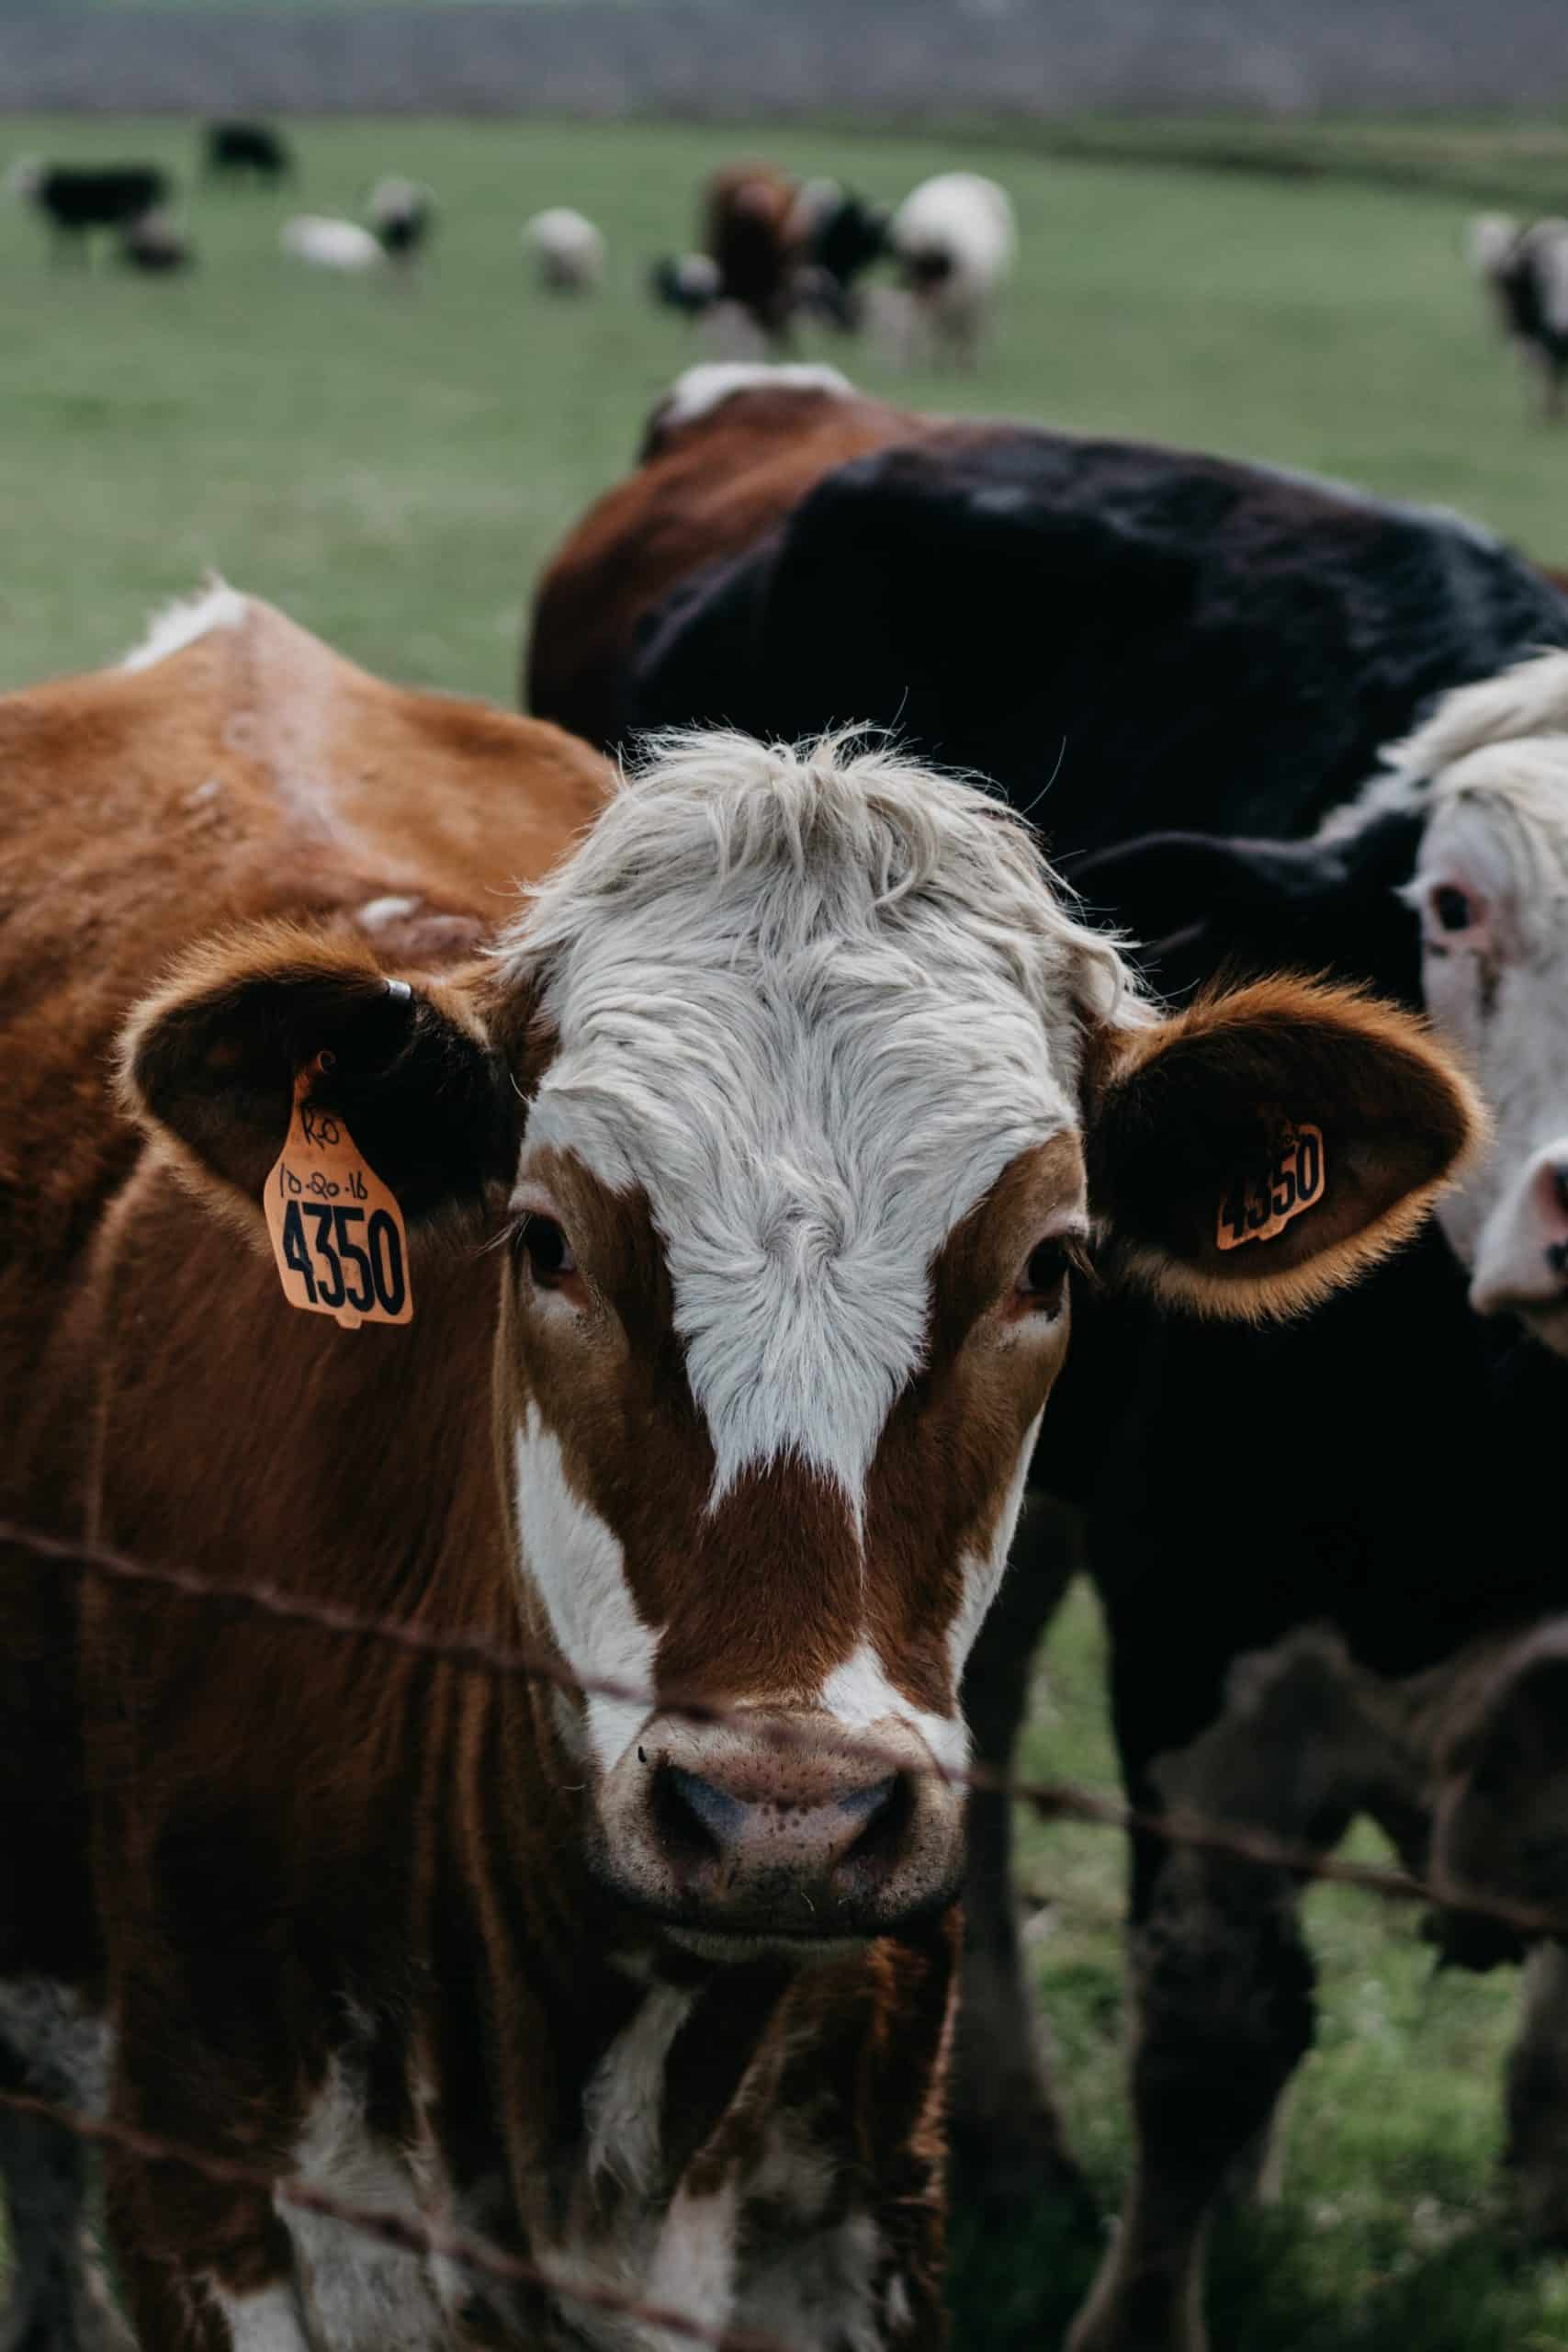
Being able to identify the individual animals on your farm or ranch is essential for good farm management. One of the most common ways to do so is to use cattle ear tags that allow for electronic or visual identification of each animal.
By following the manufacturer’s directions, the animals should lose less than 5 percent of the tags each year – if losses are higher, it’s important to examine the application technique, which we’ll outline below. Proper cleanliness and hygiene during the tagging process are also a must for reducing the risk of infection.
While livestock identification ear tags have been used for decades, as the Ohio State University College of Food, Agricultural, and Environmental Sciences notes, there are occasional concerns related to ear tags that are infected at the insertion site, which can be caused by improper placement or applying them under unsanitary conditions.
Take these steps when applying cattle ear tags which include the proper cleaning techniques to reduce the risk of infection and loss.
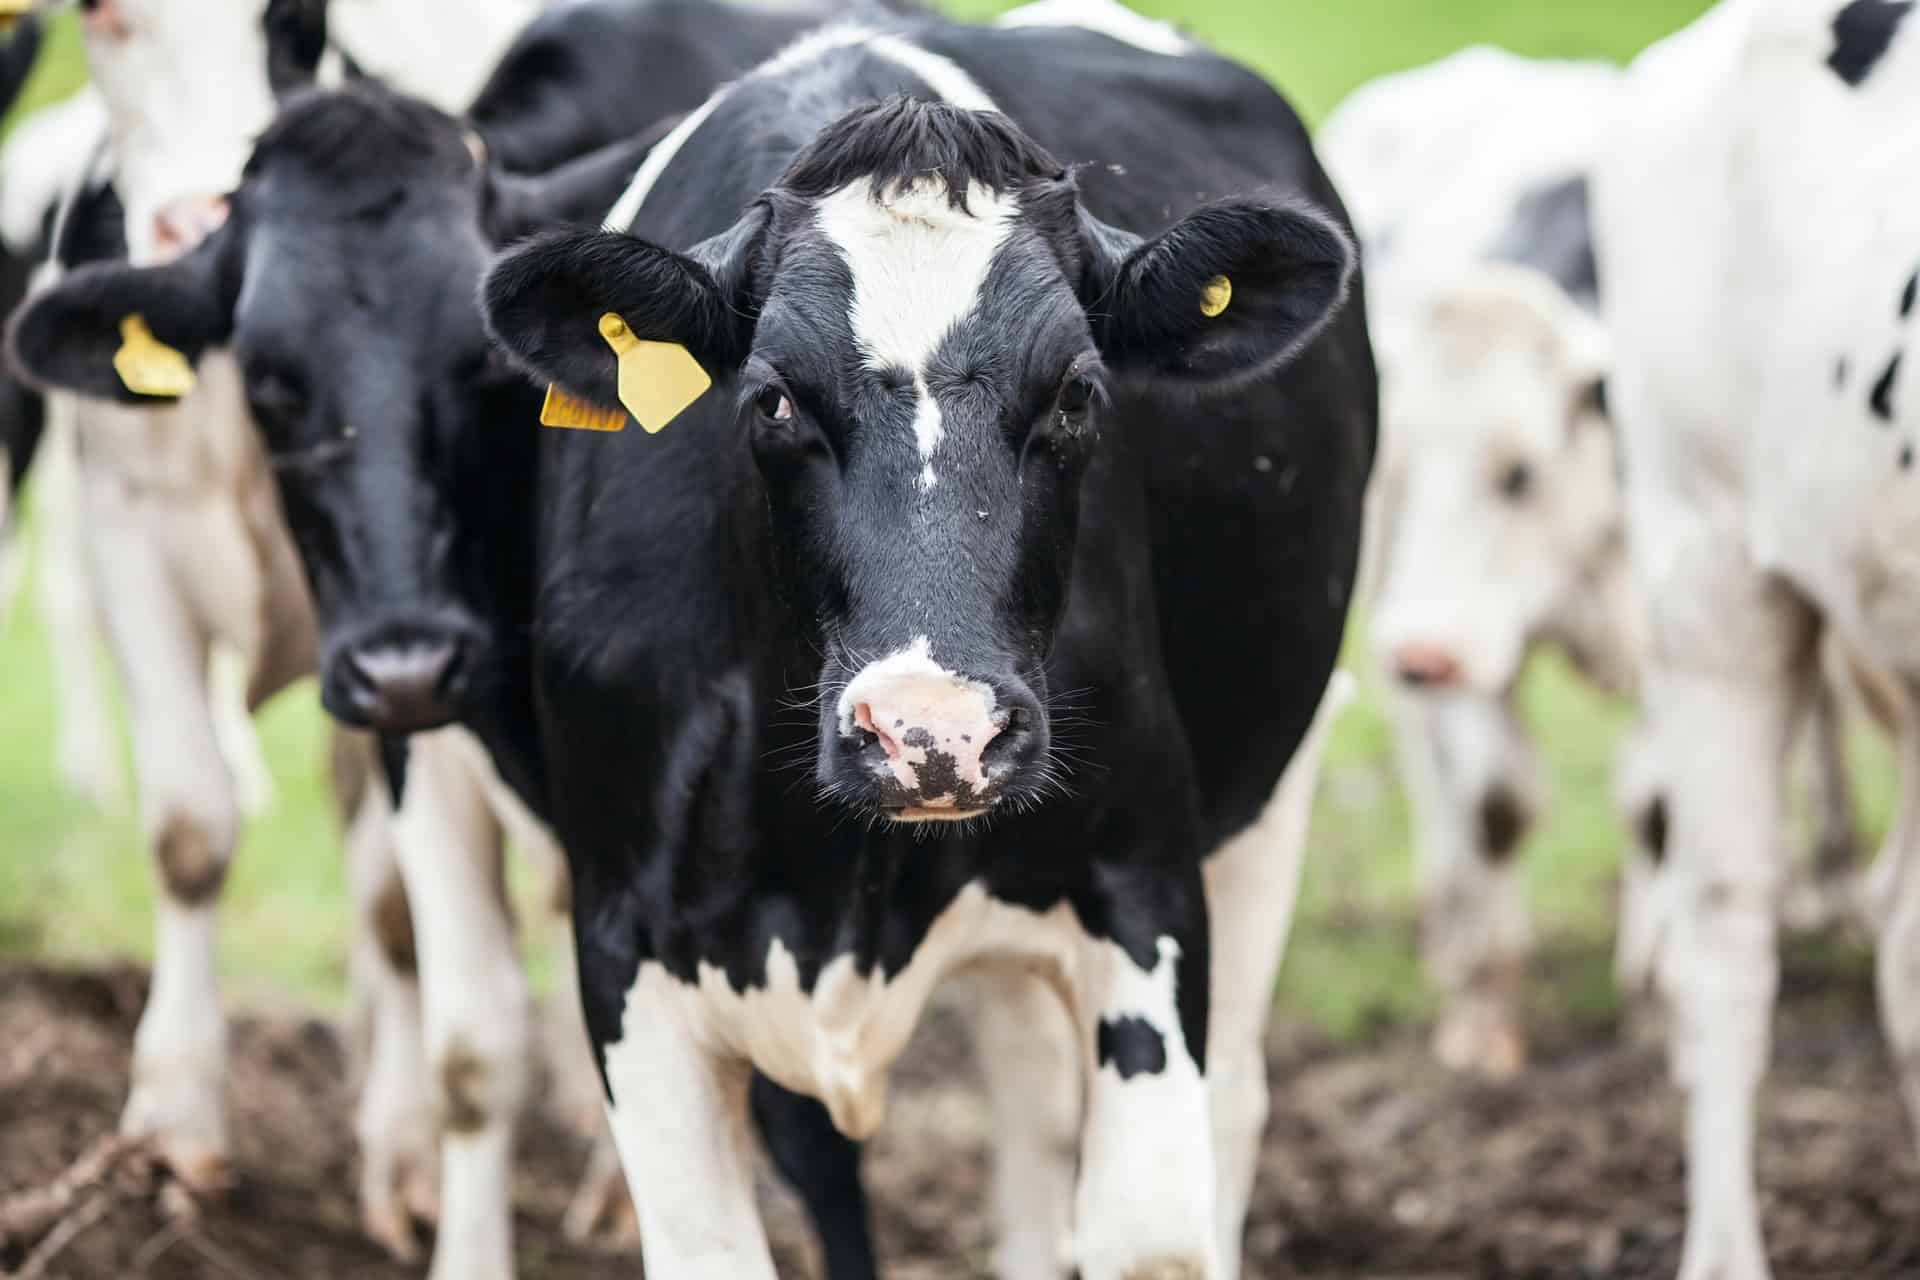
IMAGE: UNSPLASH
Clean The Applicator
It’s essential that all materials coming into contact with a cow’s ear be sterilized properly, so you’ll want to clean the applicator to decrease any risk of infection. Not only will it help prevent infection, cleaning and disinfecting the applicator after every tagging session will lengthen its life so that it will work longer. Wipe down the clip and pin components using a disinfection solution like betadine, chlorhexidine, or rubbing alcohol to help eliminate any bacteria that might be present.
Secure The Animal
If the animal’s head moves, it can make it difficult to apply the ear tag properly, which can cause injury to it or the person applying it. For cattle, it’s best to use a chute with a headgate along with a nose lead and halter.
Ensure Proper Tag Placement
Be sure to apply the tag properly in the correction location on the ear. It should be locked in place but not too tight or too loose. Avoid applying excessive force, which could create pressure sores. The stud should be inserted completely onto the applicator pin while the button/panel portion goes beneath the opposite clip.
Check alignment of the tagger by closing the applicator’s jaw to the point where the two halves meet, ensuring that the stud is centered with the hole. Position the applicator on the animal’s ear at the place it will be tagged, firmly close the applicator and quickly release. Check that the tag is placed comfortably, correctly, and securely.
For additional protection before tagging, swab the outer and inner surfaces of the cow’s ear using a cotton ball or cloth soaked in rubbing alcohol. Be careful not to let any of the solution drip into the animal’s ear canal.
Regular Cleaning
It’s important to clean around the cattle tags to ensure the animals stay healthy. That means you’ll need to provide a topical application of hydrogen peroxide to the ear tag puncture and ear daily for five to seven days after applying to prevent infection. Applying additional applications in the following weeks is advised until the ear has completely healed.
Avoid applying tags during the fly season, but if that’s not possible, be sure to wipe off any blood from the ear and apply a fly repellent that’s been approved for food and animals.
If you are interested in even more lifestyle-related articles and information from us here at Bit Rebels, then we have a lot to choose from.
COMMENTS