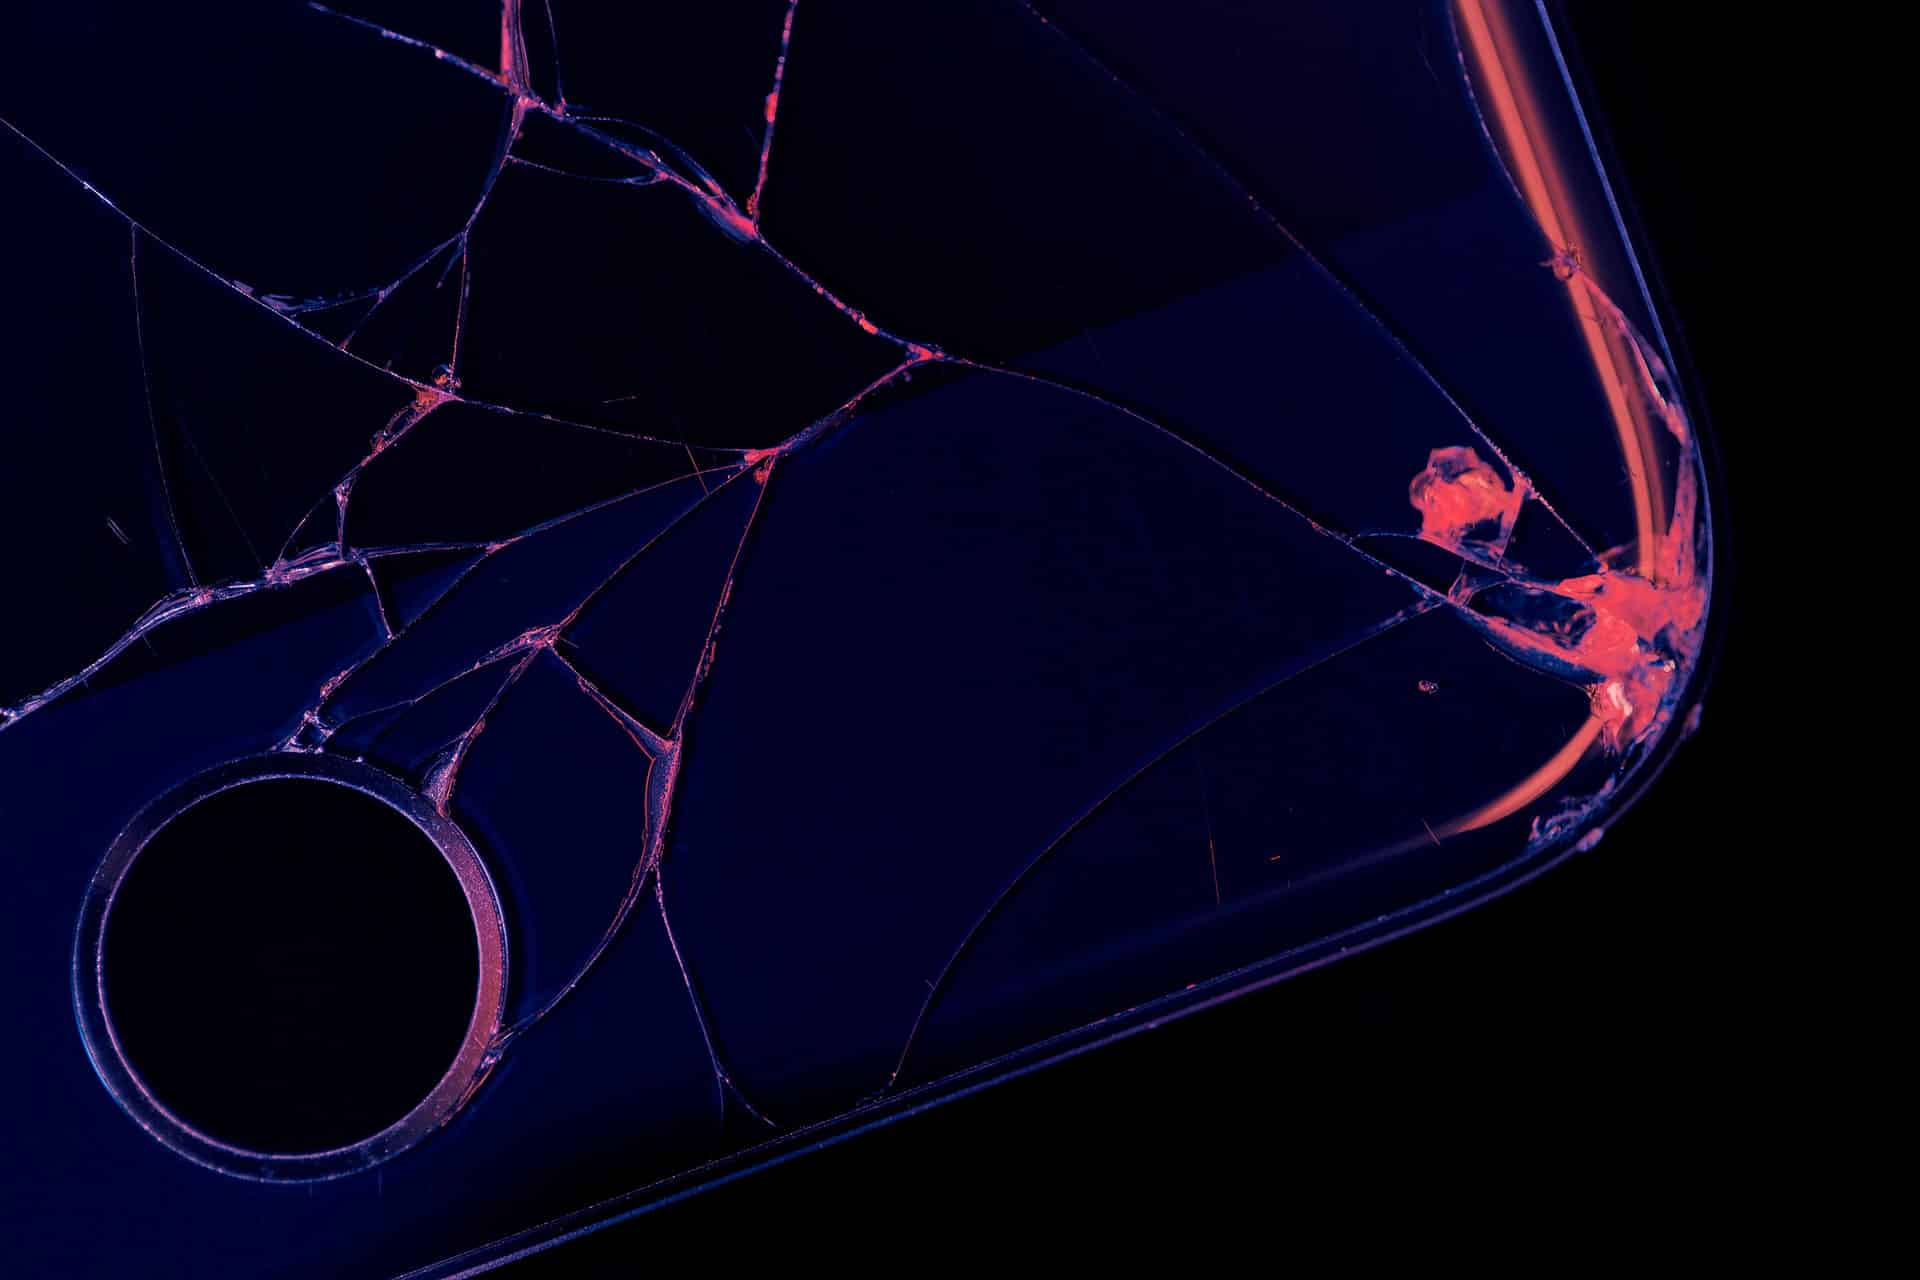
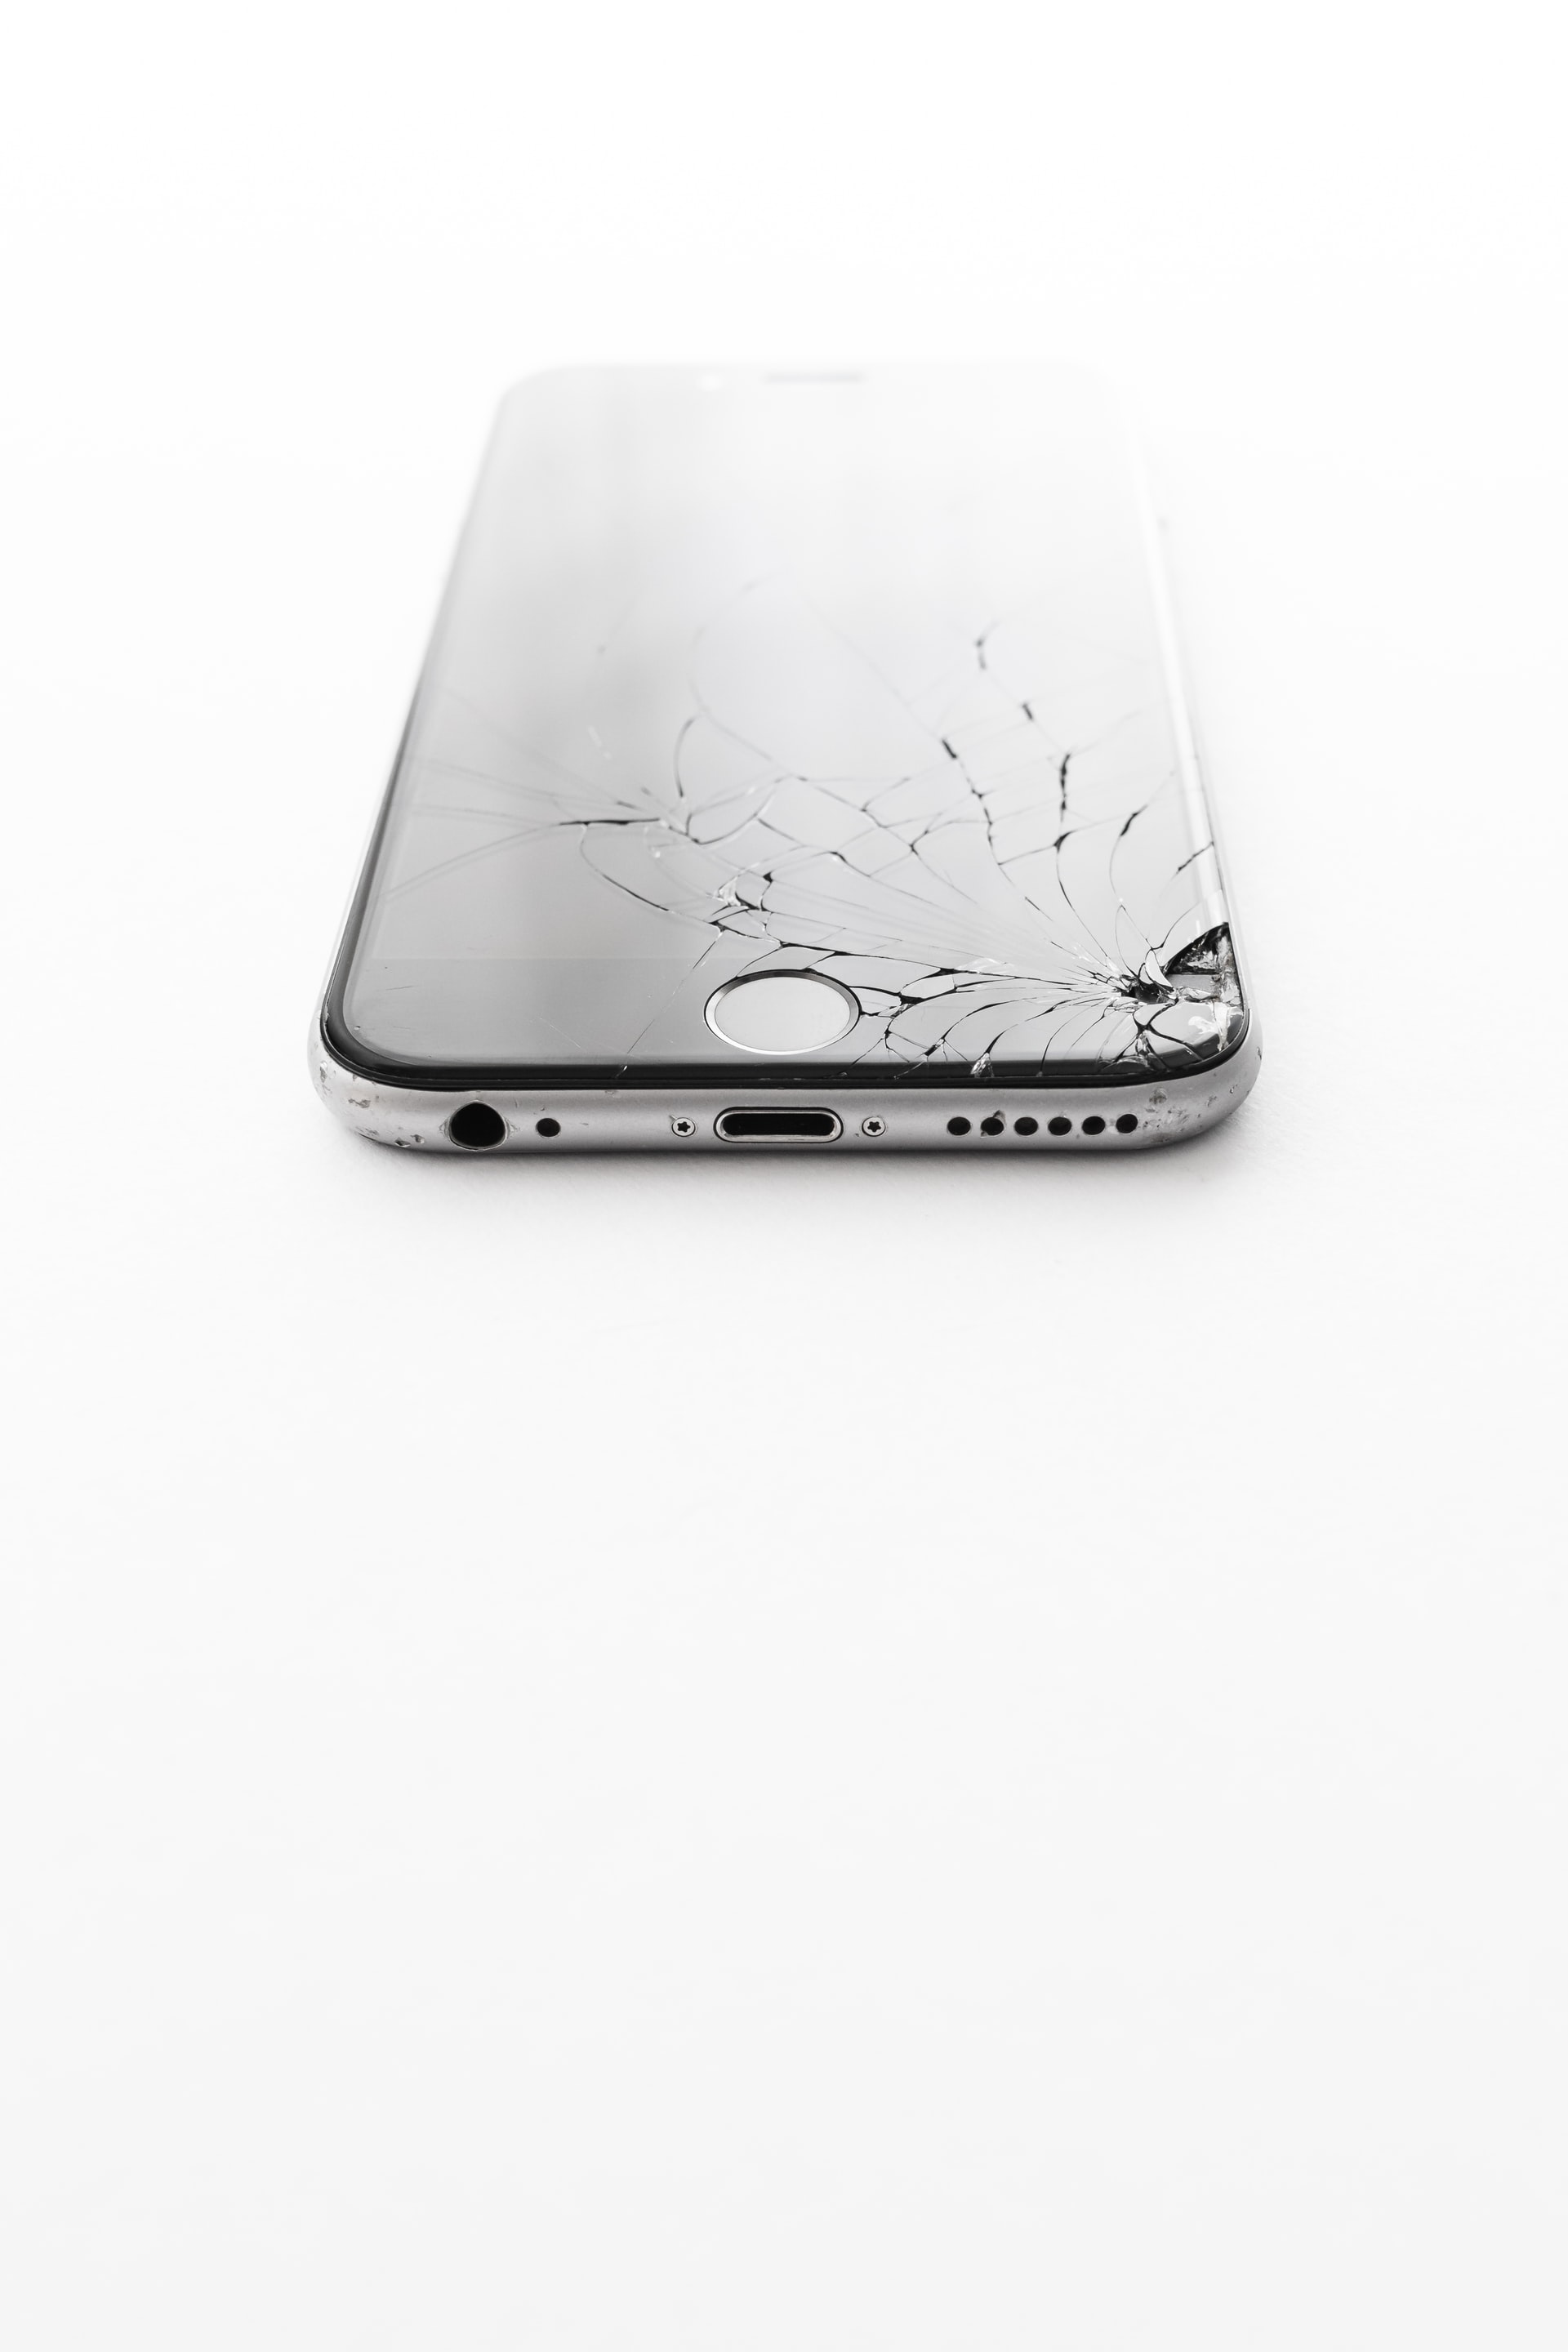
Today’s smartphones come with strong Gorilla glass. However, as the Gorilla Glass improves and becomes more resistant, more consumers are choosing to go without a screen protector on their devices. What they fail to understand is that even the most recent version of Corning’s Gorilla Glass is susceptible to cracks and other damages.
When it comes down to it, a screen protector does two things: it protects the screen from dust and fingerprints, but it also protects it from scratches caused by keys and coins. This is why it is important to install an Apple screen protector on your device.
In this quick guide, we’ll show you how to install a screen protector without a hitch and without leaving any air bubbles behind. The method works well for those who prefer tempered glass over other types of screen guards. Follow these simple steps to install a screen protector on your device the right way.
IMAGE: UNSPLASH
1. Clean The Device’s Screen First
A big dust-free surface like a table or desk is ideal for this task. For the best results, clean the phone’s screen in a wind-free indoor space. Use a microfiber cloth to remove any smudges and fingerprints that may have accumulated on your device’s screen.
Keep in mind that this step only involves scrubbing to get rid of the most obvious dirt and debris. Sometimes it’s hard to get rid of smudges, but you can always do it by breathing on the screen as you would when you clean your glasses.
Screen protectors often come with microfiber cloths, although they may also be bought separately from most electronics retailers. It is not recommended to use tissue or paper towels to wipe the screen, since you will most likely leave behind large quantities of textile particles.
2. Carefully Take The Screen Protector From The Package
To determine the top side of the screen protector, take it out of the package and flip it over. Don’t remove the protective film from the adhesive yet. For proper installation, hold the screen protector with the left side facing you. Place two strips of scotch tape approximately an inch long on the right-hand side of the screen protector, leaving half of it on and the other half hanging over the edge.
In certain cases, rectangular stickers are included in the package of the protector and may be used in place of tape. Use tape that doesn’t leave behind a sticky residue since you’ll need to apply it to your phone in the following step.
3. Apply The Screen Protector
It’s time to put the protection on your gadget now that it’s clean. Tape the screen protector to the phone and remove the protective film, ensuring sure the tape doesn’t come loose.
Keep stress on the tape as you quickly turn it over onto your device. It will be exactly aligned, thanks to the tape.
Make sure not to raise the screen protector again, as this might allow for dust to accumulate underneath. Slowly take off the screen protector’s front cover.
4. Remove Air Bubbles
Finally, you’ll need to get rid of any bubbles. When using this technique to apply the screen protector, you might expect some air bubbles to form on the screen. They are, on the other hand, relatively simple to remove since there is no dust trapped below. To remove the air bubbles, use the plastic squeegee that came with the package or a credit card. The screen is being protected, so don’t be afraid to use a little pressure to clear any bubbles.
Conclusion
Protecting your phone’s screen with a tempered glass screen protector can help keep it from becoming cracked or scratched. Keep in mind that a screen protector is a little upfront cost compared to the cost of a new screen. The steps discussed above will help you to install a screen protector easily. Click here to learn more about Apple screen protectors!
IMAGE: UNSPLASH
If you are interested in even more technology-related articles and information from us here at Bit Rebels, then we have a lot to choose from.


COMMENTS