Savvy gamers know that the best gaming experience can only be achieved on a PC. There’s no denying that while gaming consoles do provide an exceptional gaming experience. However, because of limitations and limited upgrade options, many gamers are now turning to their PC’s to fulfill their gaming needs.
Usually, when you think of PC gaming, you’re probably thinking about the games you can play with a keyboard and mouse, such as World of Warcraft. However, hardcore gamers know that their PCs actually have the potential to do exactly what an everyday game console can. Thanks to advancements in technology, your PC can actually run games from gaming consoles and, even, your mobile phones.
Through an emulator app, your PC can copy the activity of any gaming console to play console games on a PC. If you want to use an emulator for mobile games, you can go through this list of Android emulators to find one that’s best for you. So, here’s what you need to do to turn your PC into a gaming console.
IMAGE: PEXELS
1. Explore Different PC Builds For Emulation
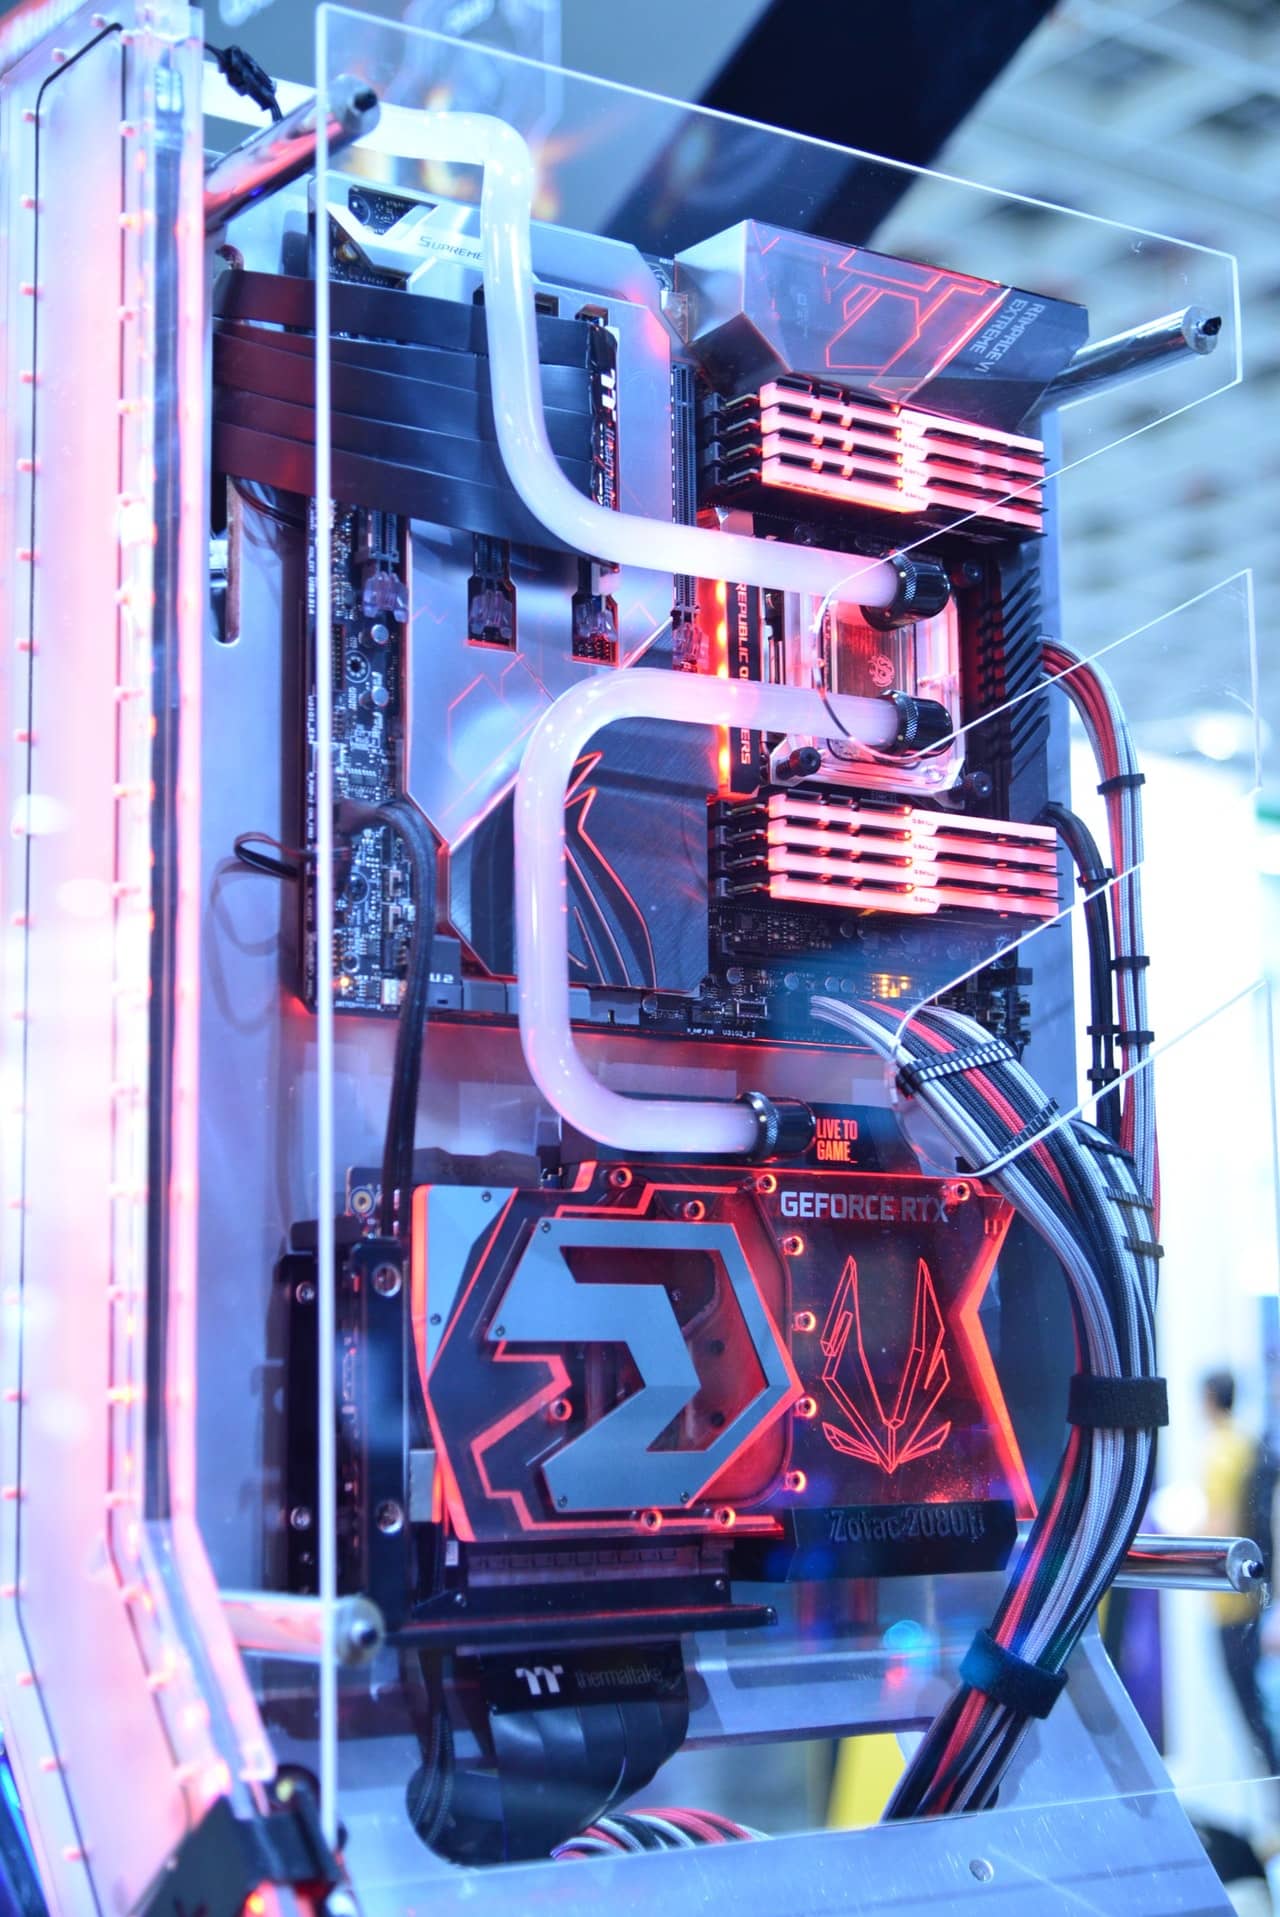
An efficient emulation PC build is necessary to provide computing power to play games smoothly on most emulators. You can choose a PC build that already has hardware components, or you can build it from scratch by selecting the parts yourself. For the best operating system for an emulator, Windows is the way to go.
2. Focus On The Hardware
CPU
The CPU is perhaps the most vital part of any computer since it’s responsible for performing the majority of the console’s simulation during the emulation process. If you’re trying to emulate an older console such as the PS2, you might not have to focus on more than the power and speed of your PC’s CPU.
However, if you want to emulate a newer console such as the PS4, you need to focus on two or more cores. This is because at least one core will be responsible for simulating the graphics processor while the other mimics the console’s central processor. Hence, the CPU needs to be of primary importance when you’re turning your CPU into a gaming console.
Graphics Card (GPU)
Some people make the mistake of thinking that a graphics card is the essential component of an emulation computer since it is vital for regular PC gaming. However, as mentioned before, it’s the CPU’s responsibility to simulate the console’s hardware. Unlike regular usual PC gaming, you can improve the resolution of an emulated console without compromising on the performance.
Despite that, the graphics card is still quite crucial since many modern emulators can utilize the potential of a graphics card to deliver a great gaming experience. Additionally, investing in a high-end graphics card also gives you the flexibility to play regular PC games, even if that is from time to time.
Of course, if you’re investing in a graphics card, you need to ensure the graphics are translated to the screen, too. There are many gaming monitors available that’ll provide you with an immersive gaming experience that you wouldn’t want to end. As seen in the Gadget Lounge, you can choose a gaming monitor that’ll fit your budget and has the specifications you need.
RAM
For an emulation computer, a RAM is quite important. Many aspects, such as the graphics assets and loading-processes, can utilize the RAM’s capacity. 16 GB RAM is more important if you want to emulate newer console models, such as the PS4 and the Wii U. However, if you’re sticking to an older console model, you’d be able to get by with 4GB or 8GB RAM.
Storage (HDD, SSD)
Just like other hardware components, the amount of storage you’ll need depends on the consoles you choose to emulate. 500 GB of storage would be enough to manage the emulator, games, and OS if you’re going for an older cartridge-based console, such as Atari, and handhelds from the early 2000s, such as the Game Boys. On the other hand, for newer disc-based consoles, such as the Playstations, and post mid-2000 handheld consoles, you should focus on investing in at least 1 TB of space.
Power Supply (PSU)
Your emulator build needs a PSU that can support it; otherwise, you’re asking for disaster. A poor-quality power supply can damage the other components you’ve invested in, so it’s always better to consult an expert who can recommend a high-quality power supply.
3. Choose A Controller
While you can get by with a wireless keyboard, many gamers prefer playing games with a controller for the entire experience. There is a vast variety of controllers available, and you can choose from, ranging from classic USB controllers, or console-based controllers, such as the ones that come with the PS4 or Xbox One. Whichever controller you select depends on your personal preference and budget.
4. Choose An Emulation Software
Once you have your PC sorted out, you need to determine which programs you should use with your emulator. Apart from an emulator, you need to choose a front end software. Some of the best front ends available are LaunchBox, EmulationStation, HyperSpin, and Attract-Mode.
Which emulator you choose depends on the console you want to emulate. Dolphin is an excellent emulator for the Nintendo Wii and Nintendo GameCube while you can use PPSSPP to emulate the Playstation Portable. For other consoles, there are emulators in developments, such as RPCS3 for PS3.
The days are gone where you would have to rely on a gaming console to enjoy gaming. Today, you can build a PC to emulate a gaming console and have a brilliant gaming experience. What other ways can you turn your PC into a gaming console? Sound off in the comments below!
If you are interested in even more technology-related articles and information from us here at Bit Rebels, then we have a lot to choose from.


COMMENTS