Non-fungible tokens, or NFTs, are stand-out resources that can’t be exchanged or traded, dissimilar to bitcoin, since each NFT has its own special advanced mark (making it non-fungible).
In recent years, NFTs have grown in popularity, allowing many artists and designers to produce their own NFT masterpieces. NFTs tend to be appealing to artists since they will enable them to sell work that would otherwise go undetected. Most significantly, they help with copyright infringement, which is an artist’s greatest fear. NFT is a one-of-a-kind digital asset with blockchain technology to verify its legitimacy. To buy or sell these NFTs you need an Nft marketplace a service provided my NFTically.
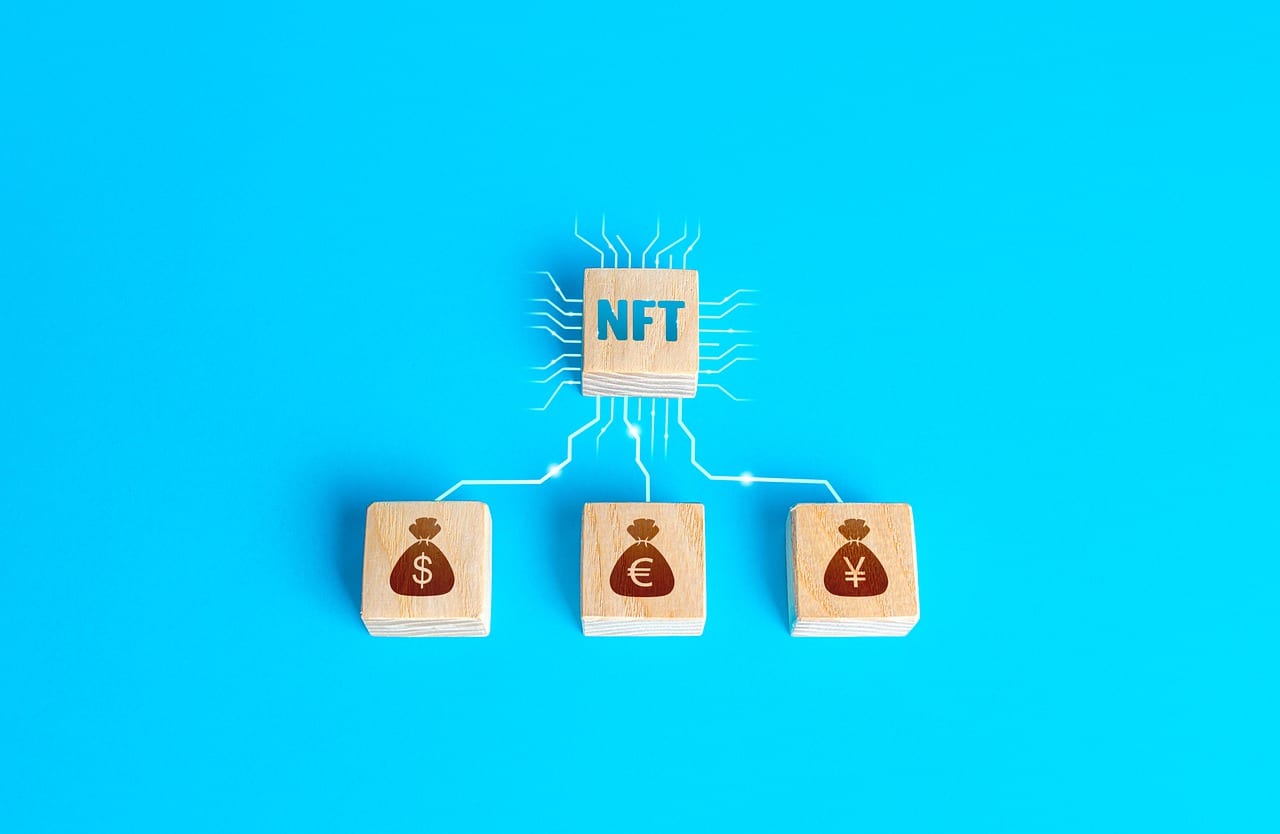
IMAGE: PIXABAY
About NFTically
- NFTically is a worldwide B2B SaaS platform that allows celebrities, influencers, gamers, clubs, and corporations to create their own white-label NFT store or NFT Hub with minimal technical skills.
- Celebrities and companies may use NFTically to manage many elements of their NFT hub, including settings, Blockchain pinning, analytics, user experience, APIs, integrations, custom terms and conditions, and so on.
- NFTically is a trailblazing NFT Store launching solution on cloud with features like custom UI, social tokens for celebrities, KYC, USD support, and more. The platform now supports major blockchains like Ethereum, Polygon, and Binance Smart Chain.
We see and catch wind of NFT art being sold for a great sum of money, yet making one isn’t just about as extreme as it looks!
Step 1 – Choose The Type Of Artwork You Wish To Digitize
The first stage should be deciding what kind of artwork you want to do. An NFT is made by combining multimedia material that represents both tangible and ethereal items.
NFTs serve an assortment of mixed media works, including art, music, GIFs, Virtual symbols/computer game skins, gifts, and images, for example, the $590,000 Nyan Cat flying with a Pop-Tart! You can build anything in your brain and turn it into an NFT!
So choose an image that best reflects you and that you’d like to share with the rest of the world.
Step 2 – Choose A Blockchain
There are a number of blockchain platforms to pick from. Each blockchain stage has its own NFT token construction along with interoperable wallets and markets.This means that NFT tokens generated on a blockchain network can only be sold and purchased on the platform. So choose a blockchain wisely.
Let’s assume that you are using Ethereum, an open-source blockchain technology, one of the oldest and most famous technologies in the digital market, to learn more about this topic. Tezos, Binance Smart Chain, Cosmos, WAX, and more blockchain systems, in addition to Ethereum, exist.
Step 3 – Purchase Some Ether
It’s likely that the cost of minting an NFT will be prohibitive. As a result, you’ll want an Ethereum wallet containing some Ether (the Ethereum-based currency). “MetaMask” is one of the simplest to use. You can obtain it for free on your iPhone or Android phone. The NFT is sold at a wide scope of costs. Have essentially $100 in Ether available, however remember that depending on the daily operating price, the minting operation might cost you much more
Step 4 – Construction Of The NFT
You can begin creating your first NFT when you’ve accomplished the preceding stages. To begin, choose a marketplace where your art will be shown and auctioned! Following these steps on NFTically makes this process more accessible: To begin constructing your first collection, select “My Collections” from the user Icon Menu in the upper right corner, then “create now.” After inputting all of your digital asset’s data, select “add an item” and then “save.” Now that NFT is complete, you may go on to the next stage of selling your work!
Step 5 – Selling Your NFT
When you’ve finished your item, click the “sell” button to sign and confirm all of your transactions, as well as pay the “gas fees” we mentioned before, to the blockchain of your choice. If you wish to sell your NFT for a fixed price or in an auction, you may select the Ethereum tokens you want to accept as payment on the selling page, as well as the royalties you want to get from the first and future sales.
The purchase of your NFT is now complete. For as long as the NFT tokens exist, the artist will profit from the one-time sale of their artwork. It’s not difficult to turn something good into an NFT and sell it in order to create something outstanding. It’s simple to set up and can be completed by anyone.
Conclusion
And there you have it! You have completed the creation of your NFTs! Creating an NFT is a straightforward operation that is made easier if following the right procedure and using the right marketplace. This may assist you in not just expressing your creative side, but also in monetizing all of your unique ideas.
If you are interested in even more design-related articles and information from us here at Bit Rebels, then we have a lot to choose from.
COMMENTS