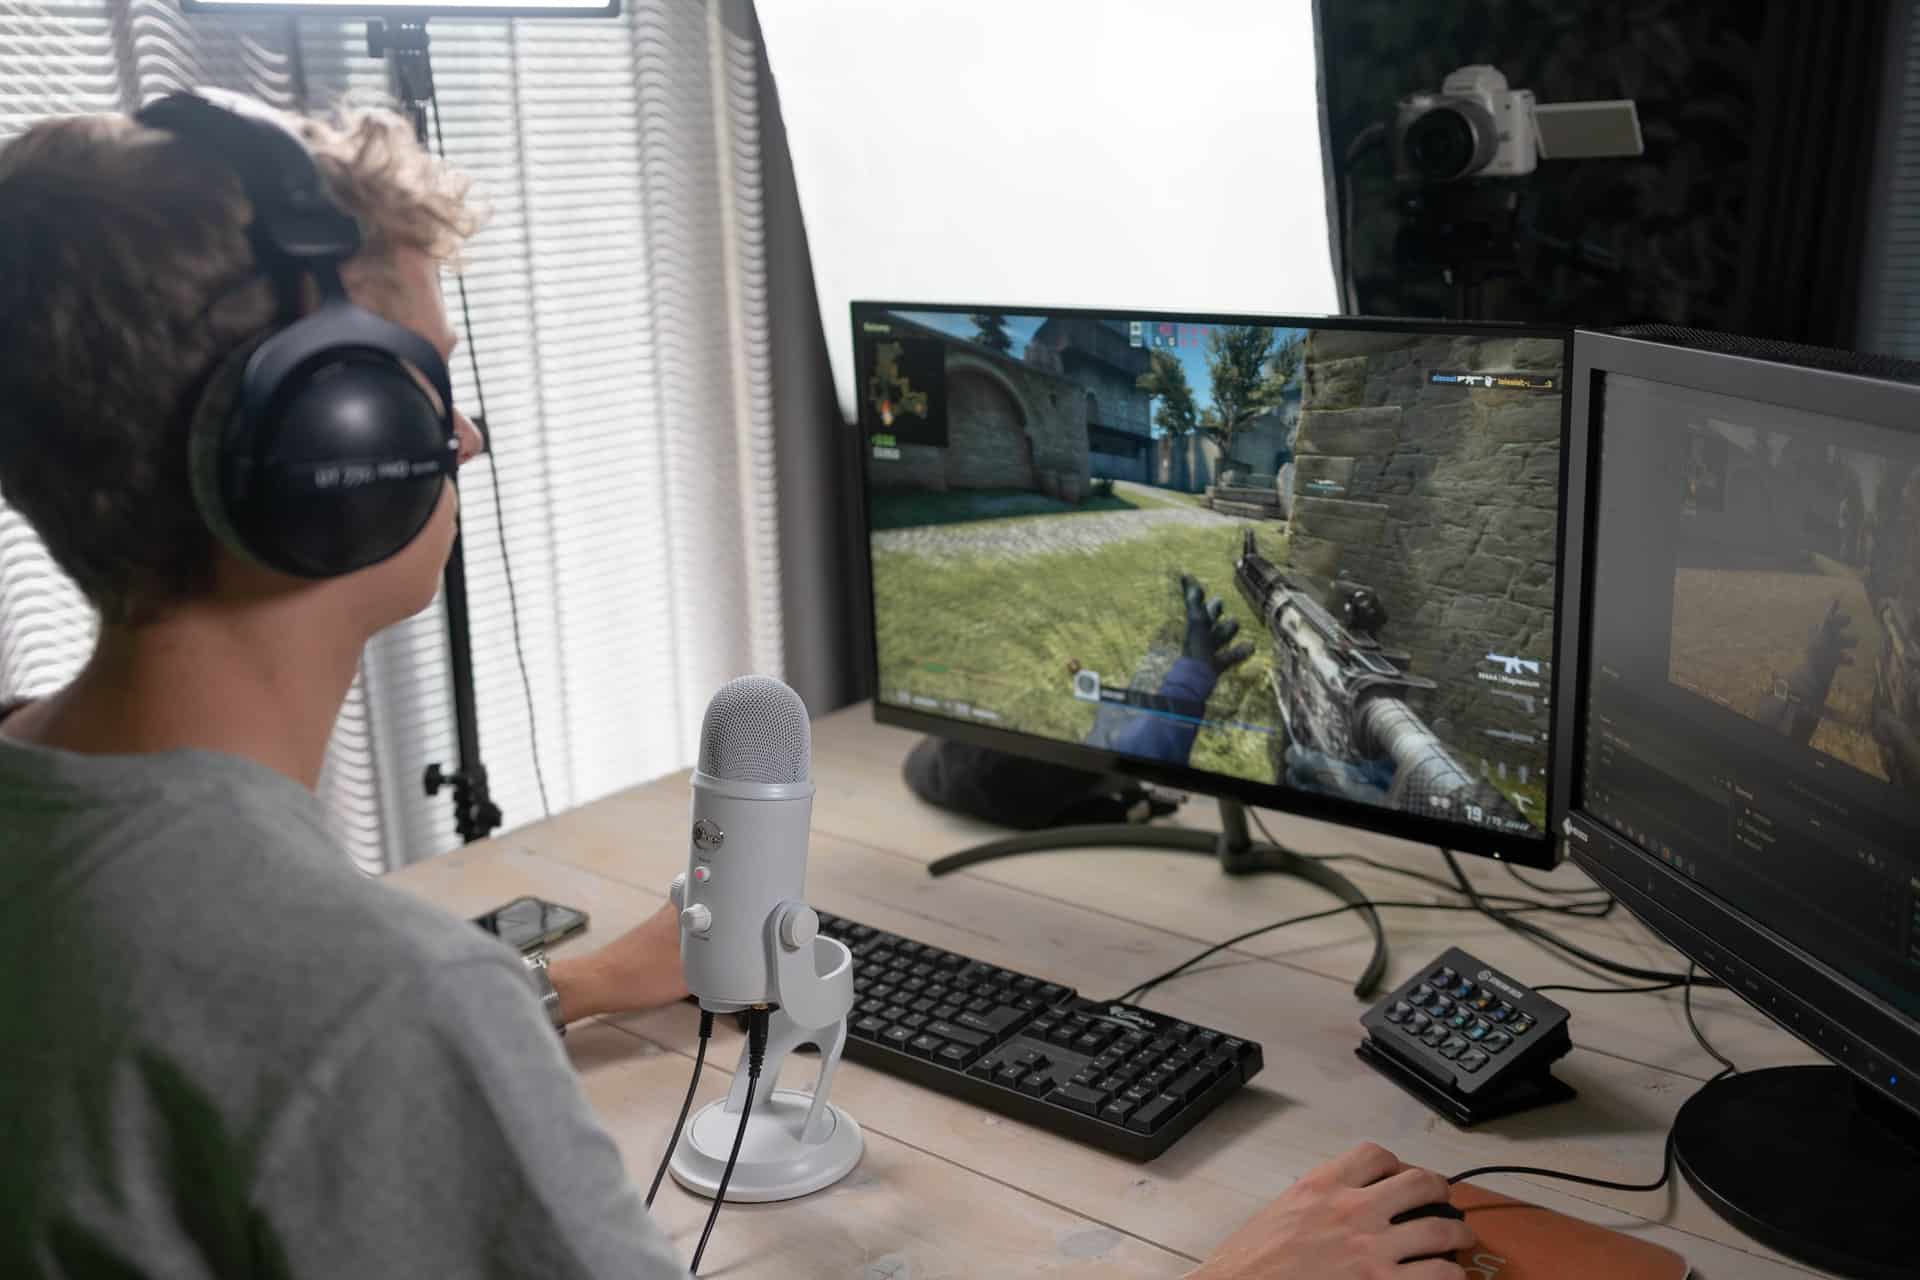
Live streaming has been increasingly popular with the rise of the Internet and live streaming technology. Many people grab the chance to be creators and presenters of their own content, such as gaming, singing, outdoor activities, etc. Apart from doing the live streams, they may also record the live streams and upload the videos on social media for more exposure.
If you’re one of the creators in the world of live streaming and you want to record your live streams on PC, this tutorial will help you easily get started to use a screen recorder.
IMAGE: UNSPLASH
What You’ll Need To Record Live Streams On PC
Before we walk through the details, you could also check the list to prepare yourself for a successful live streaming. This includes:
- Video and audio sources: The basic devices include a camera, a computer screen, microphone, and audio mixer. You can also add other image sources and sounds to the stream.
- A screen recorder: This is the computer software that records screen activities and webcam video.
- A streaming platform: Most popular ones to make your live video become available online include YouTube, Vimeo, and Facebook Live.
- A stable Internet connection: Make sure your stream doesn’t freeze, stutter, or drop off entirely.
It won’t be hard for you to buy a good camera and get a stable Internet connection nowadays. However, you might be confused about getting a well-rounded screen recorder downloaded on your PC. There are plenty of video streaming and screen recorder software options out there, both free and paid, each designed to meet a variety of different needs.
To save your trouble of selecting the software out of thousands of choices there, we recommend the FonePaw Screen Recorder to you as it has been credited with stable capturing of HD video without watermarks and time limit. This is exactly the live stream recorder you are looking for if you need to capture a live streaming video.
How To Use FonePaw Screen Recorder To Record Your Live Stream On PC
We understand that a successful recording without complex operations is all you need here, and we will make sure the steps you follow are easy and friendly.
Step 1 – Install The Software On Your PC
FonePaw Screen Recorder can be downloaded on your Windows or Mac PC. First navigate to their official website from here: https://www.fonepaw.com/screen-recorder/, and then hit the download button as showed in the picture.
After you download the live streaming capturing tool on your computer, click on it to launch the installation process. Follow the instructions to proceed to the installation and it will take four to five minutes to finish the process.
Step 2 – Open FonePaw Screen Recorder And Adjust Settings
Once you’ve installed the screen recorder on your desktop, open the software and fine the Menu > Preferences, where you can adjust the settings based on your need.
Some hints of adjustments you can do for your recording:
- Video quality: varies from the Lowest to the Lossless
- Frame Rate: Up to 60 FPS
- Mouse movement: Whether you want to show your mouse on the recording or not
- Hotkeys: very convenient for your recording process
- Hide float bar when recording: better for your live streaming
More functions and settings on FonePaw Screen Recorder can be explored by you if you’re interested. Features such as making GIFs and clipping the recorded video are also available.
Step 3 – Start Recording When You’re Ready For Live Streaming
You can turn on or off the webcam and microphone through FonePaw Screen Recorder, depending on whether you need to show your face and voice in your live stream and the recorded video.
Also, you can set up the recorded area into full screen or customed resolution. When you’re ready for live stream, hit the REC button to start the recording.
Step 4 – Finish The Recording And Save Your Video
Easy to start, easy to stop. After you finish the live stream, you can manually stop the recording or press the hotkey Ctrl+Alt+R. FonePaw Screen Recorder will pop up an editing window for you to preview the recorded video.
You can clip the video and remove the unwanted parts from the editing. And finally, click the Save button to generate the recorded video. For your reference, FonePaw Screen Recorder can save your recorded video in 7 formats, including MP4, WMV, MOV, F4V, TS, AVI, and GIF.
Is FonePaw Screen Recorder Free To Use?
You’ve seen what FonePaw Screen Recorder can do for capturing your live stream. However, you may also wonder if this powerful software is free to use. Well, FonePaw Screen Record offers a free trial version and a paid version.
What extra features can you get in the premium version of FonePaw Screen Recorder? According to the instructions from the official website, unlimited time length for your recorded video, video/audio clipping before saving the video, microphone noise cancellation, and microphone enhancement, are provided in the full version.
Should I Buy The Premium FonePaw Screen Recorder?
FonePaw Screen Recorder has become a widely used screen recording tool as it is easy to grasp and can meet most of the needs, for instance, recording a webcam, gameplay, online lectures, and live streaming videos. Particularly, content creators on YouTube can take full advantage of this tool to record their content on the PC and publish the video on their channel. If you upgrade to the premium version, obviously your user experience can be improved and you can enjoy more convenience.
In general, you can trust and utilize FonePaw Screen Recorder for your live stream recording with full features. If you’re happy with the results from following the tutorial, don’t forget to share the knowledge to help other people who also have the same need.
If you are interested in even more entertainment-related articles and information from us here at Bit Rebels, then we have a lot to choose from.


COMMENTS