There’s no denying the fact that photo editing is quintessential for composing memorable photographs and portraits. Whether you’re a blogger, an influencer, a professional photographer or even a hobbyist, you’ve got to have some basic photo processing skills to make a place in the vibrant world of digital photography. Here are some useful tips that can help you transform a great click into a highly impactful one.
IMAGE: UNSPLASH
1. Crop To Focus
The first step for setting the photos right should always be about gaining some focus. Too many elements in the background can be distracting and make your picture look uninteresting. Cropping the picture will get the viewer’s attention to the more important elements in it.
The crop tool is easy to use and can also be used for adjusting the aspect ratio of the picture. In order to gain focus in the image, you can eliminate any dark areas on the sides. Pay attention to the “rule of thirds” while cropping the images to give your photograph a professional rule.
2. Black & White Effect
Black and white effects are great for editing portraits, landscape images and architectural scenes. Black and white effect has an aesthetic appeal but it should be used sparingly and wisely. The effect is most suitable when the colors in your image create confusion and are too distracting. You can also use the effect when the image depicts high definition texture or deep contrasts. Black and white filters in photo editing tools can help you control the aspects like shadows and highlights for the best results.
3. Shadows And Highlights
Dark or light areas in the image can make it look out of balance. This is usually noticeable in images with low light or high exposure. Adjusting the shadows and highlights in the image can set things right and make the picture attractive. With the tools for adjusting or tuning the highlights and shadows, you can reduce the brightness of overly exposed areas and tone down the shadows. Just remember to only lightly touch-up these aspects otherwise the photos may look greenish or purplish.
4. Saturation
The saturation tool helps you adjust the colors and warmth in the photo. One extreme of the tool can suck up all the colors leaving a black and white image, while the other extreme can make the colors look unusually vivid. Some photo editing tools allow a separate tool for adjusting the vibrancy in addition to color saturation. You will need to explore the fine balance among clarity, vibrance, and saturation for the most effective enhancements.
5. Sharpen Images
Photo editing requires sharpening of images in order to make the elements look crisp and detailed. Again, you need to strike the right balance on the tool, because one extreme can make the image look grainy while the other extreme can smudge away all the details. The sharpening tool is especially useful when you’re working on a large image that needs to go in print or will be used as a website banner.
Bear in mind that you won’t be able to transform a poorly clicked out of focus image into a focused one using this tool.
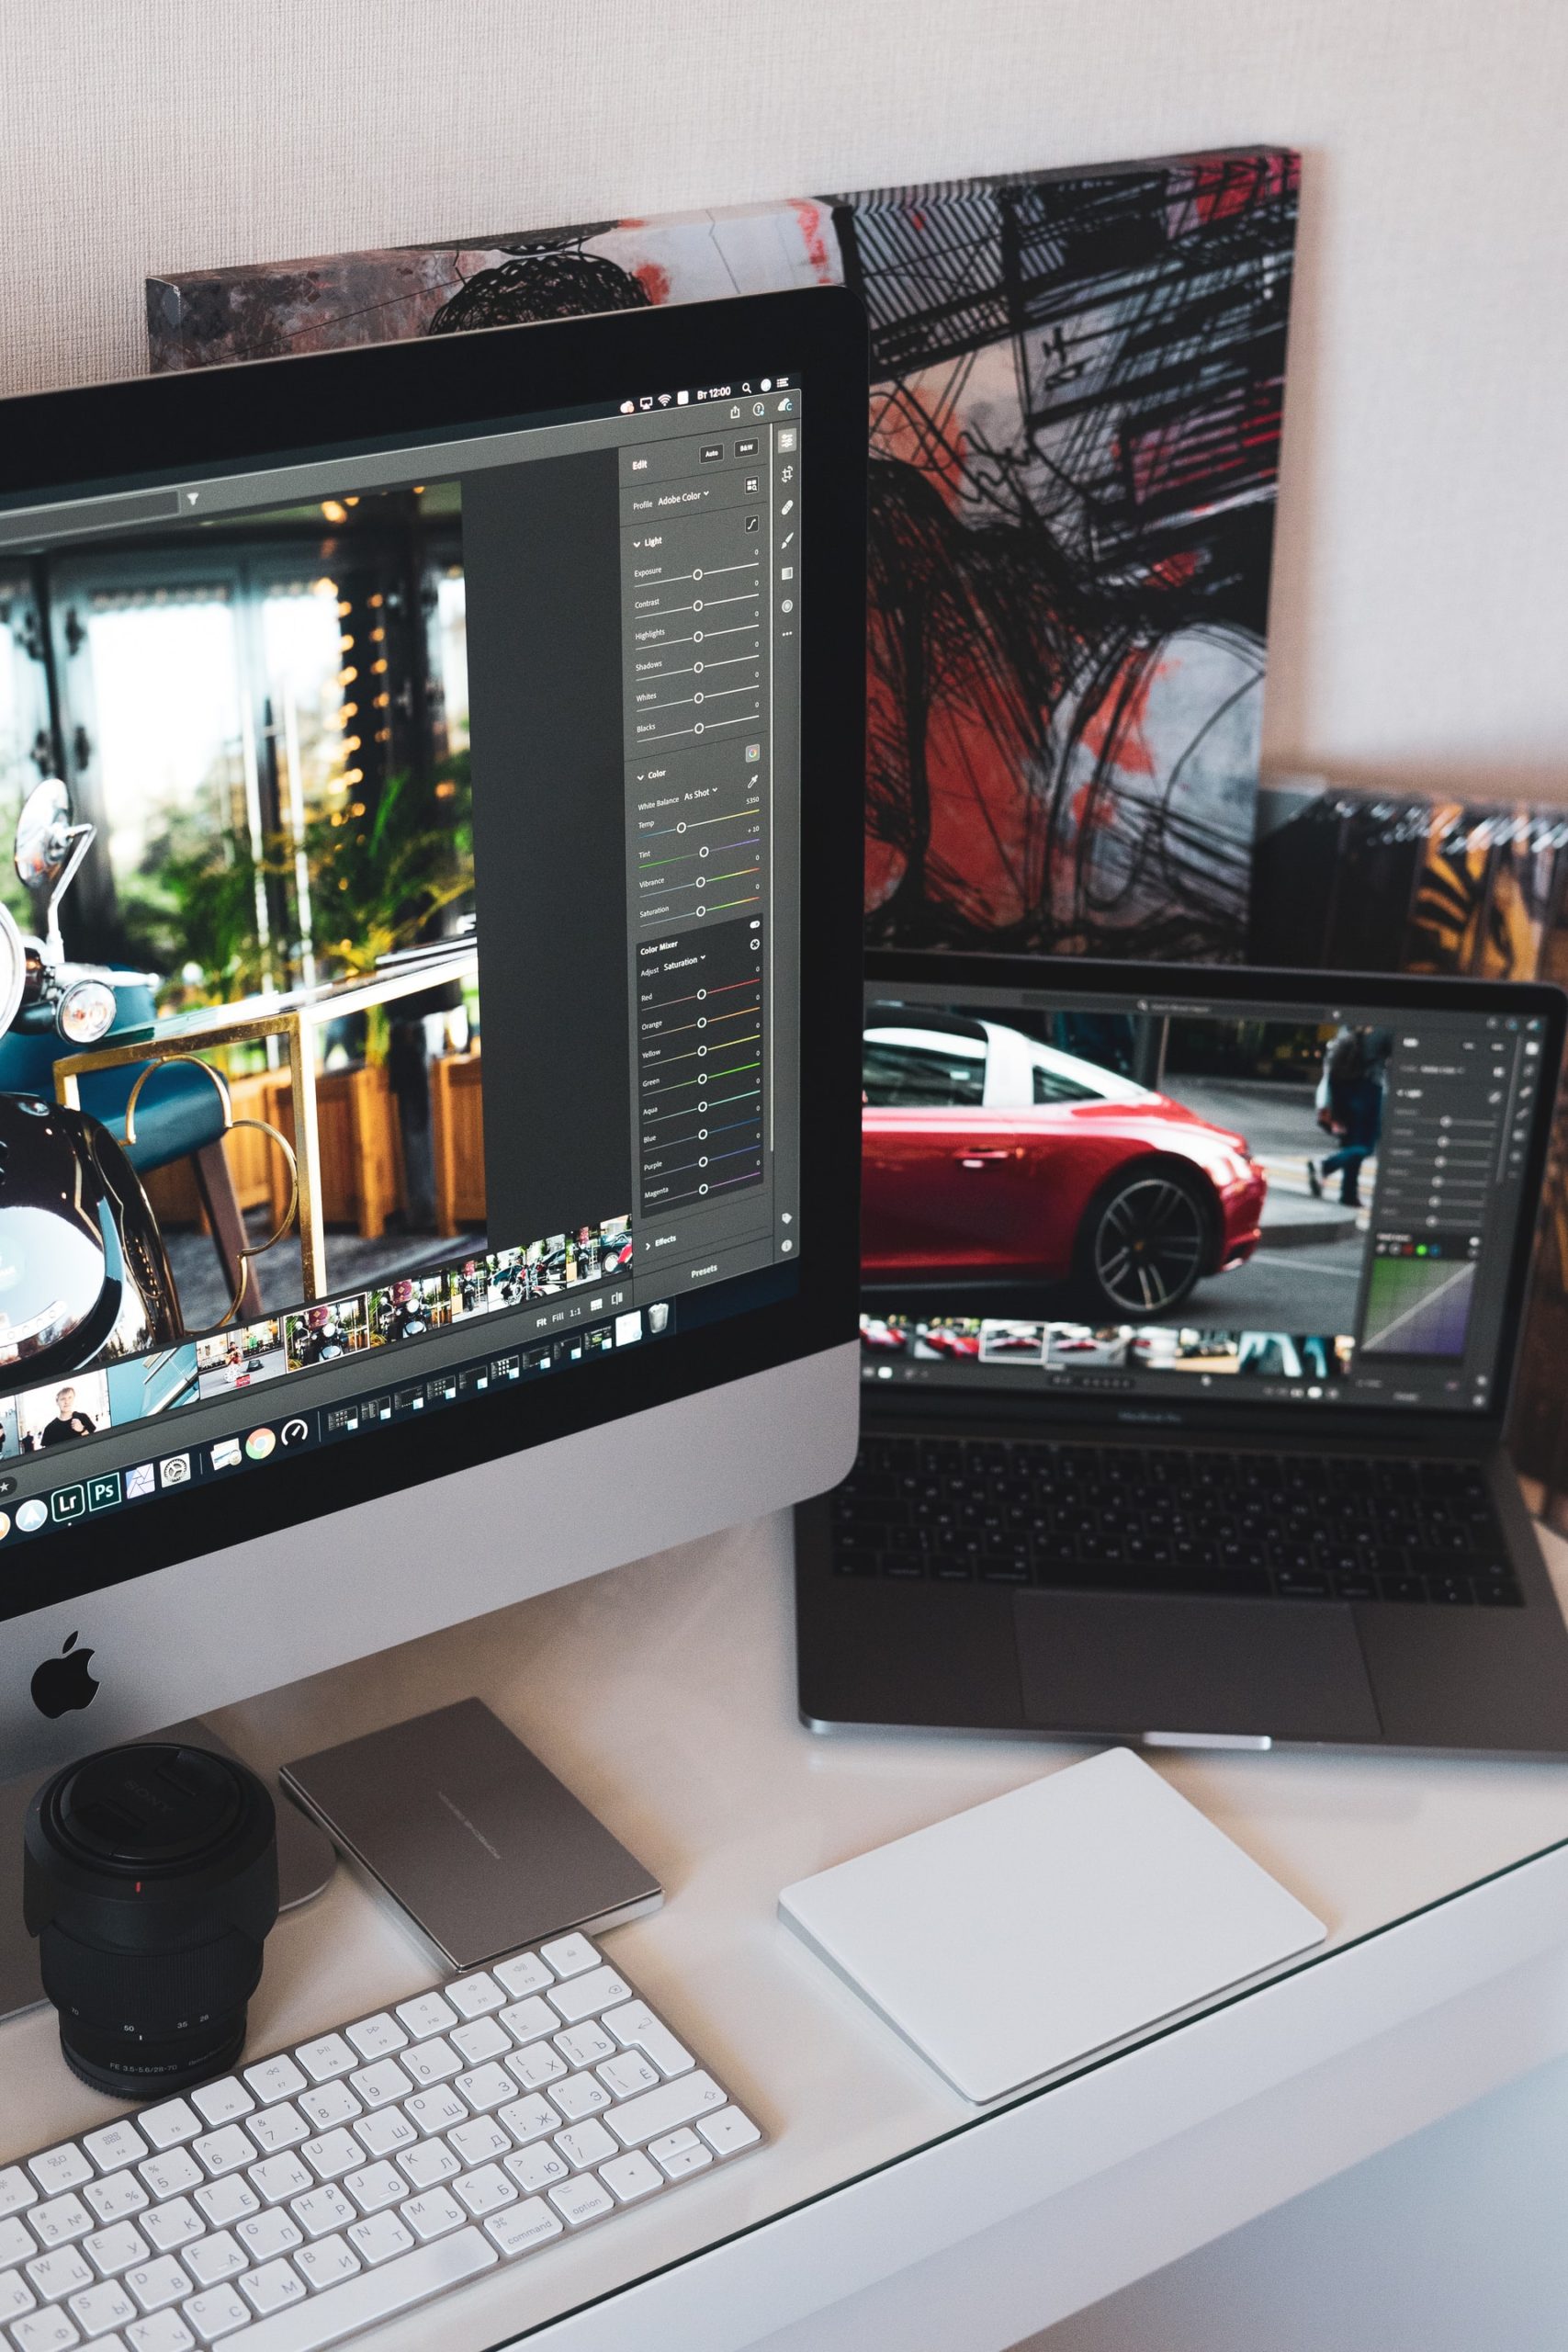
6. Lightroom Presets
Editing photos from scratch is for absolute novices. Experienced photographers who have to edit pictures day-in and day-out can’t really afford that much time to clean out every single picture. Working with presets for photo-editing can save time and give you consistent results.
Editing tools like Adobe Lightroom simplify the editing process considerably and are highly preferred by professionals. High quality presets can enable users to enhance the photos in a single click. This tip is especially useful for bloggers and social media influencers. The Parker Arrow website gives you inspiration of how influencers and professionals can benefit from using Lightroom Presets in their editing process.
7. Image Healing Snd Spot Editing
A lot of times photographers cannot control or arrange all the elements in the shot. That’s especially the case when taking candid shots or landscape and street photography. You can use the “healing tool” to remove small but distinct objects in the image which are surrounded by a uniform color. You can use this tool to heal blemishes on the skin, unnecessary objects lying in the grass, or unusual spots in the sky.
If you are interested in even more design-related articles and information from us here at Bit Rebels, then we have a lot to choose from.
COMMENTS